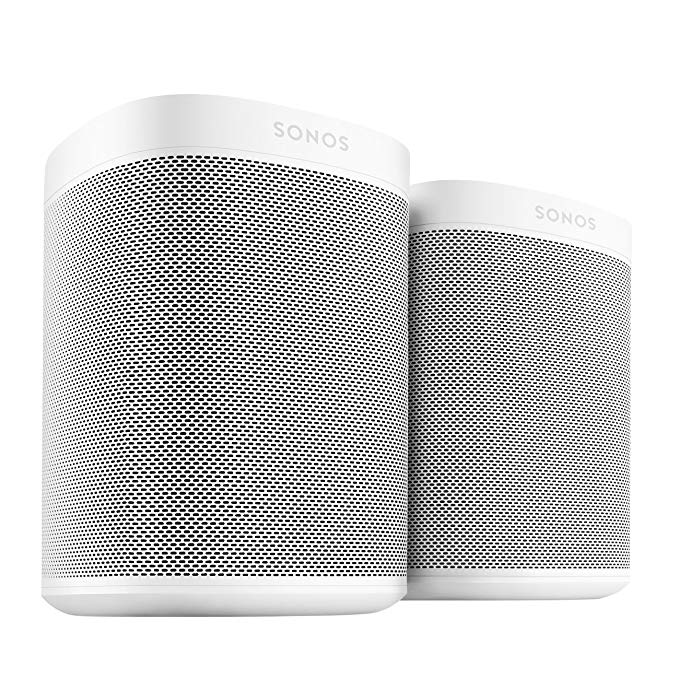
A few weeks ago I bought two Sonos One speakers. Mounting them to the wall could be done using some purchased mounts. But when you own a 3D printer it’s more fun to design and print a mount yourself.
The speakers I bought fit perfect on any book shelve. But in my case I’d like to mount the right speaker in the corner of the room, behind the curtains. Since it’s out of sight, the design of the mount doesn’t matter much, but it will never hurt to put some effort in a nice fit.
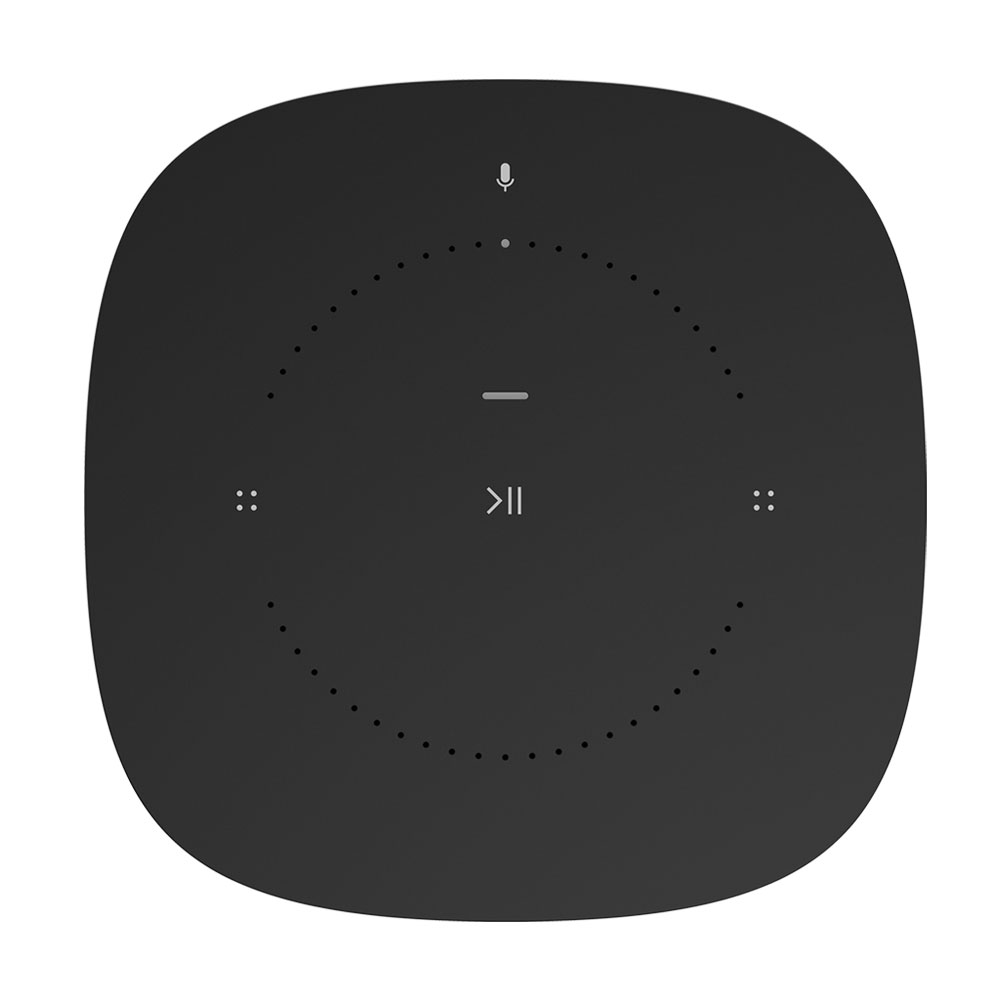
The Sonos One speakers don’t have a square profile. It isn’t even a rounded rectangle. As a matter of fact, it’s a pretty arbitrary shape. Luckily Sonos offers a nice product shot from the top on their website. This comes in very handy in the design process.

After importing the photo in Fusion 360, and drawing a reference square of 119,7 mm, I used conic curves to trace the outline of the speaker. This way I was able to draw the exact shape I needed.

The bottom profile was a bit more difficult. Due to perspective distortion I couldn’t trace any product shot. The only thing I was able to measure were two distances from the edge. I had to eyeball the exact curvature.
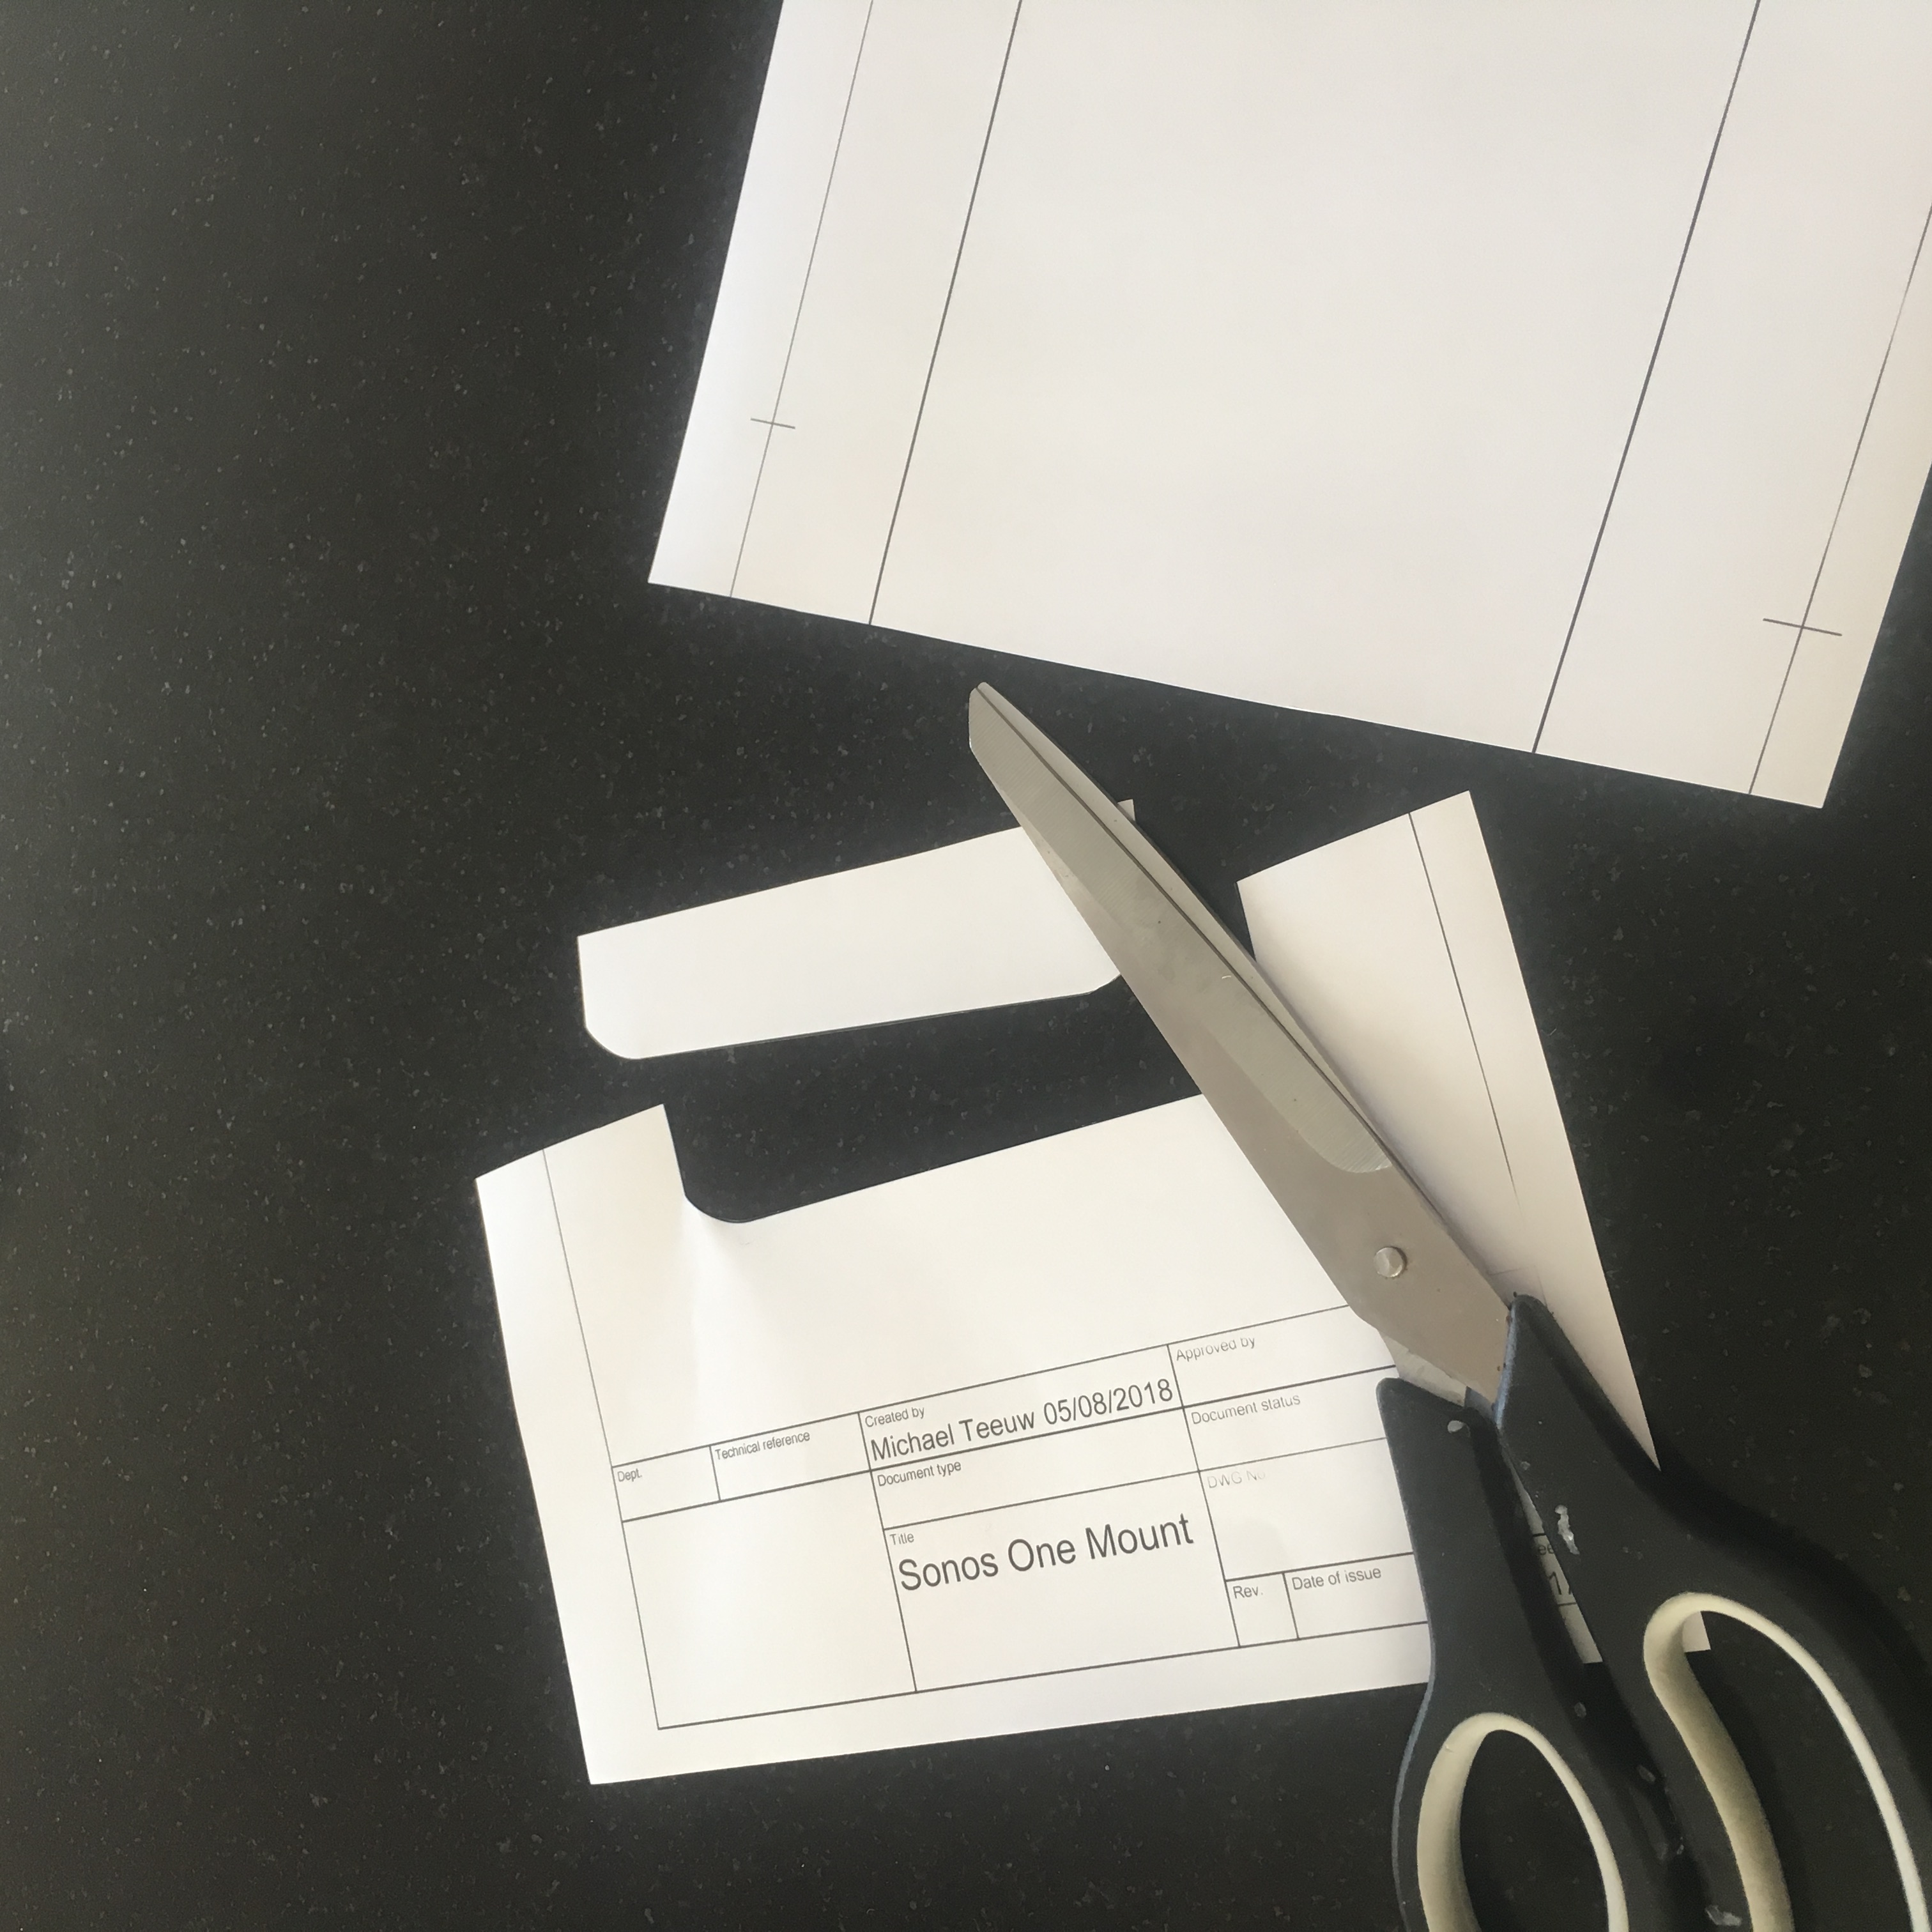
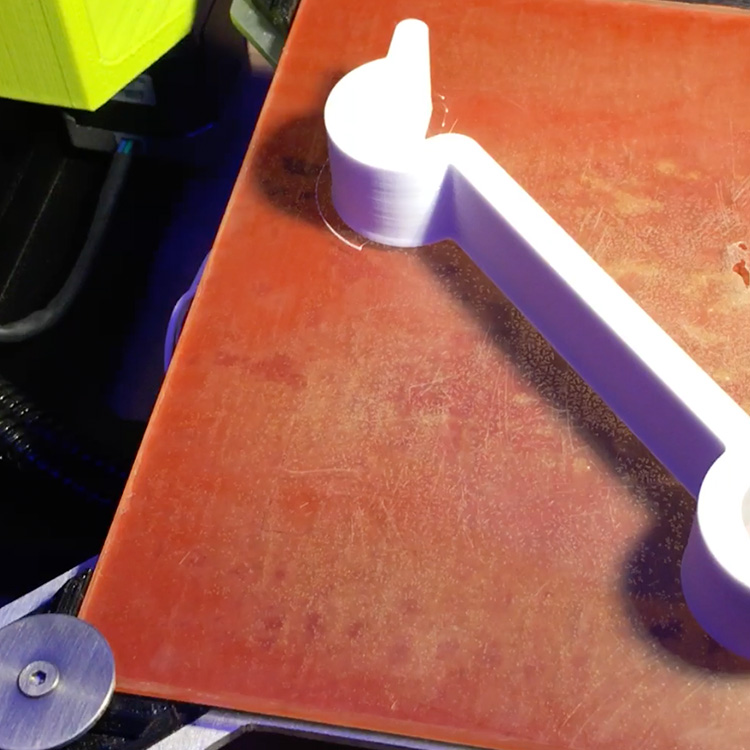
And while measuring the curvature was somewhat impossible, there was a way to check the curve I had drawn: First I printed the side profile of the shape I made and made a cut out out using some plain old scissors …
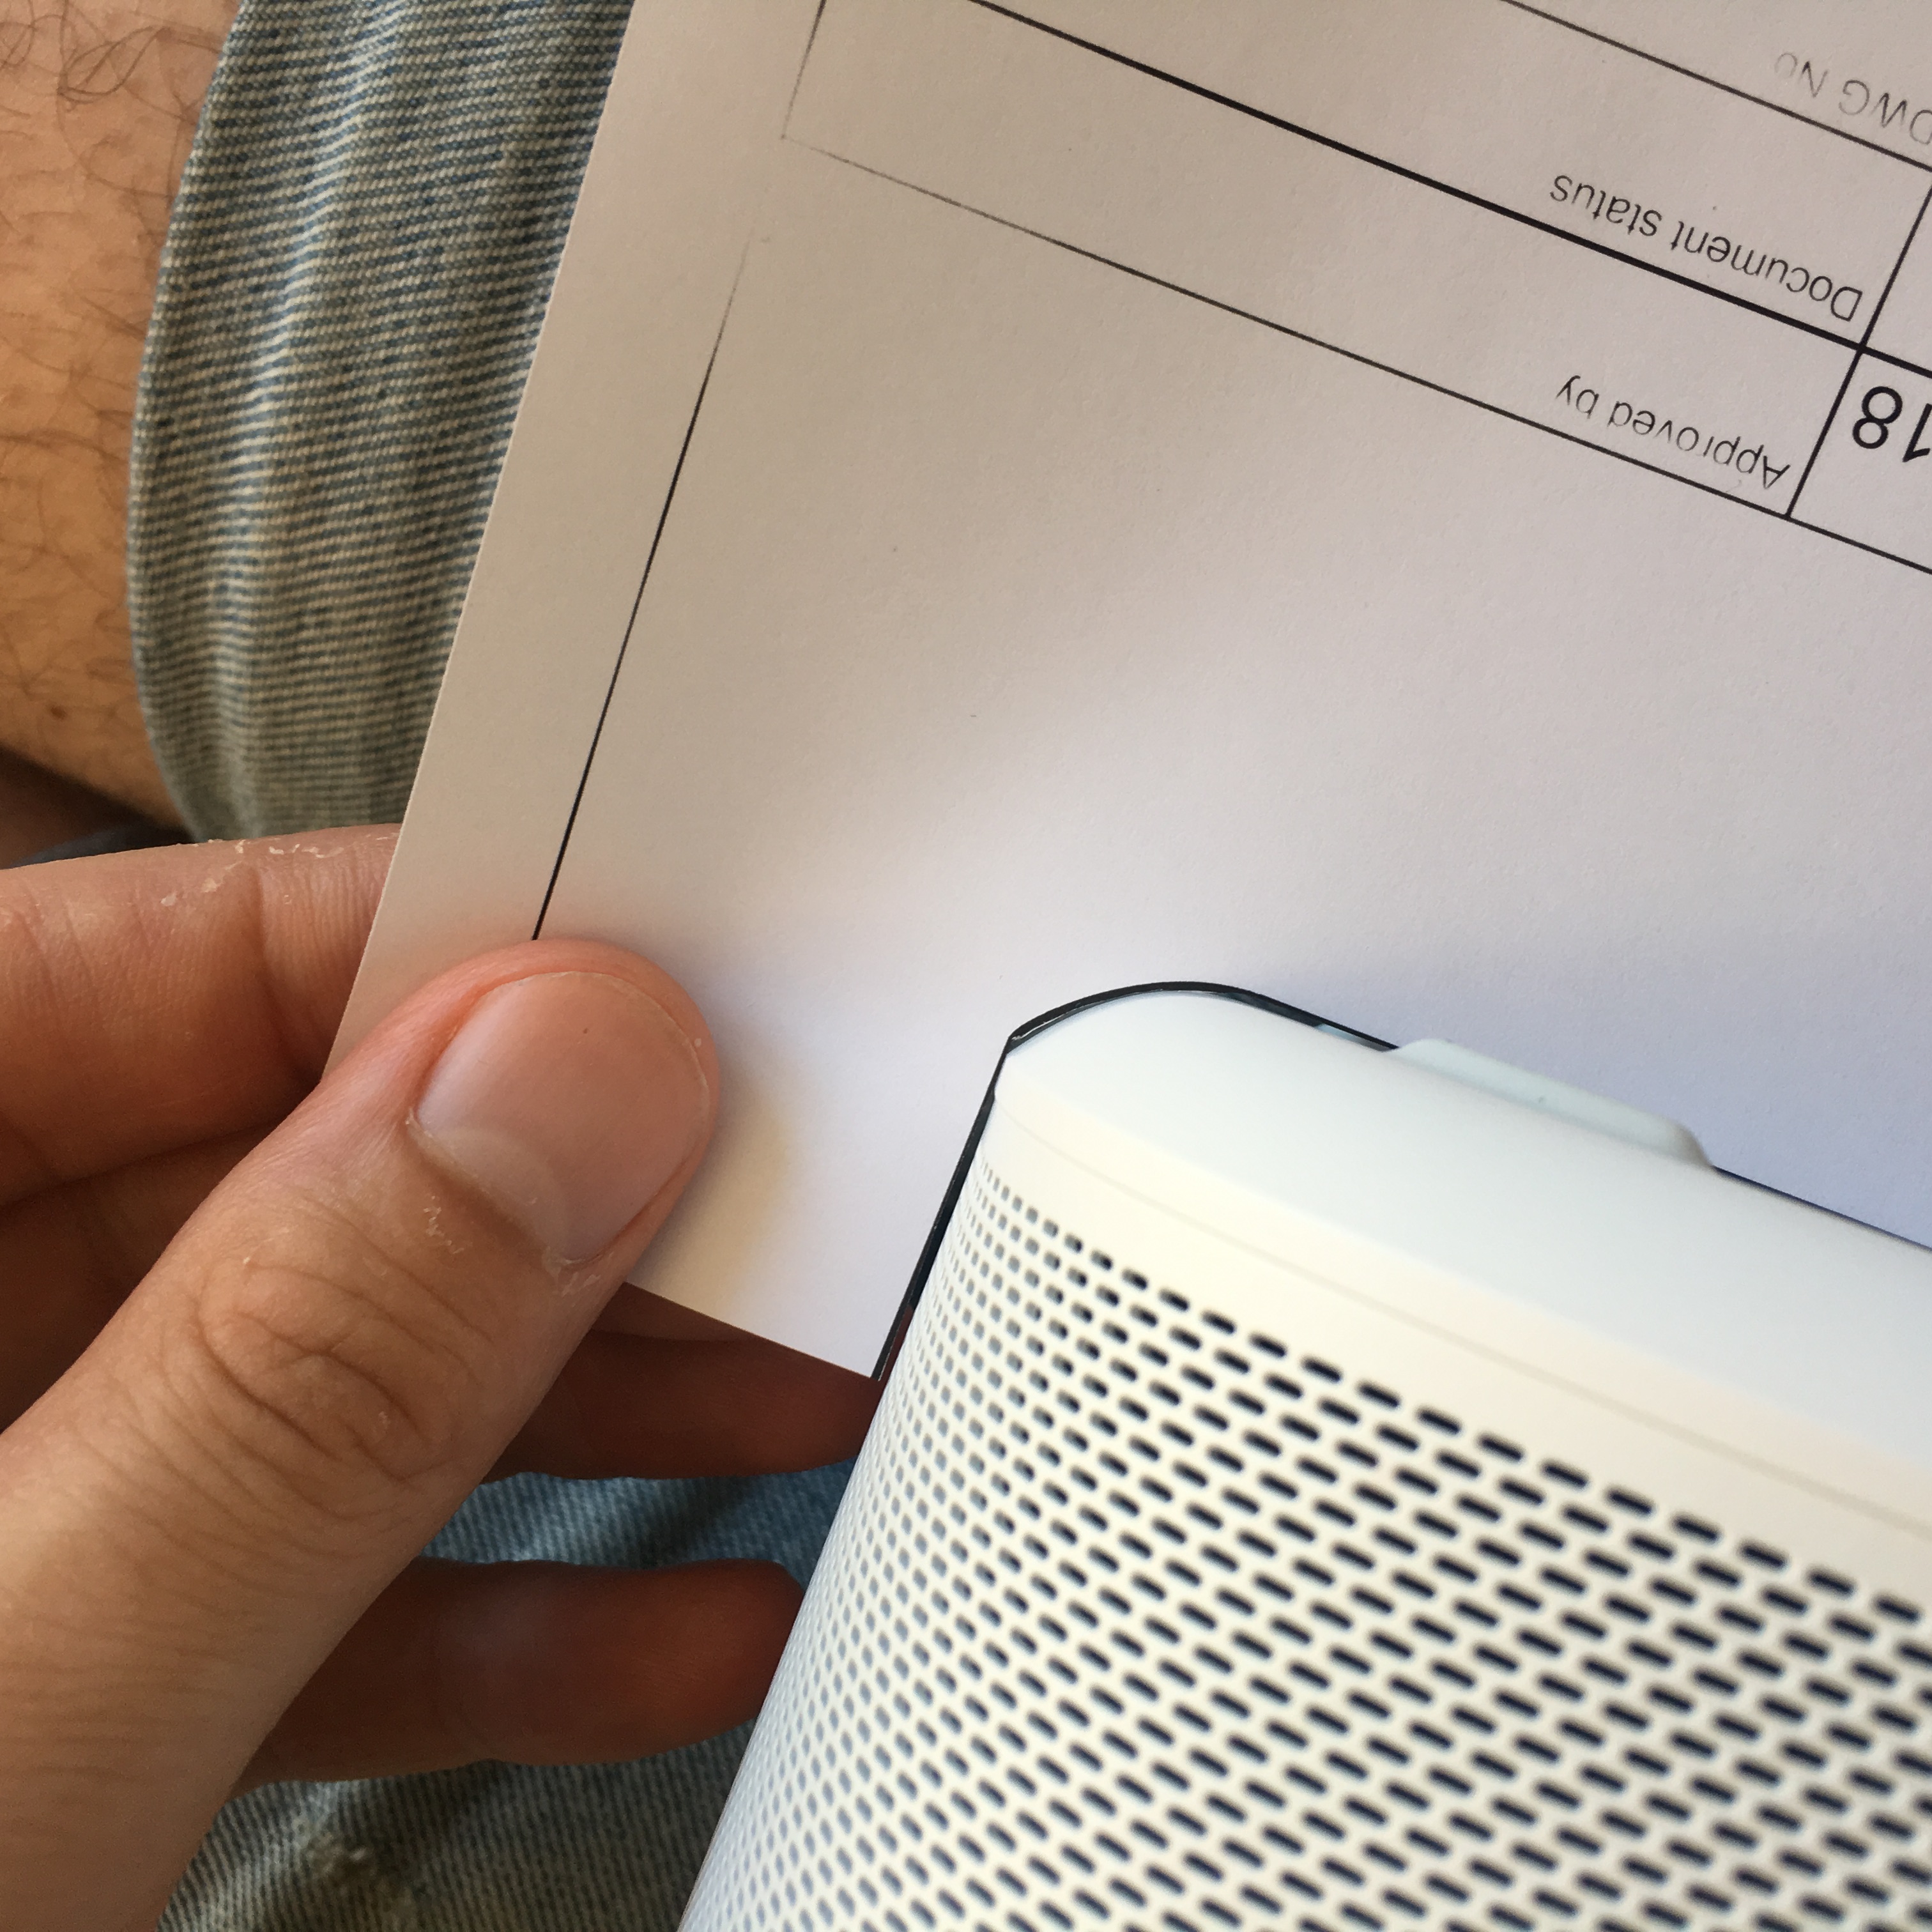
… and by holding this cutout around the actual speaker, I could validate my design. And to my own surprise, it was almost perfect first try! Good enough for the base I wanted to design.
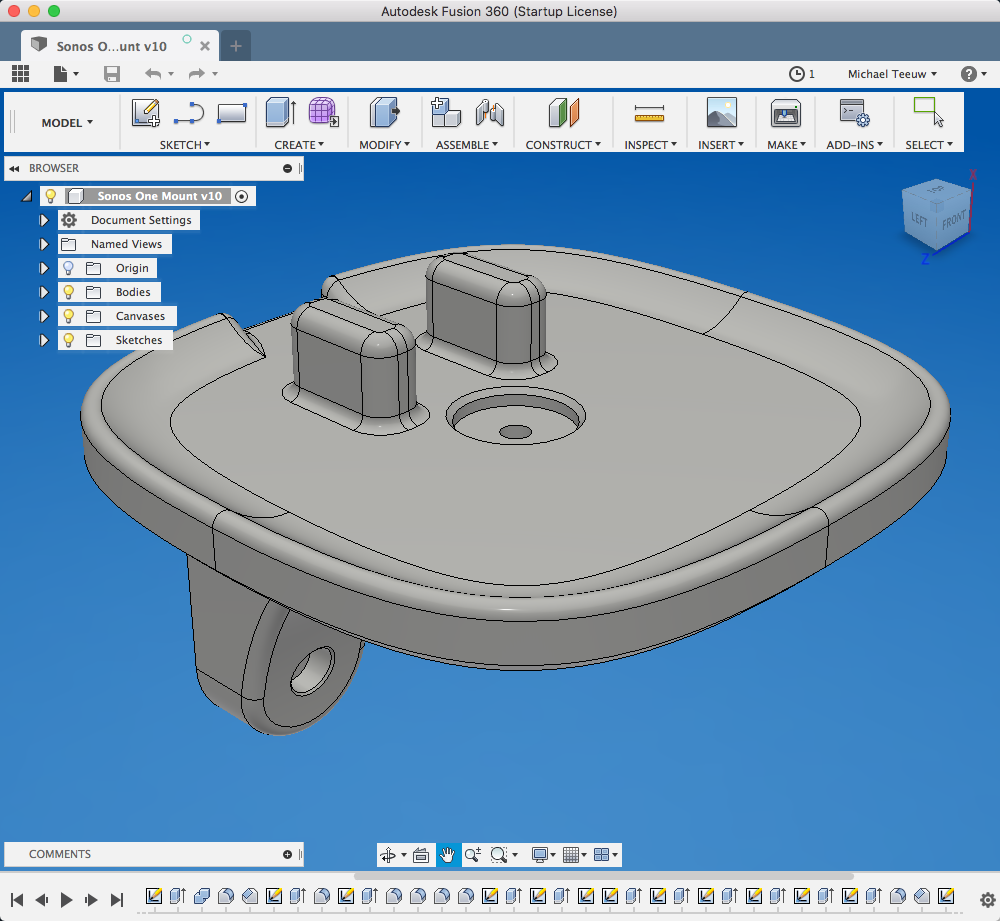
After validating the shape I created, I could finish the rest of the design which is a two part setup. The base, and the wall mount. The two parts are combined using a simple 5mm nut and bold. As you can see the base has two vertical columns that will keep the speaker in place. These two columns fit into the two holes next to the power plug on the bottom of the speaker.

After 3D-printing the base, it was time for a test-fit. And as hoped, it fits perfectly!
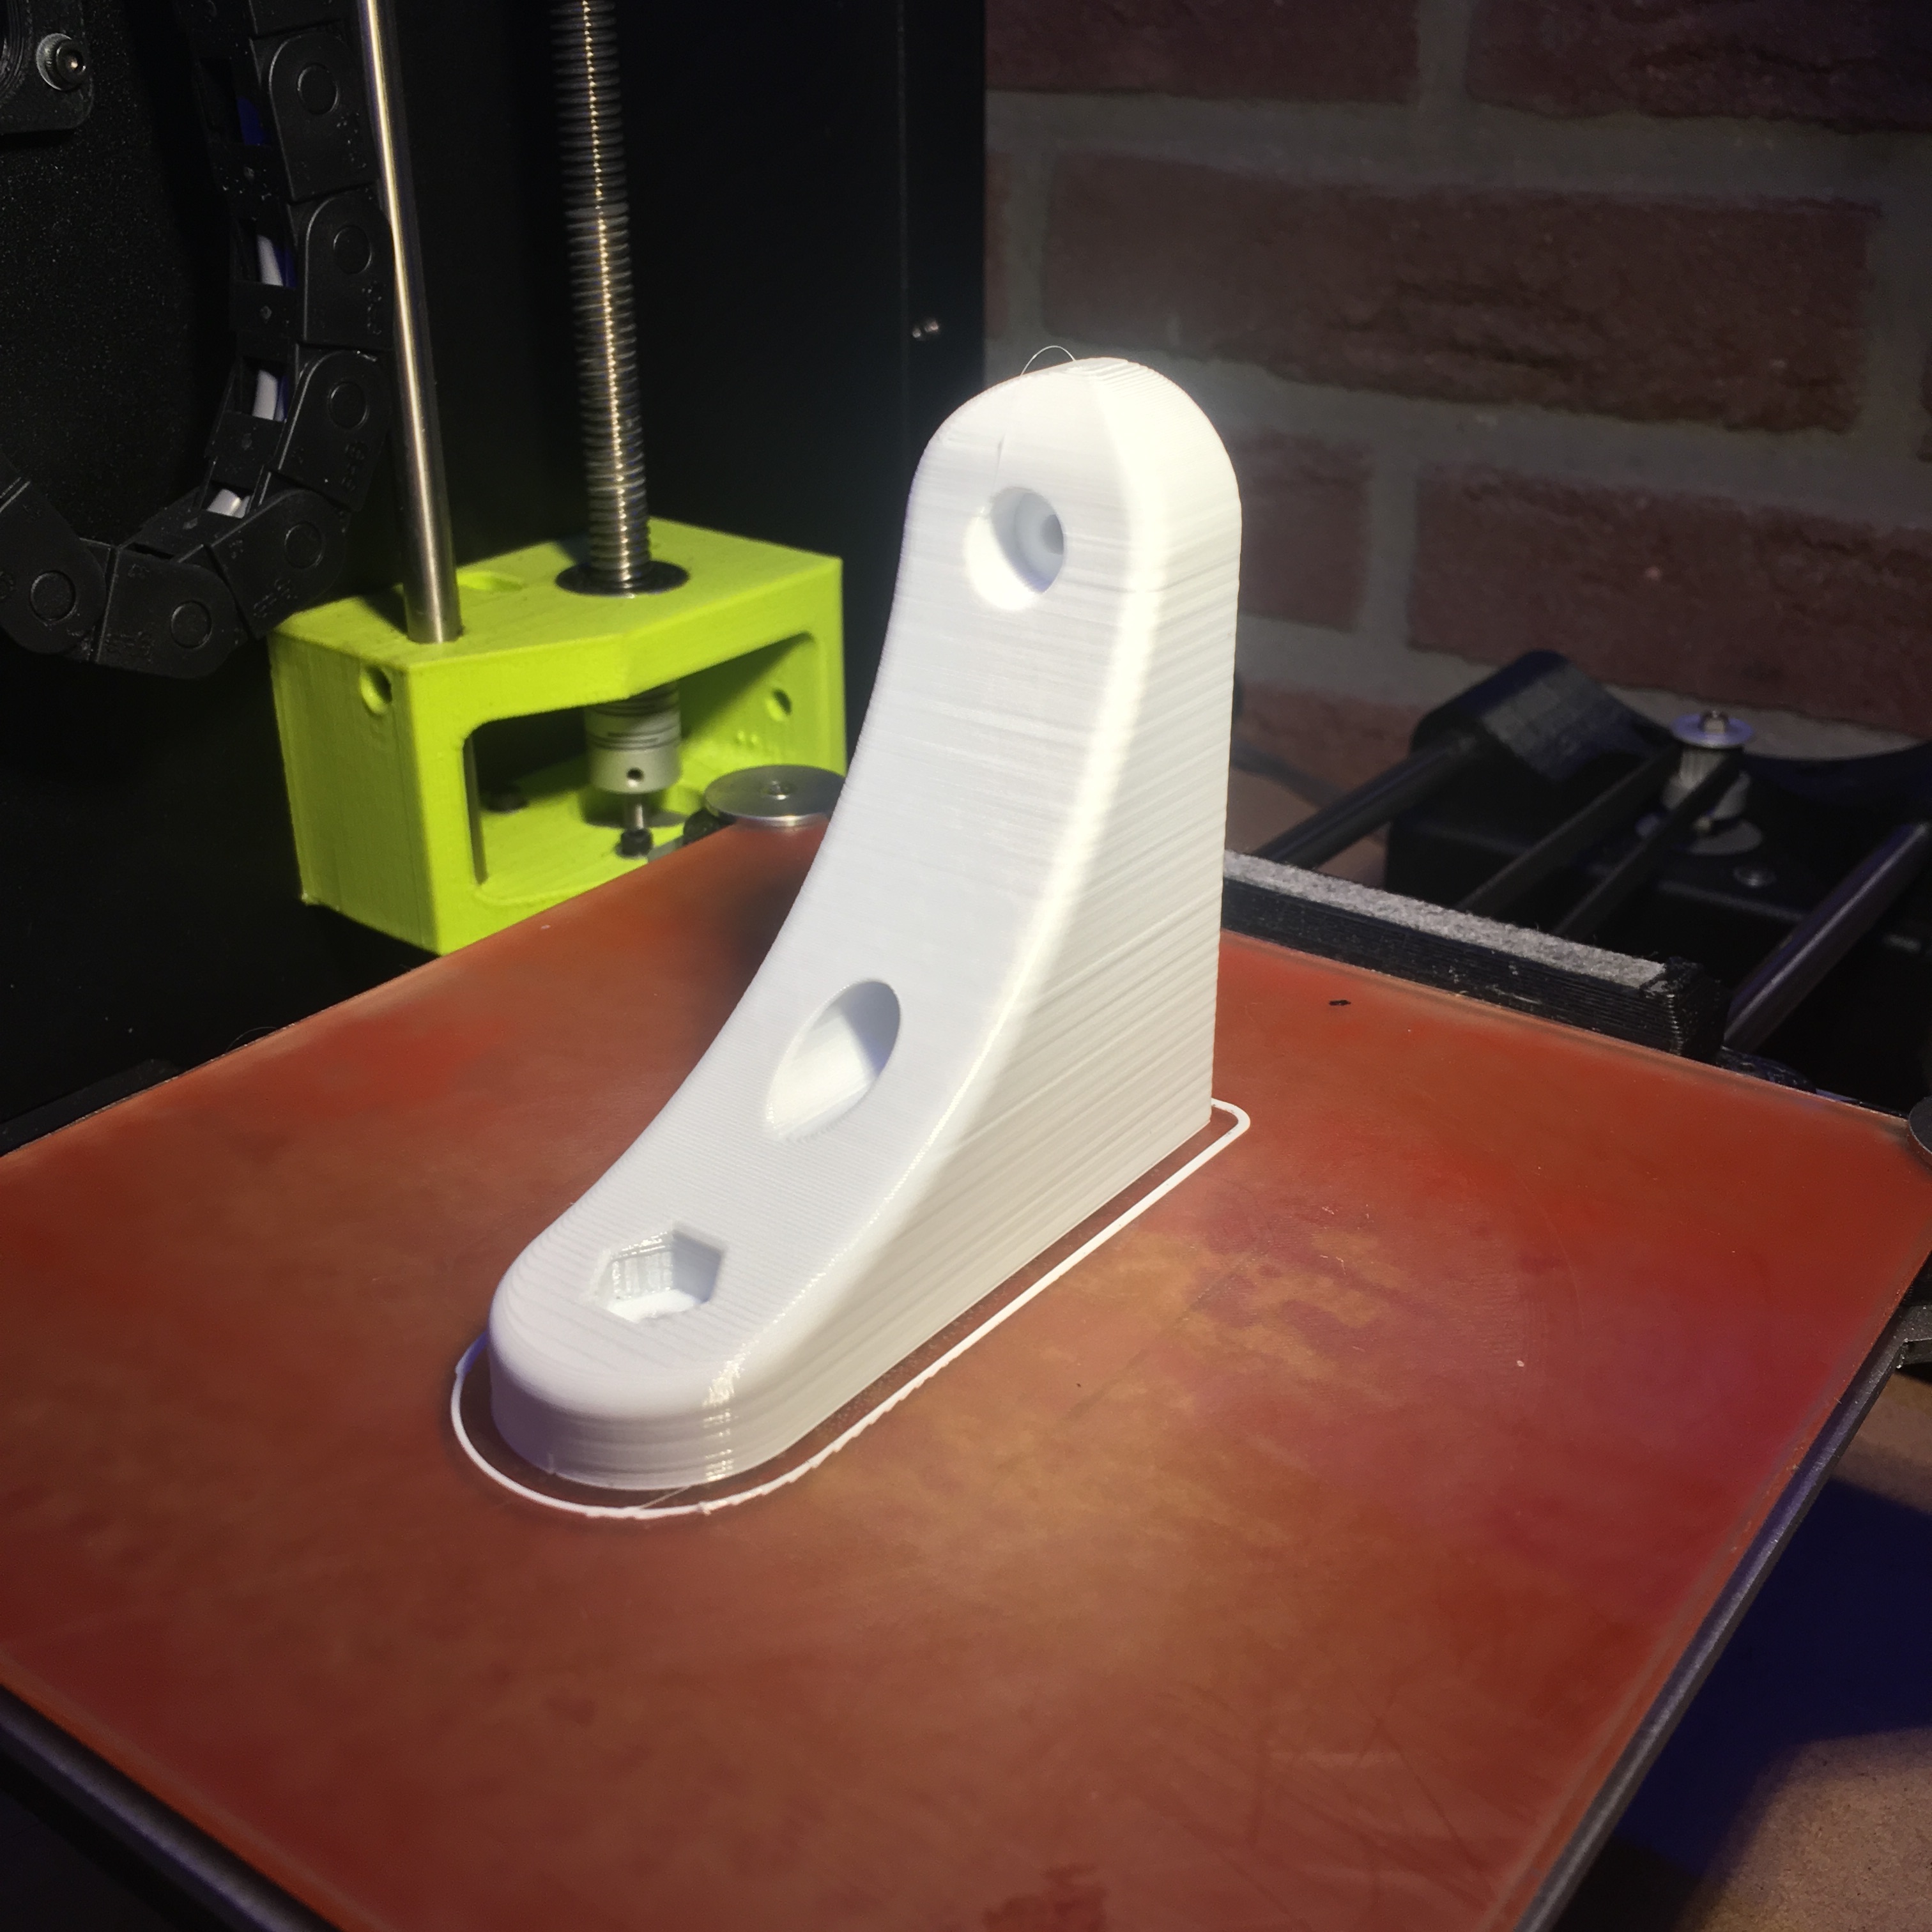
Next I printed the wall mount, aside from the hole for the 5mm bolt, it has two holes for the screws to mount it to the wall. It’s very important to NOT use countersunk screws in these holes, since this would force the layers apart.
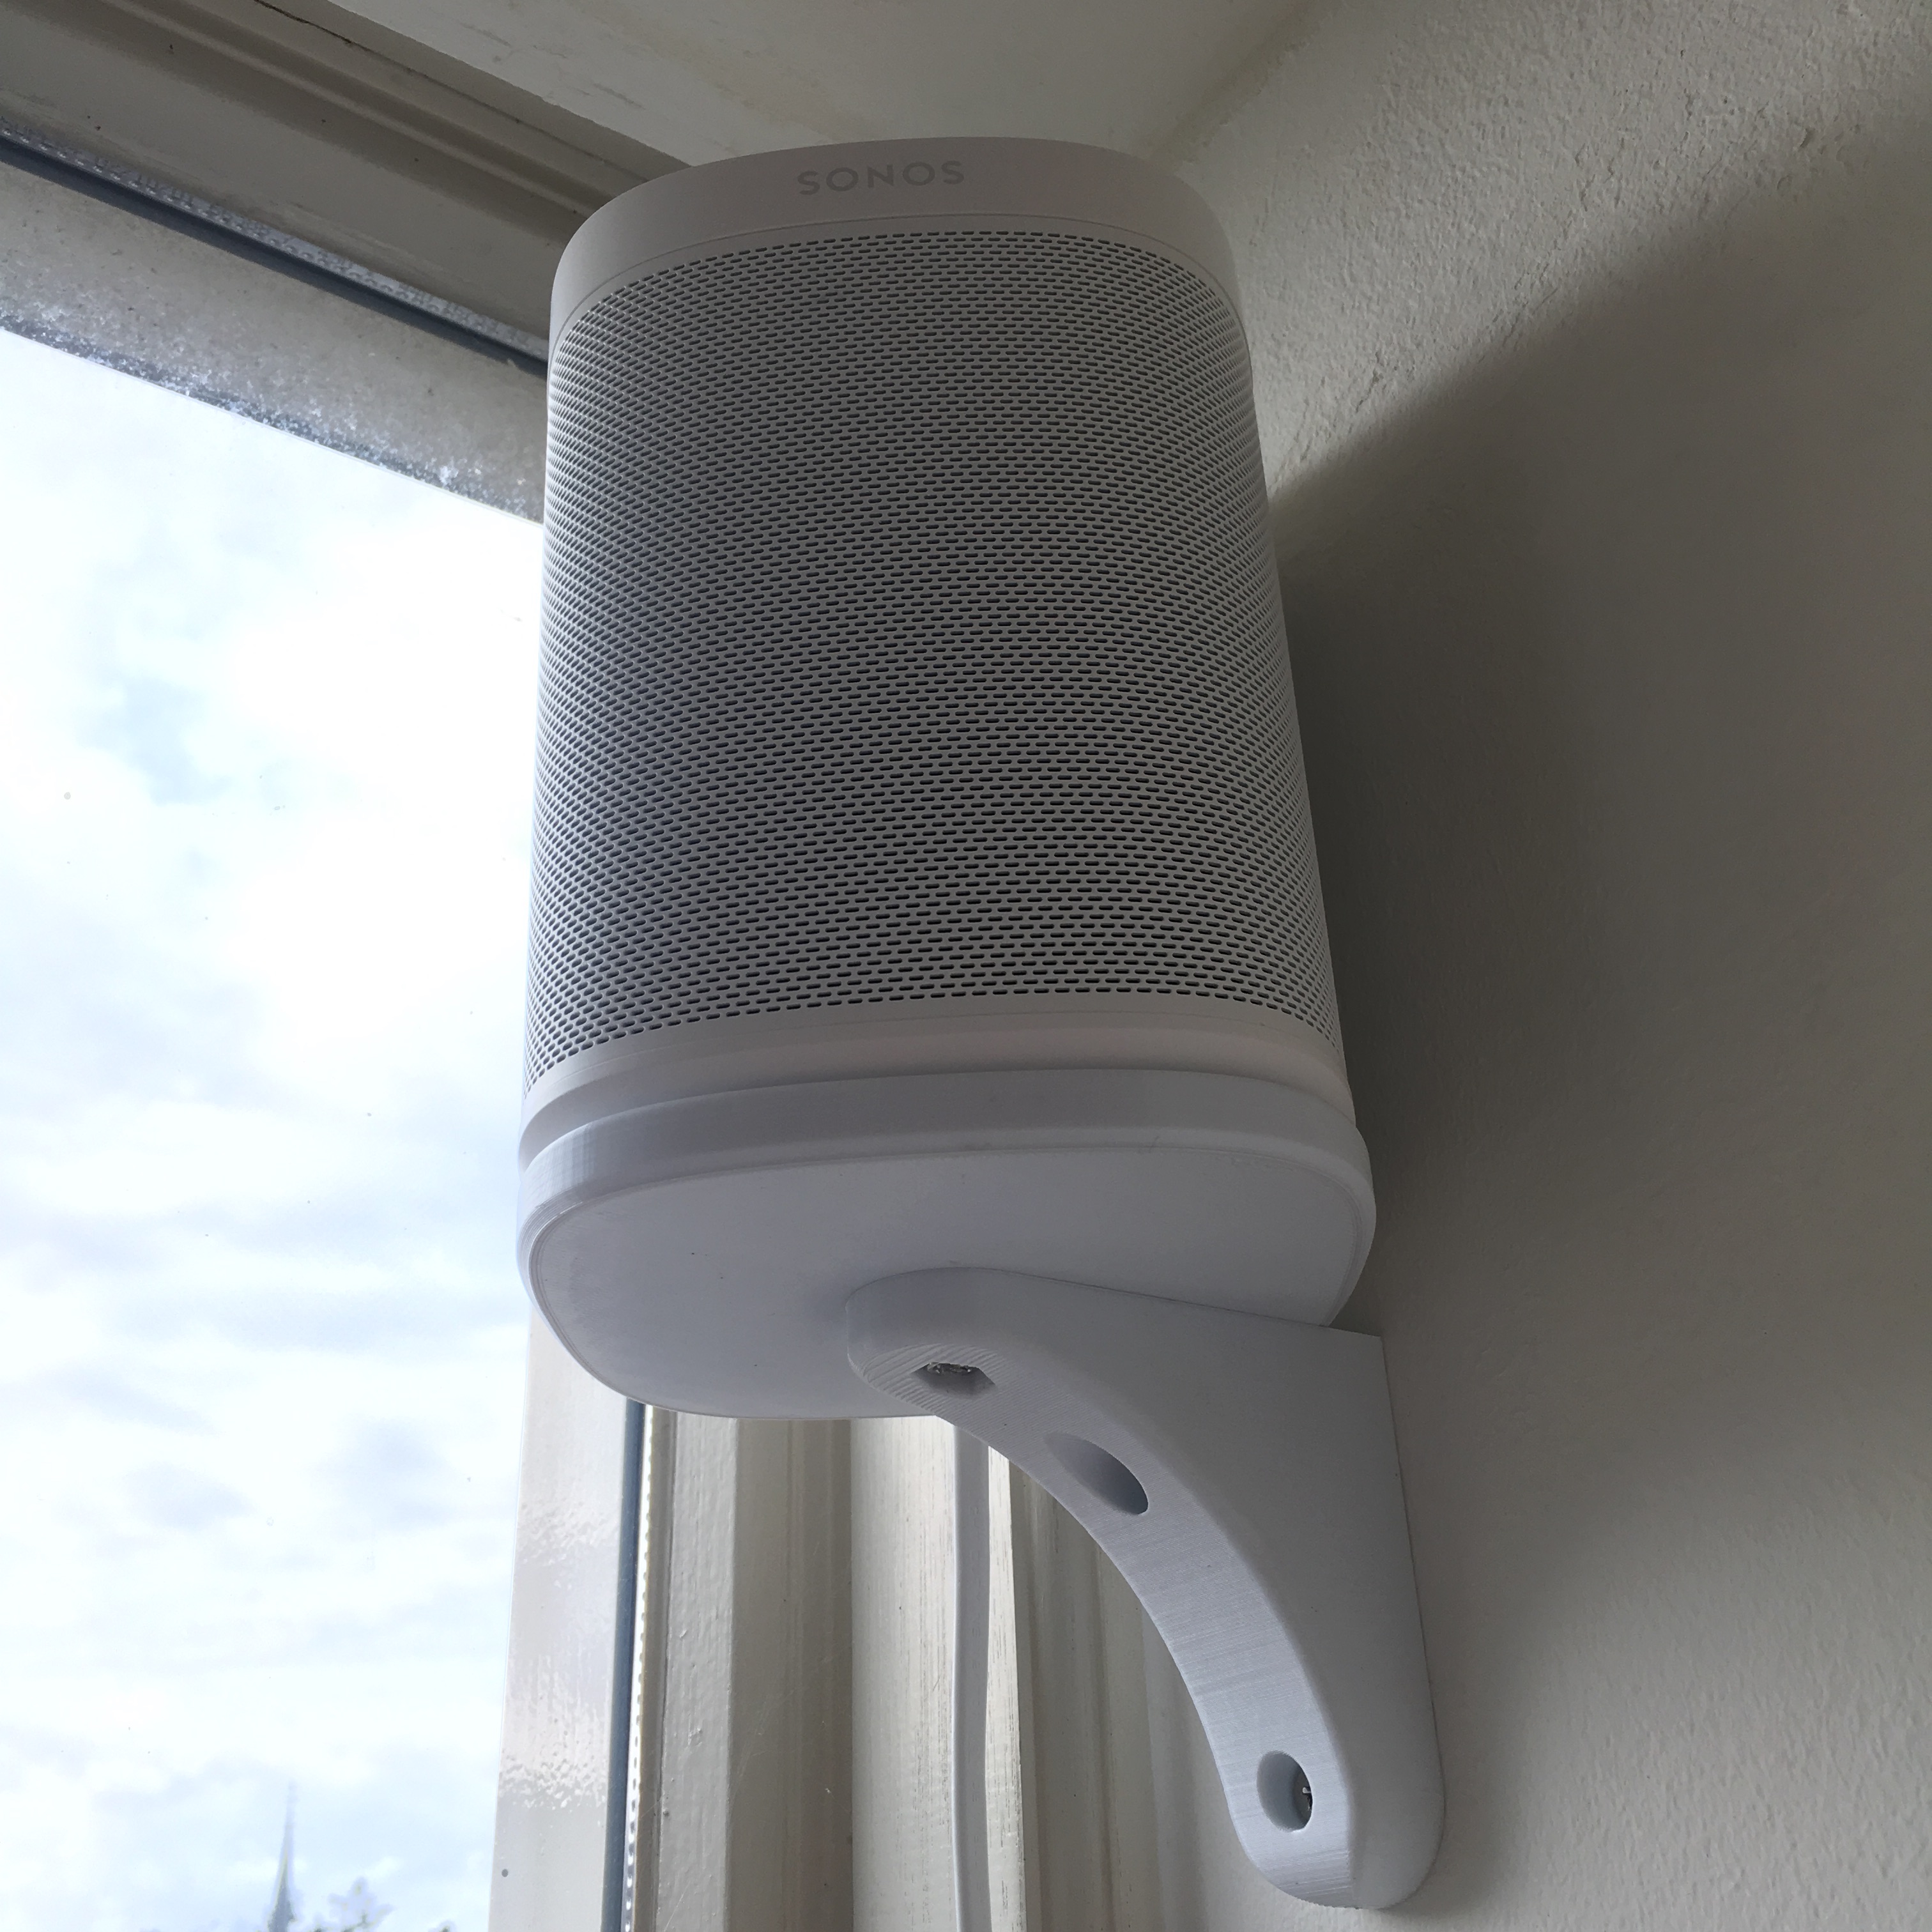
Some drill dust and a few screws later, the Sonos One is mounted to the wall. Yet an other fun 3D-project completed!
If you want to print this wall mount yourself, you can download the STL files on Thingiverse.