My technical enthusiasm is probably 99% inherited from my dad. So whenever I come across something fascinating, he is usually the first person to forward the link to. A little over a year, I came across some really awesome volt meter clocks. And due to his fascination of analog meters, he liked it even more than I did. Wouldn’t it be awesome to make one as a Father’s Day present?
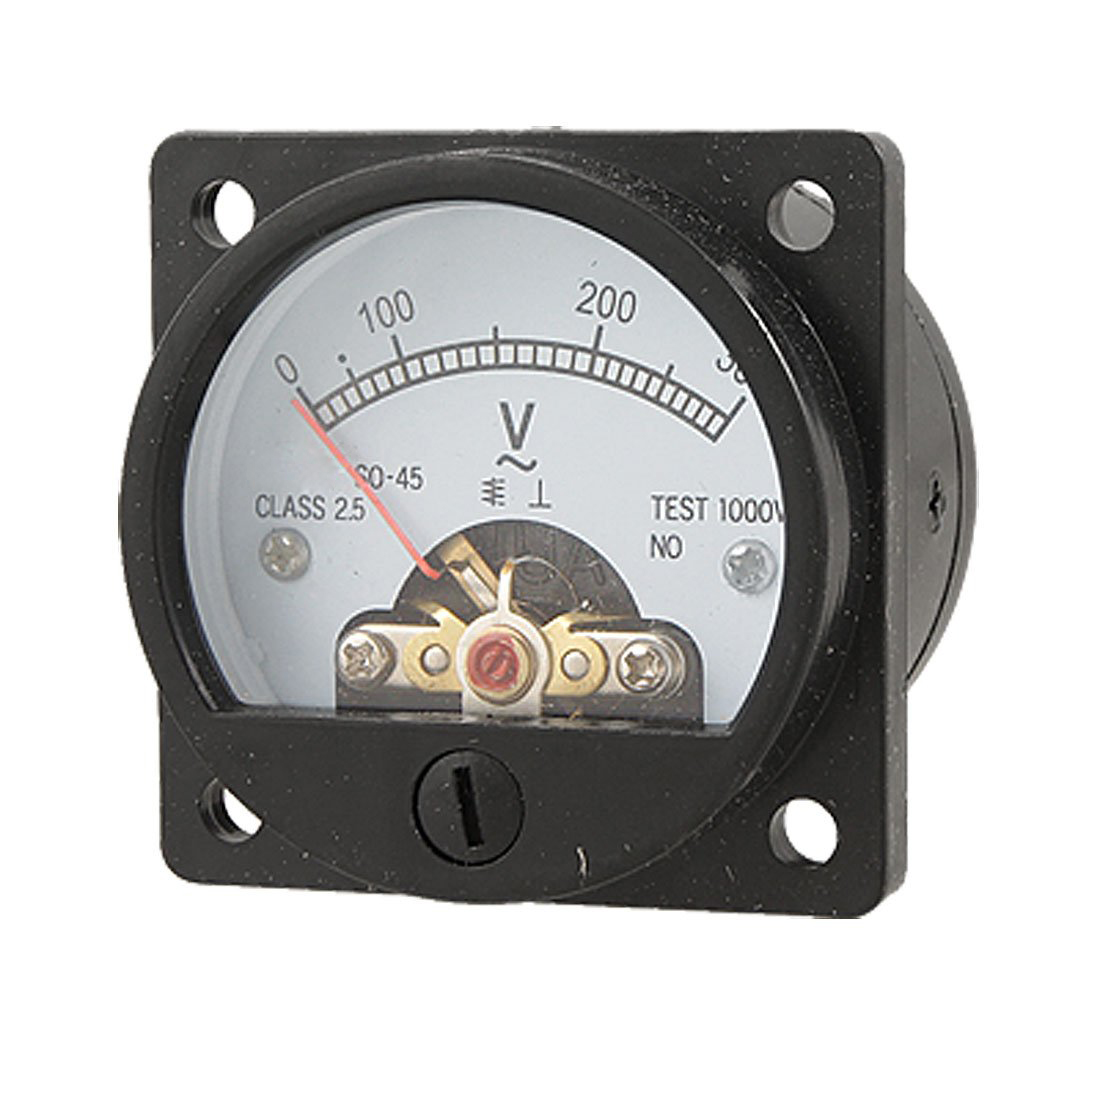
Once again, my main supplier AliExpress had exactly what I needed. So for a few bucks, I was the proud new owner of three analog volt meters …
Unfortunately my time was fully seized by a few other projects. Of which some of them were for my dad anyway.
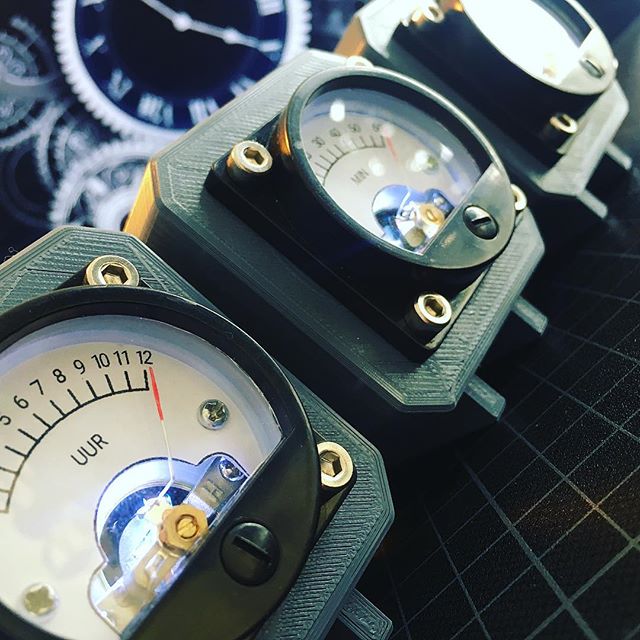
Luckily, It’s Father’s Day every year. So this year I had a second chance to finish up the project on time! The first step was to replace the voltage plate with a new face plate and make it work on 5 volt.
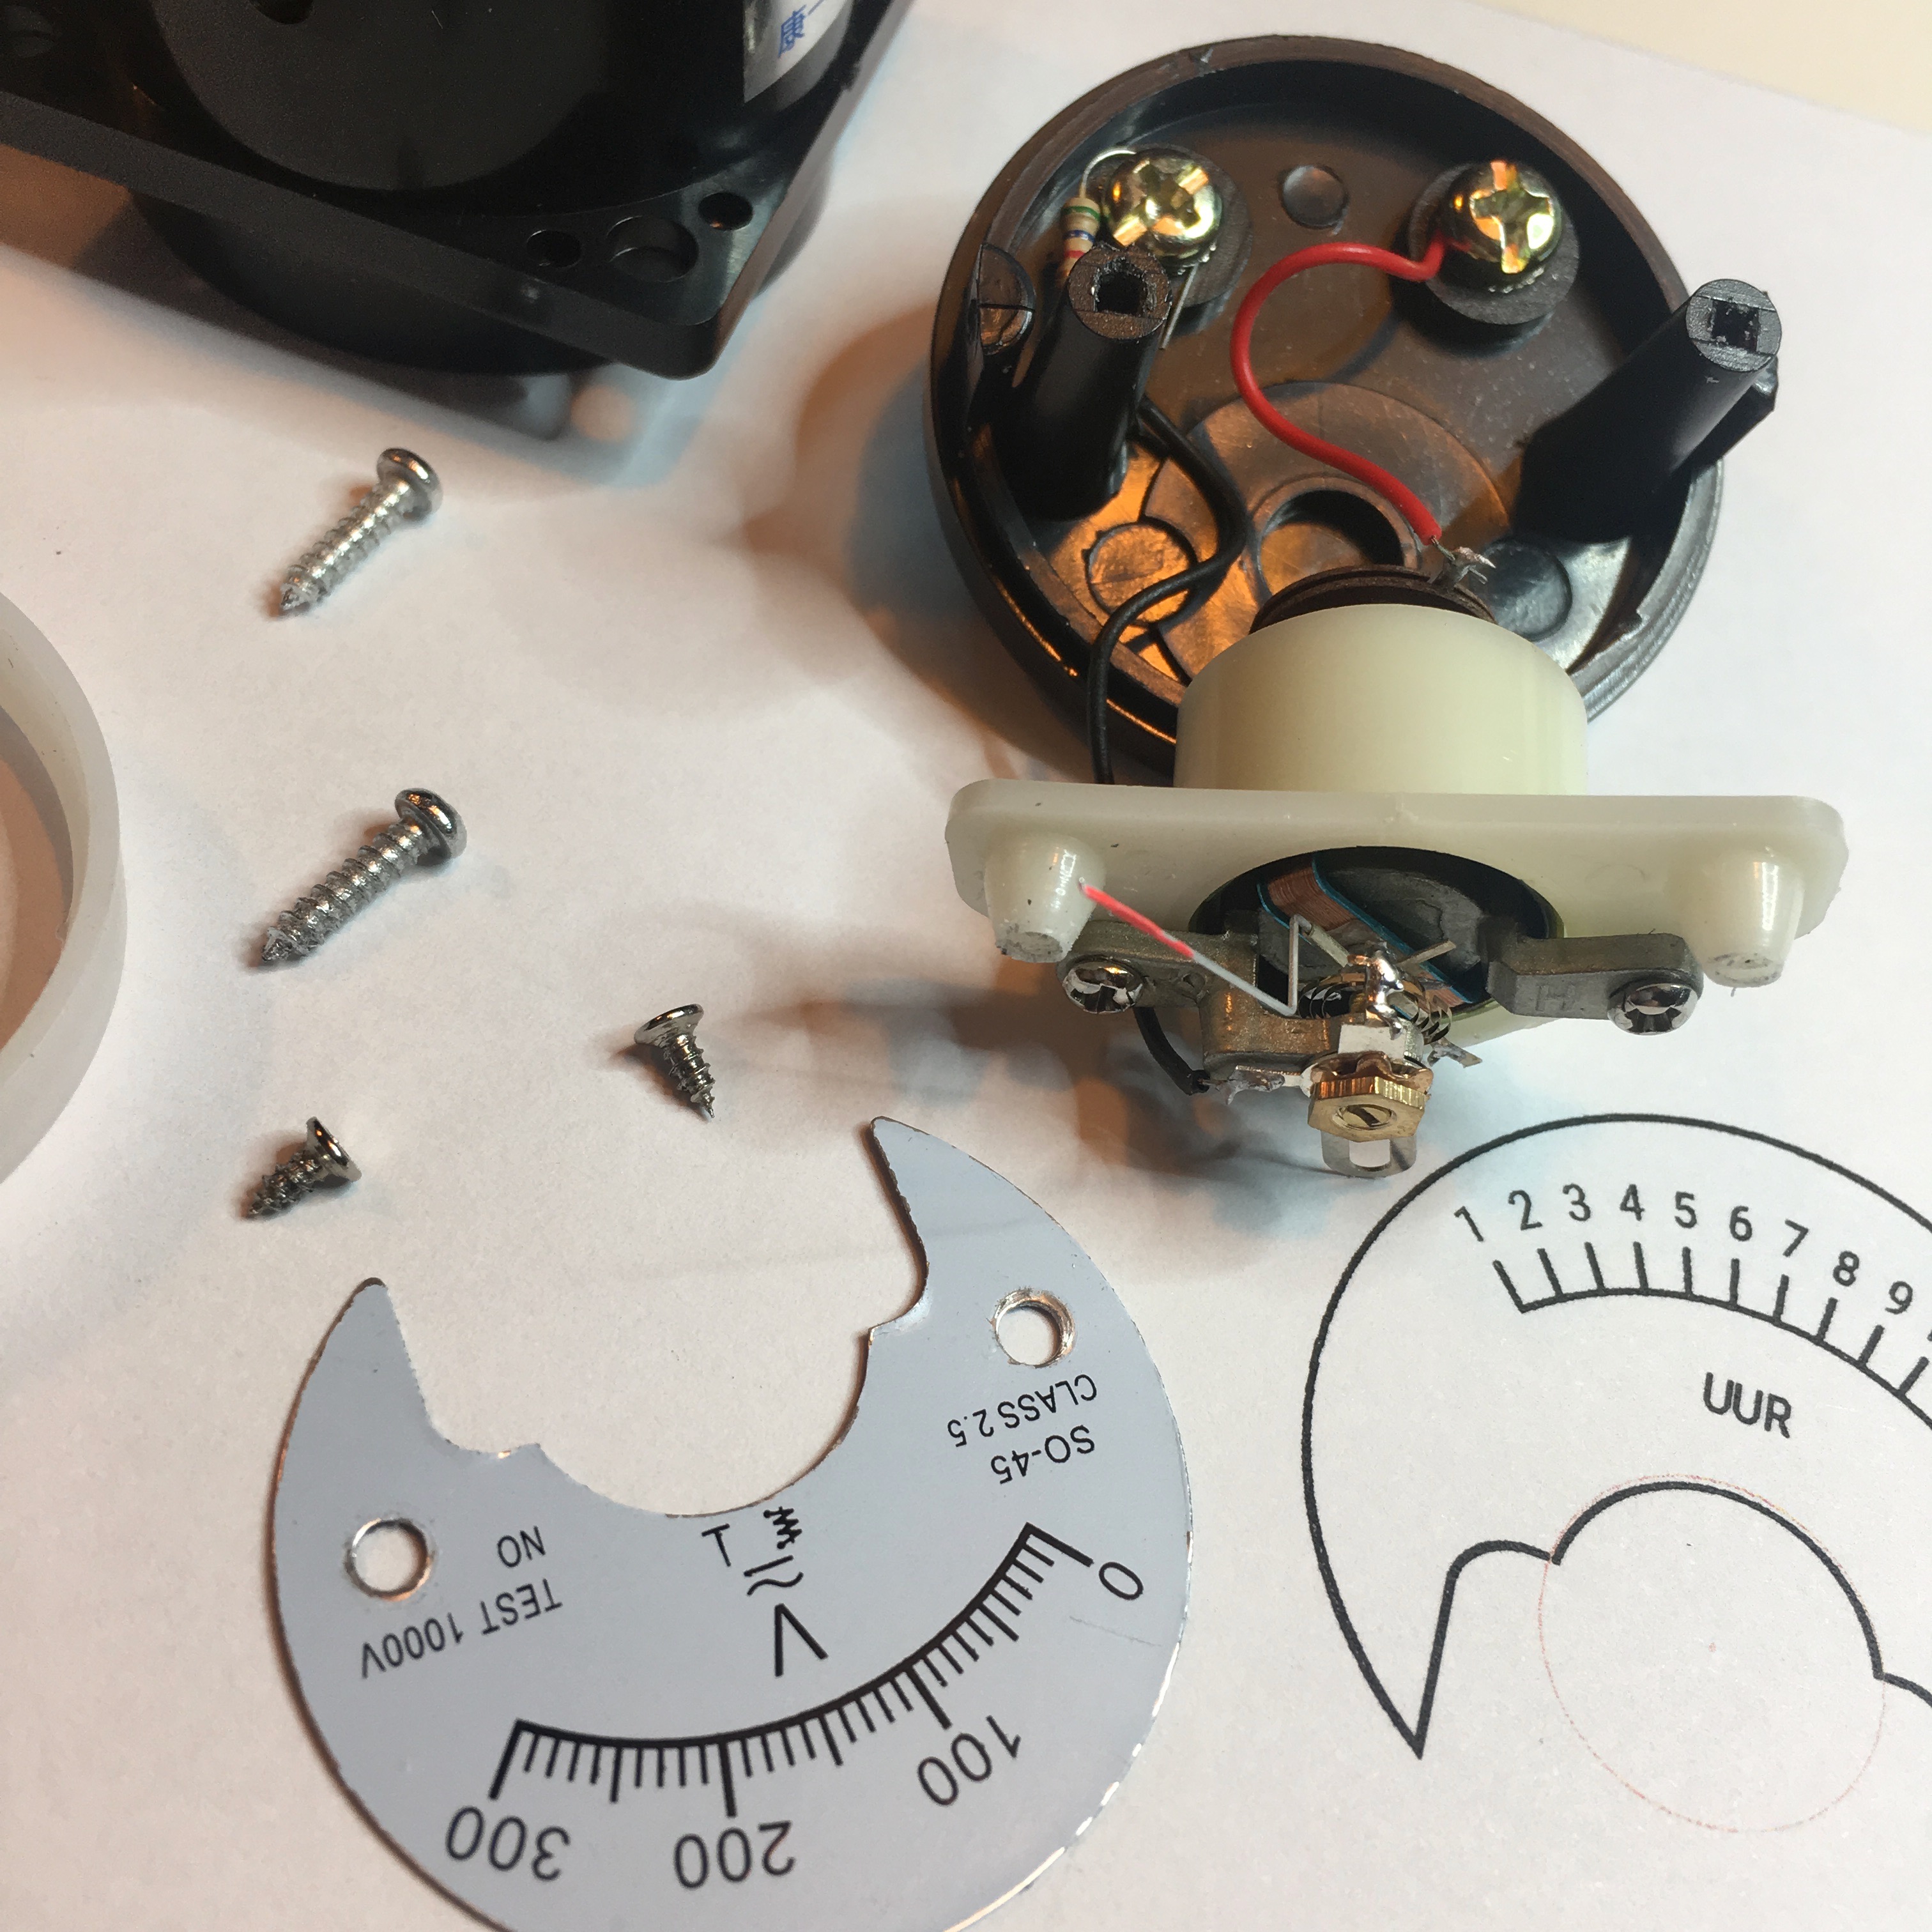
With the help of Adobe Illustrator and some patience, I managed to draw a face plate which had the right scale and fitted perfectly. I replaced the original 180K resistor with a 5.6K resistor. It turned out this was the perfect value to use the full scale on 5V. No math was used in finding this value. I just tried a whole bunch of resistors. I also simply removed the diode and capacitor that were in the meter, since we’ll be using DC power.
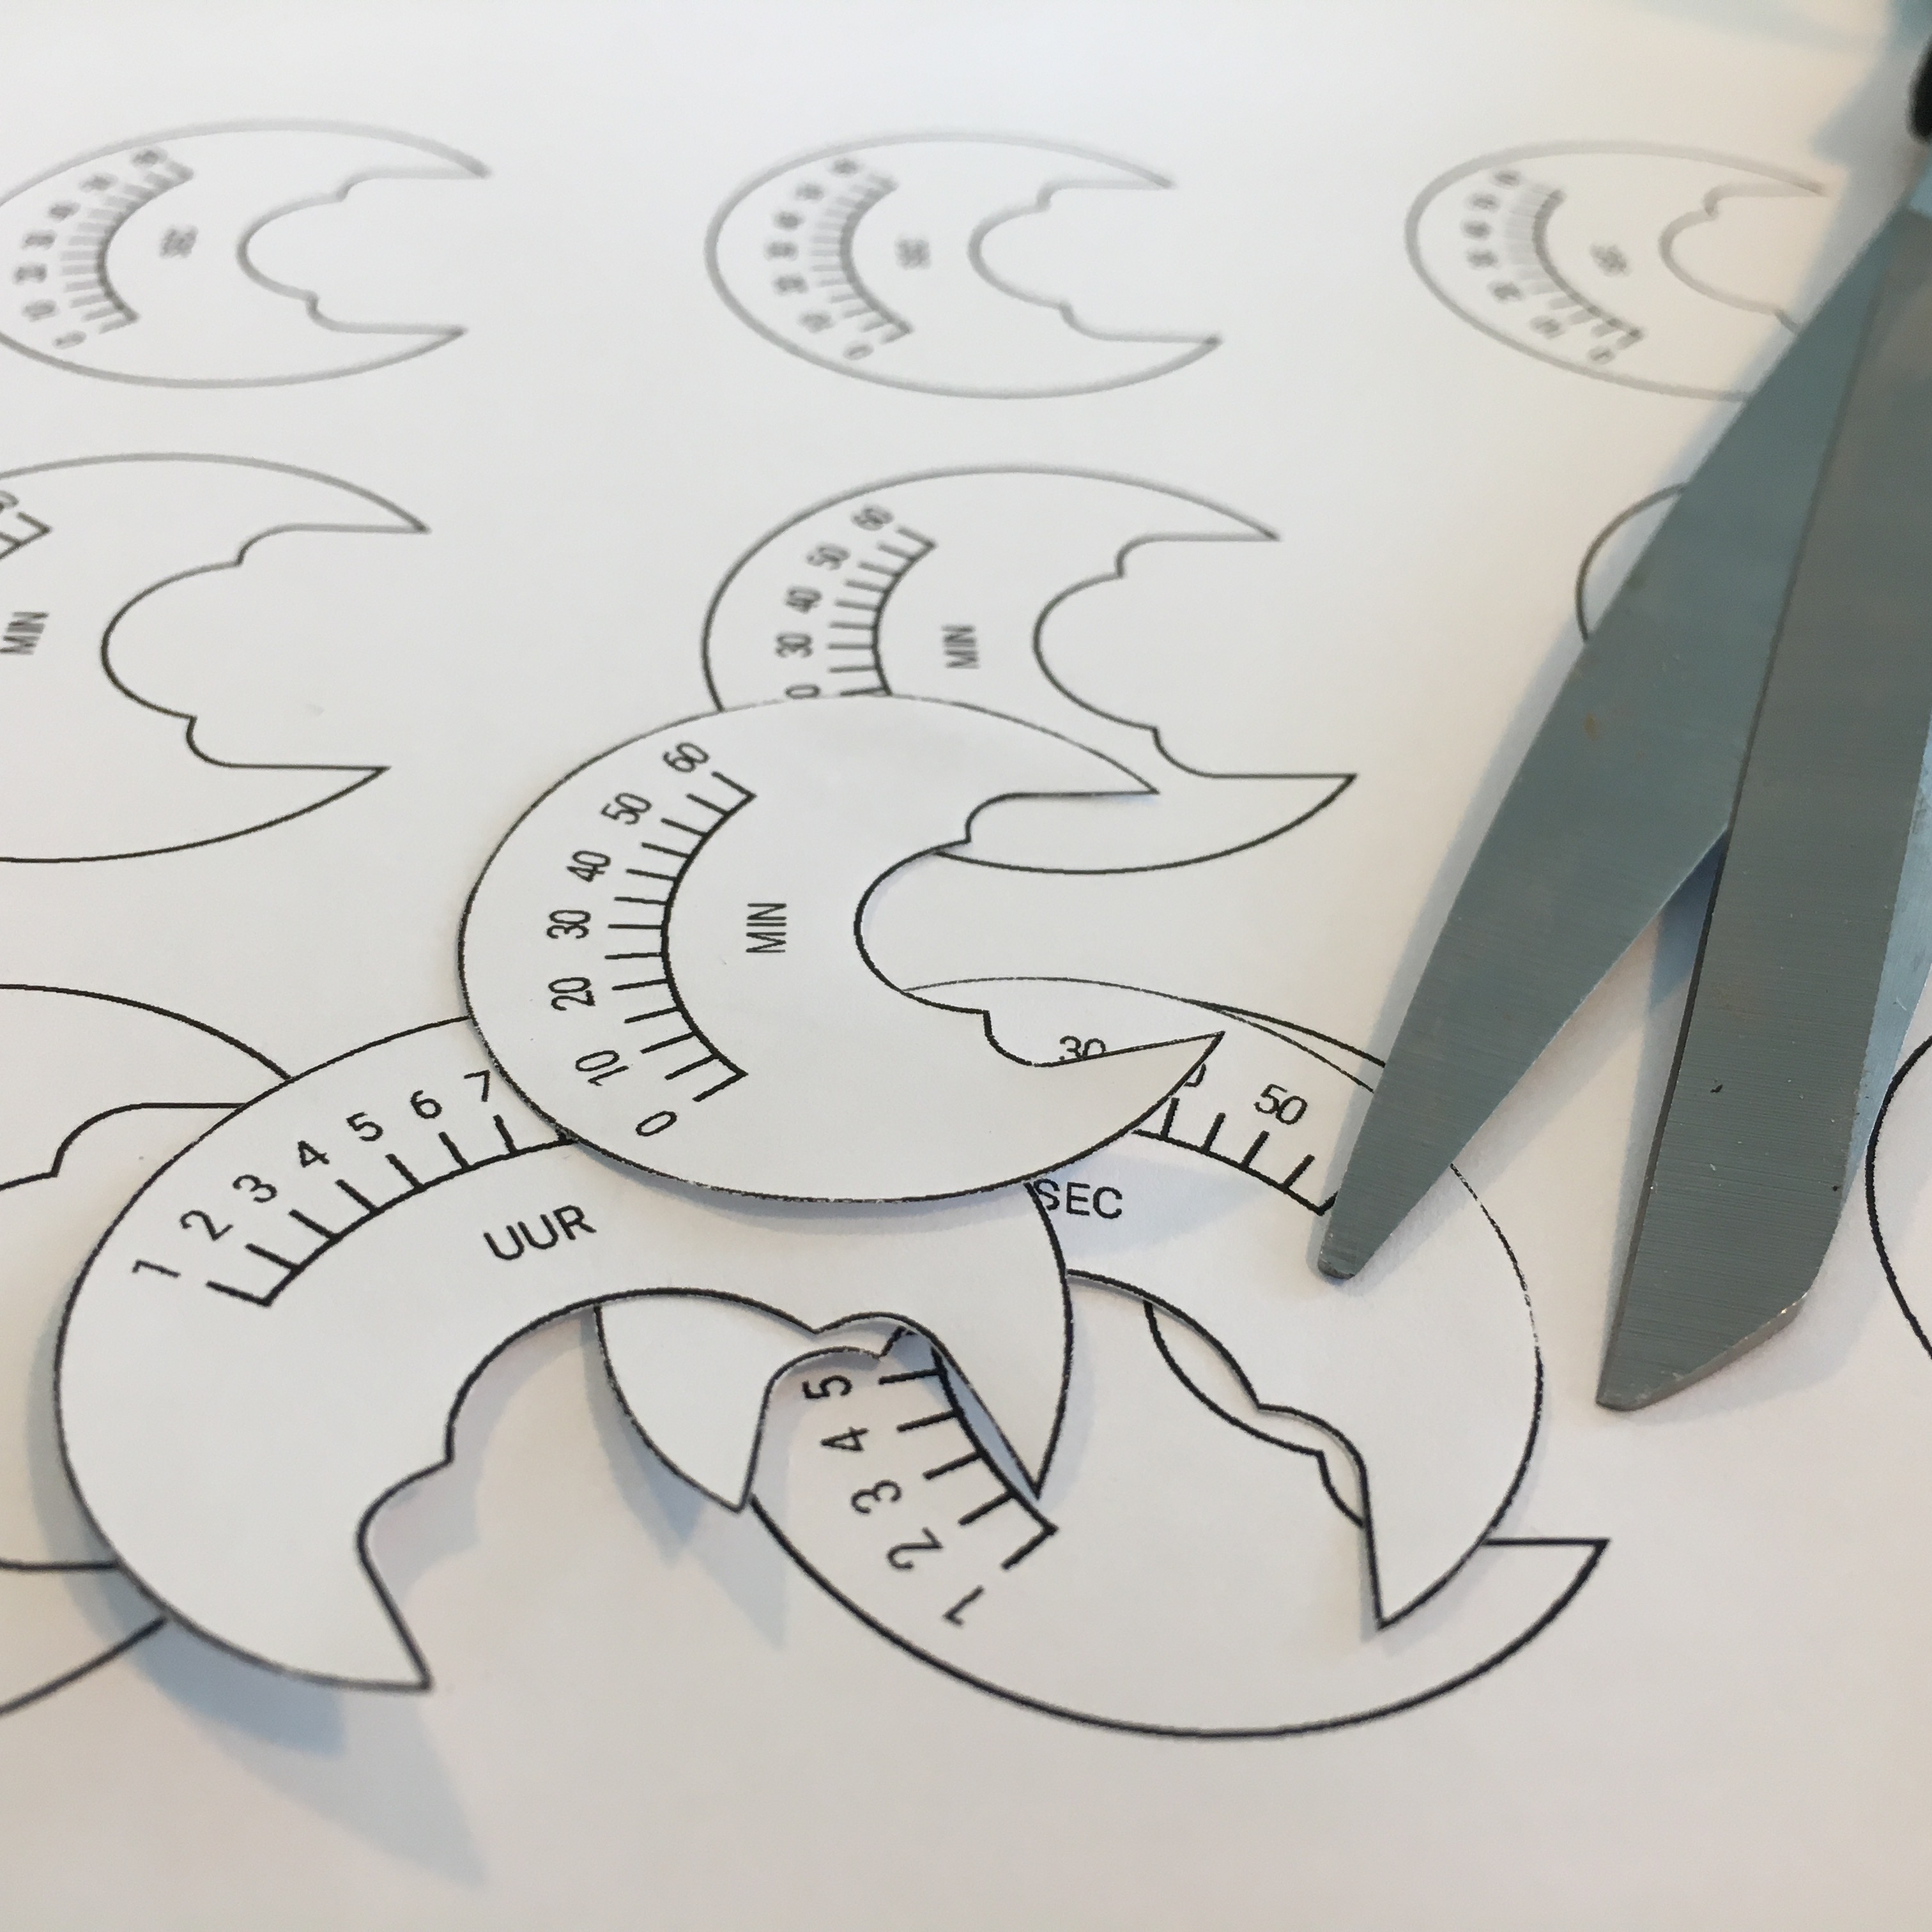
After some copy & paste work, and a few minor adjustments, I had three different plates: hours, minutes and seconds. By printing the plates on adhesive paper, I only needed some scissors to finish up this part of the project.

The result was what I hoped for, but I did come to the conclusion that it lacked THE essential element for any project: it needed some LEDs!
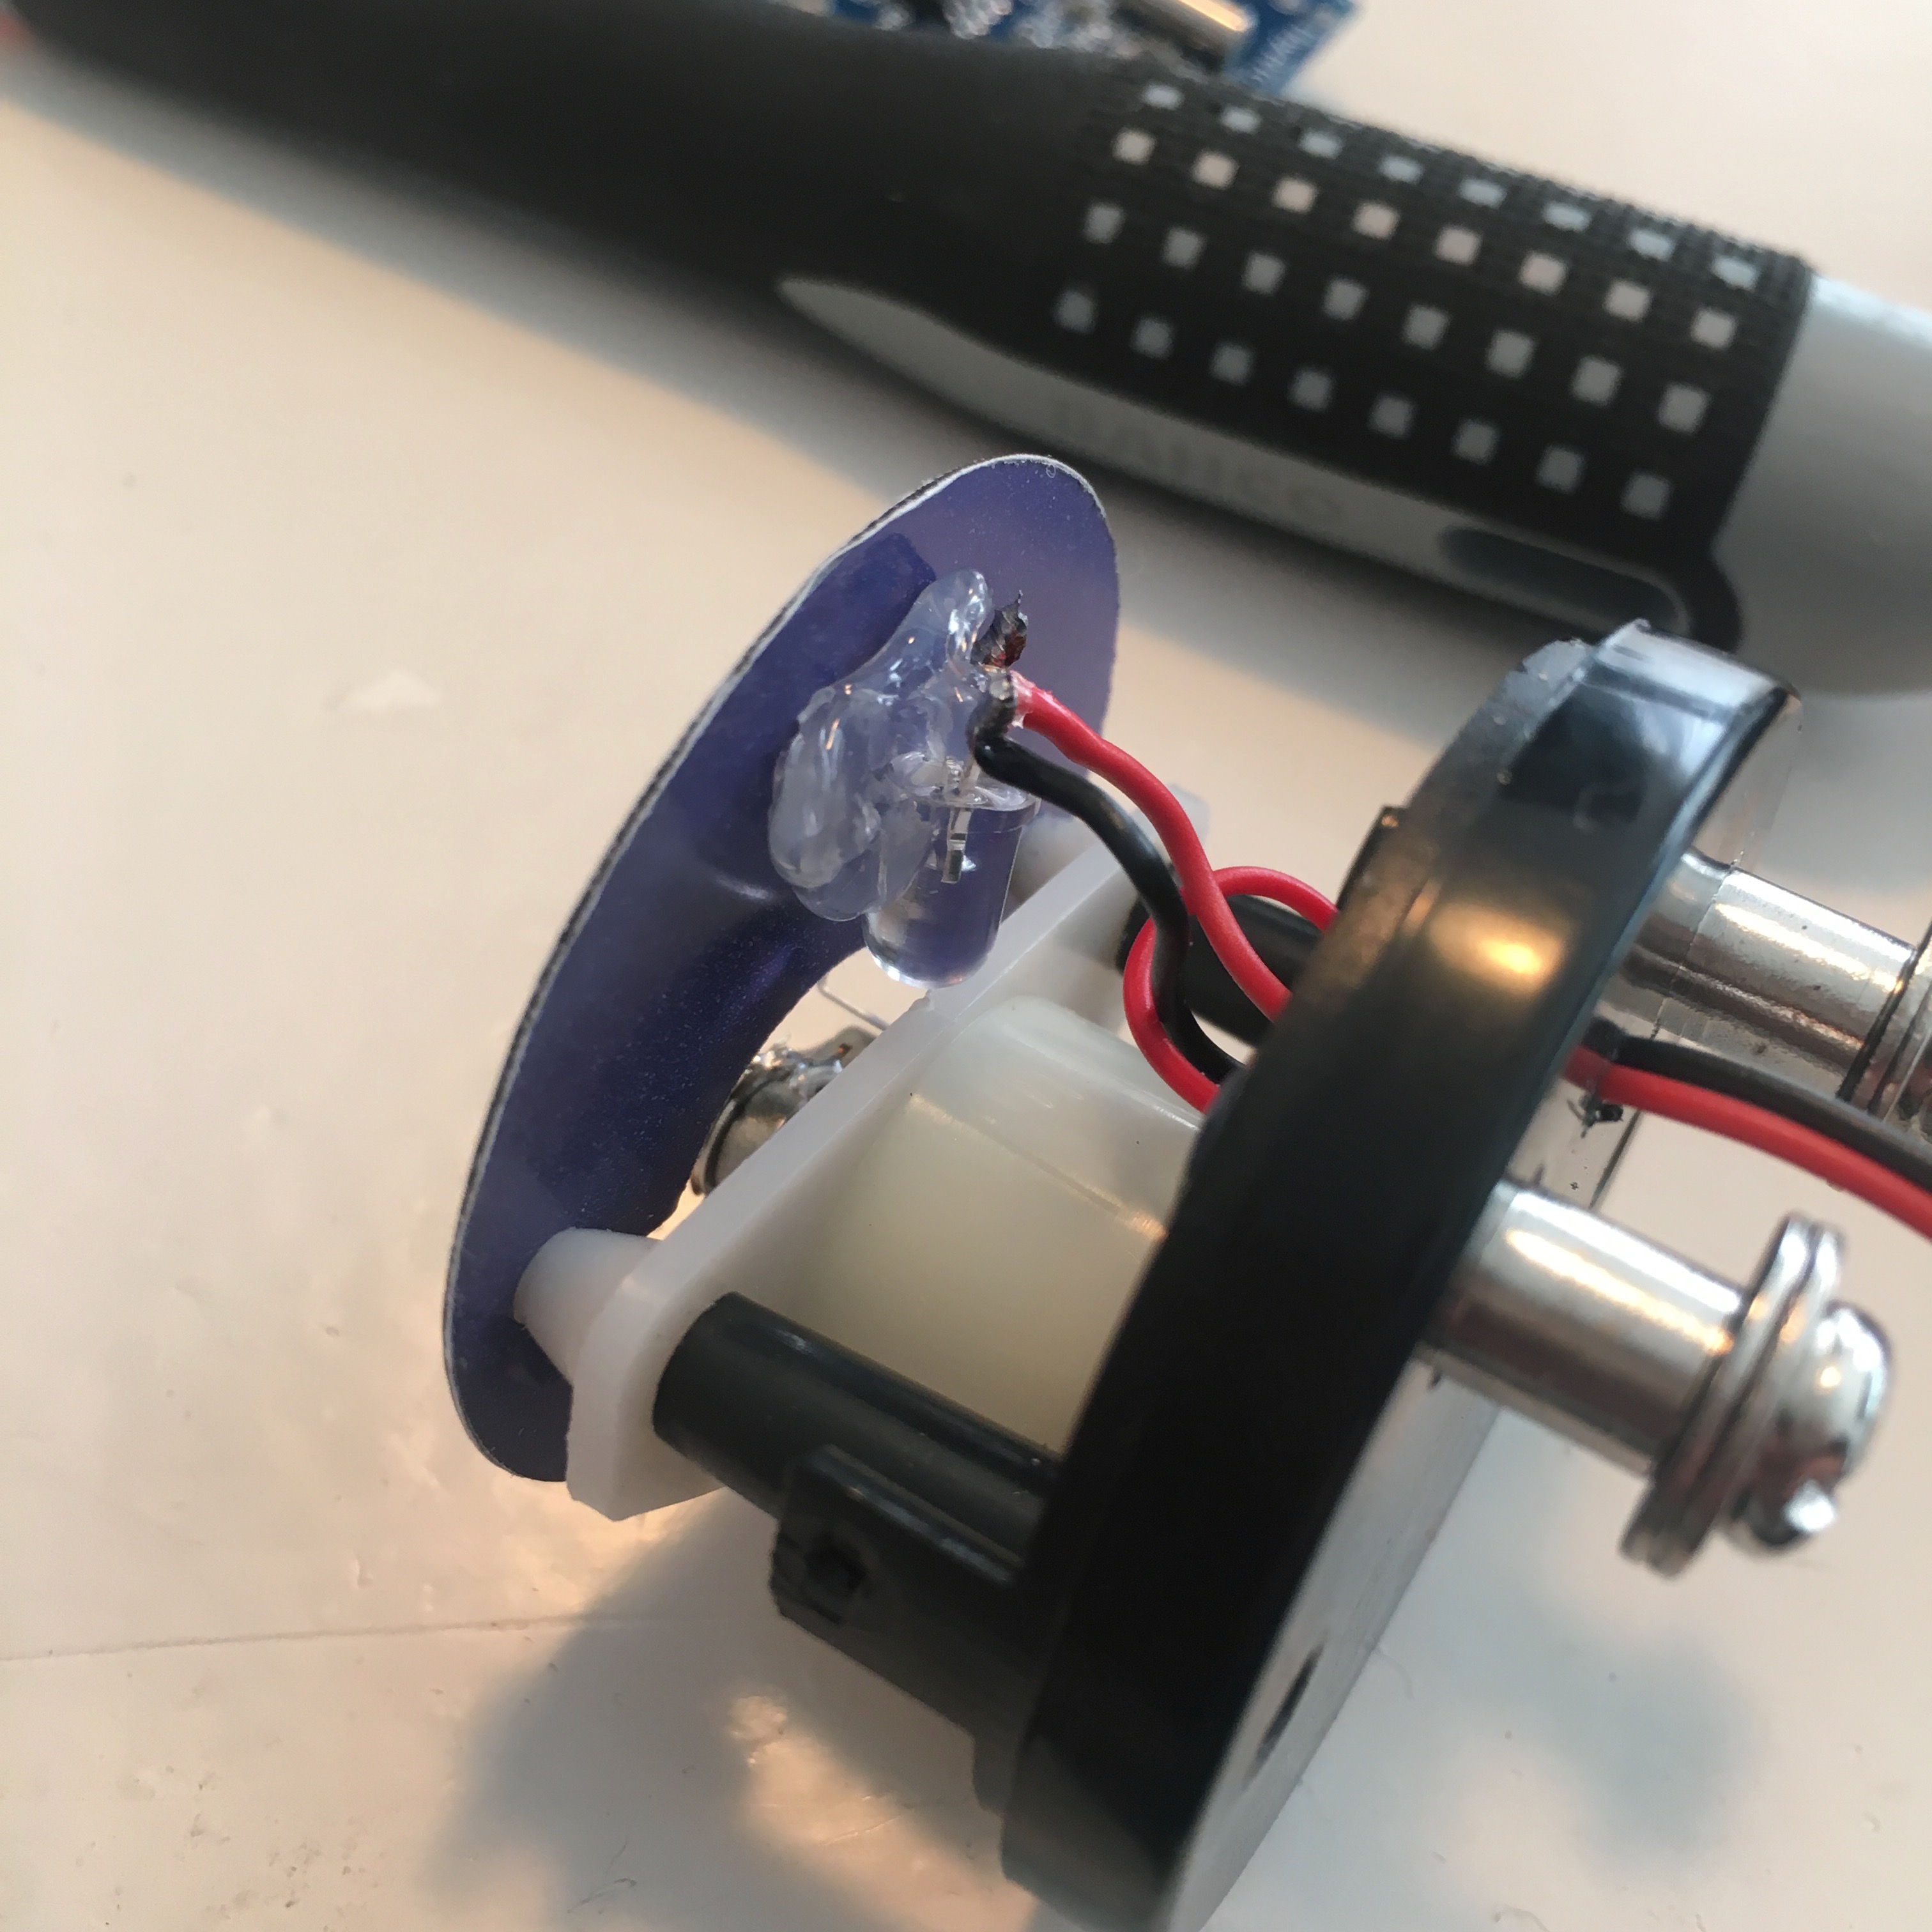
So after reopening the meters, and heating up my hot glue gun, the meters were provided with some bright white LEDs.
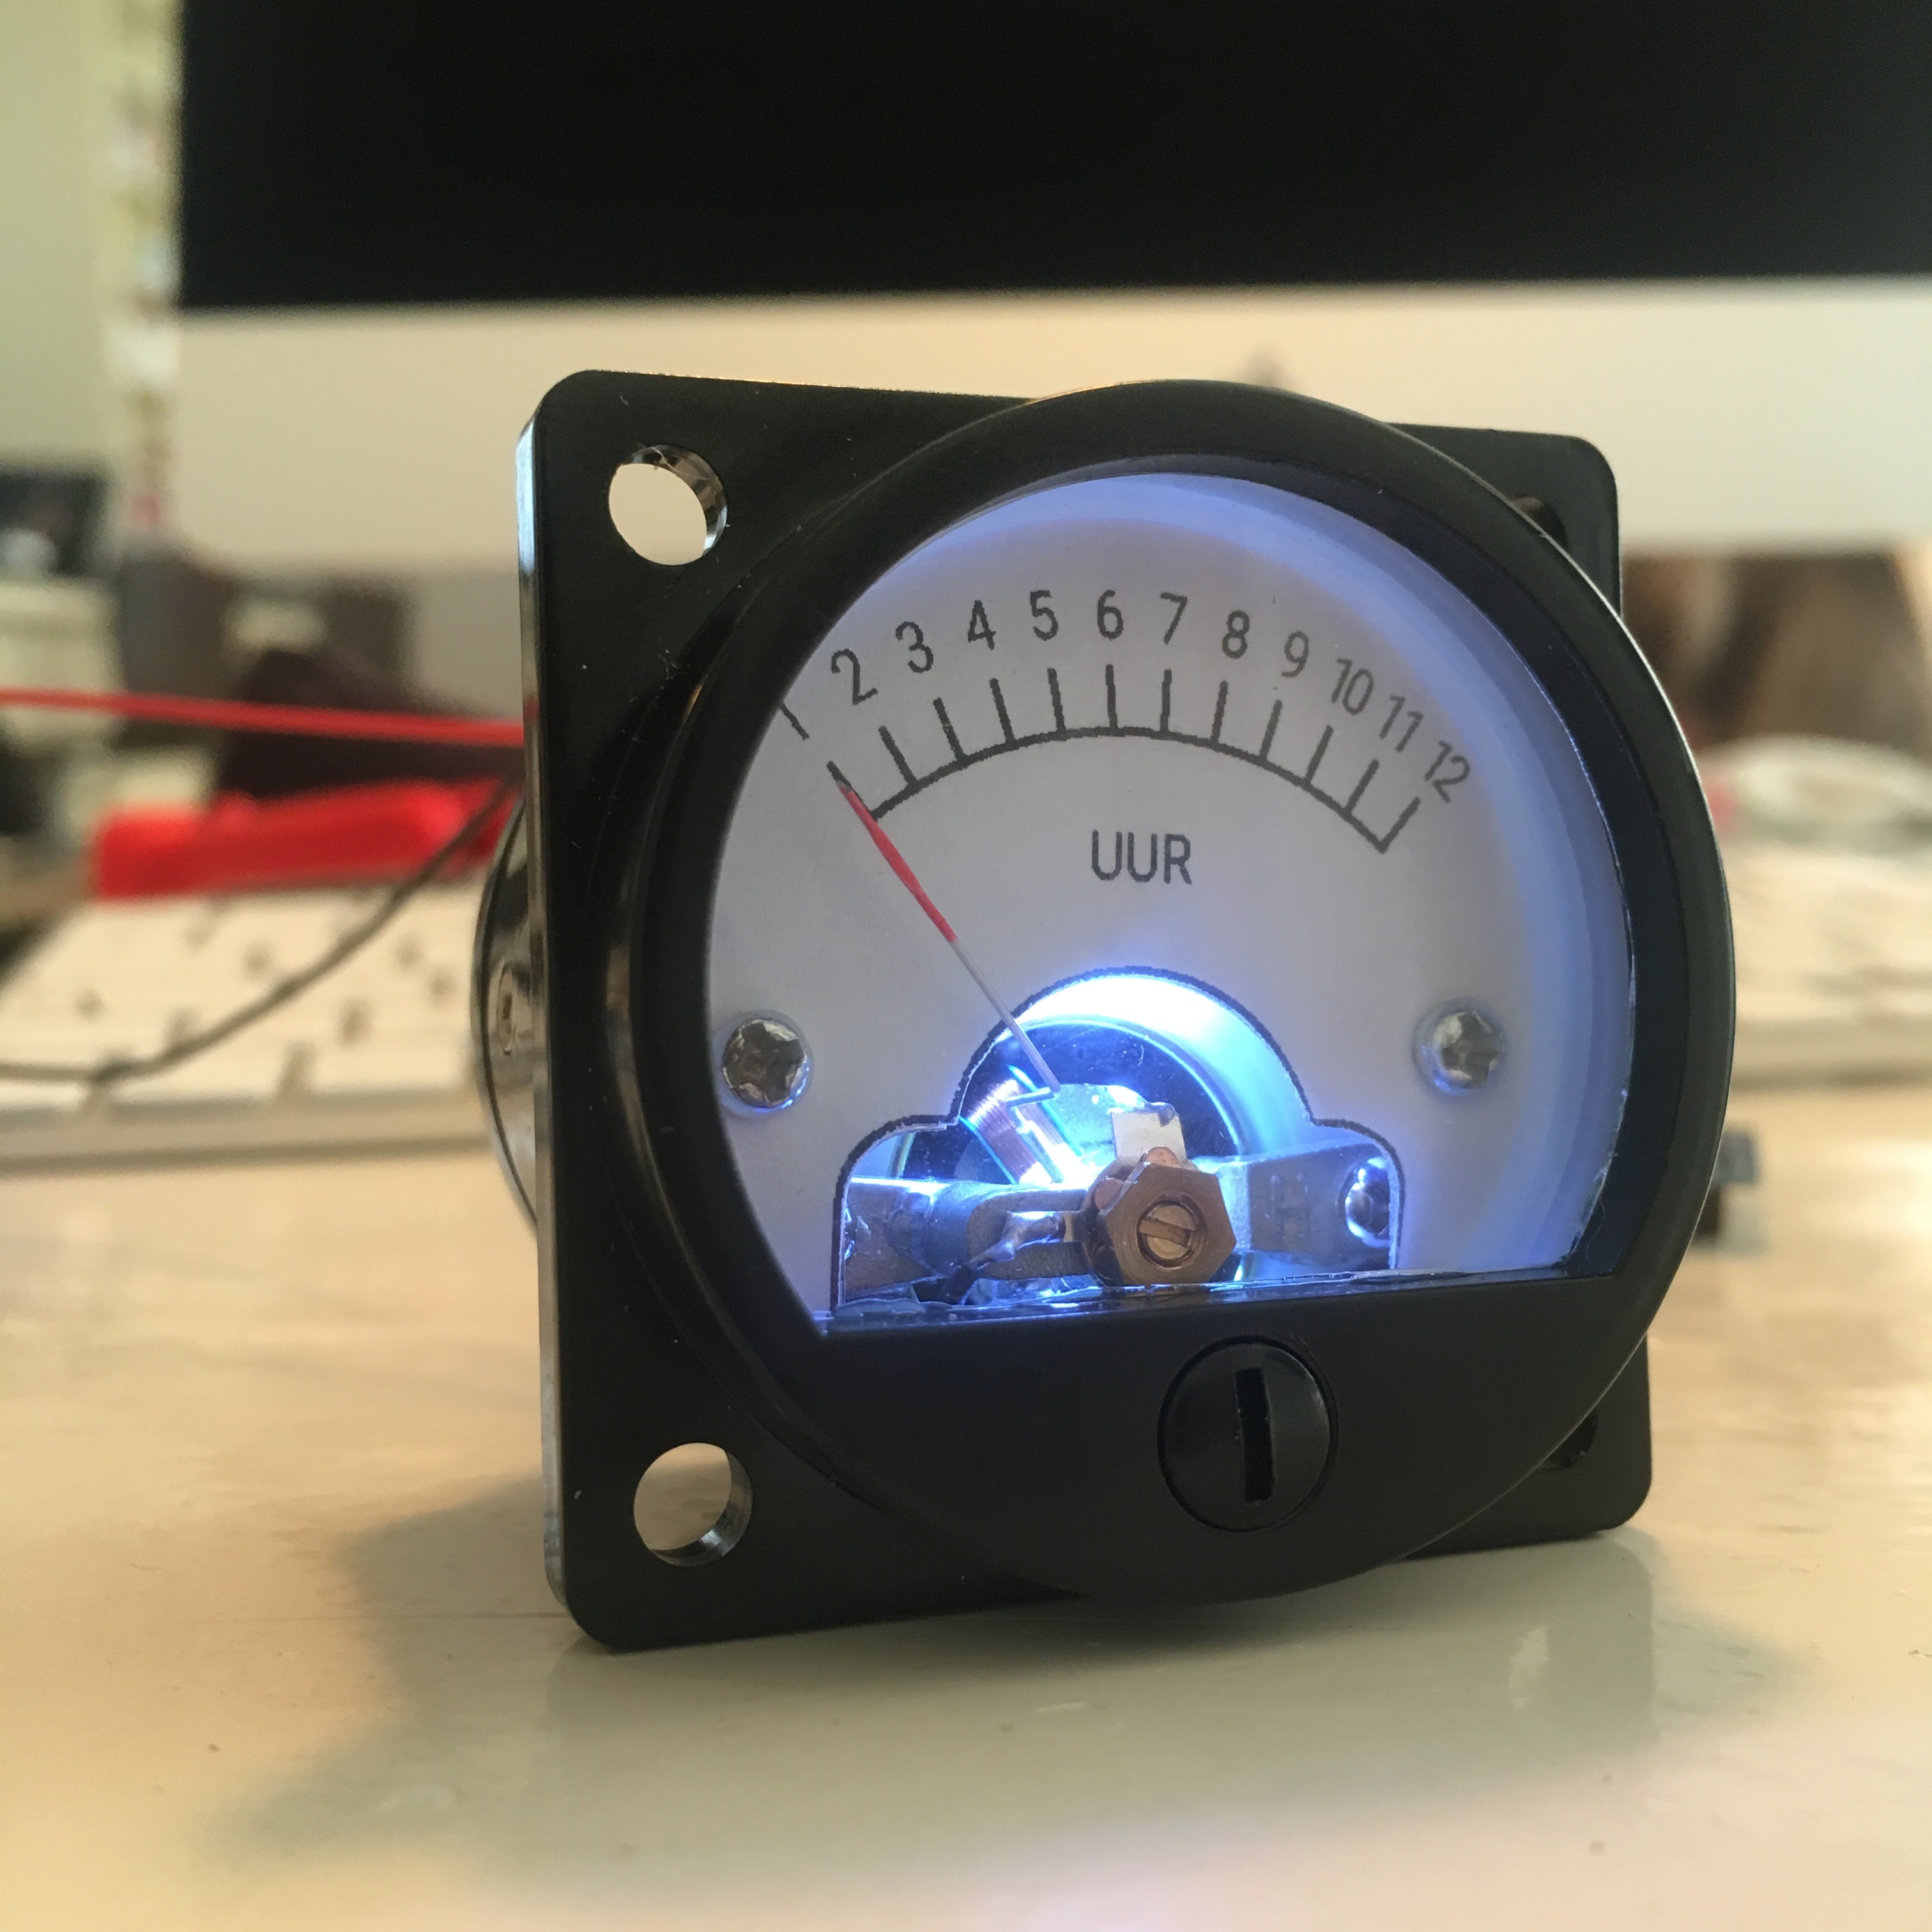
That’s starting to look great! Time to design a case!
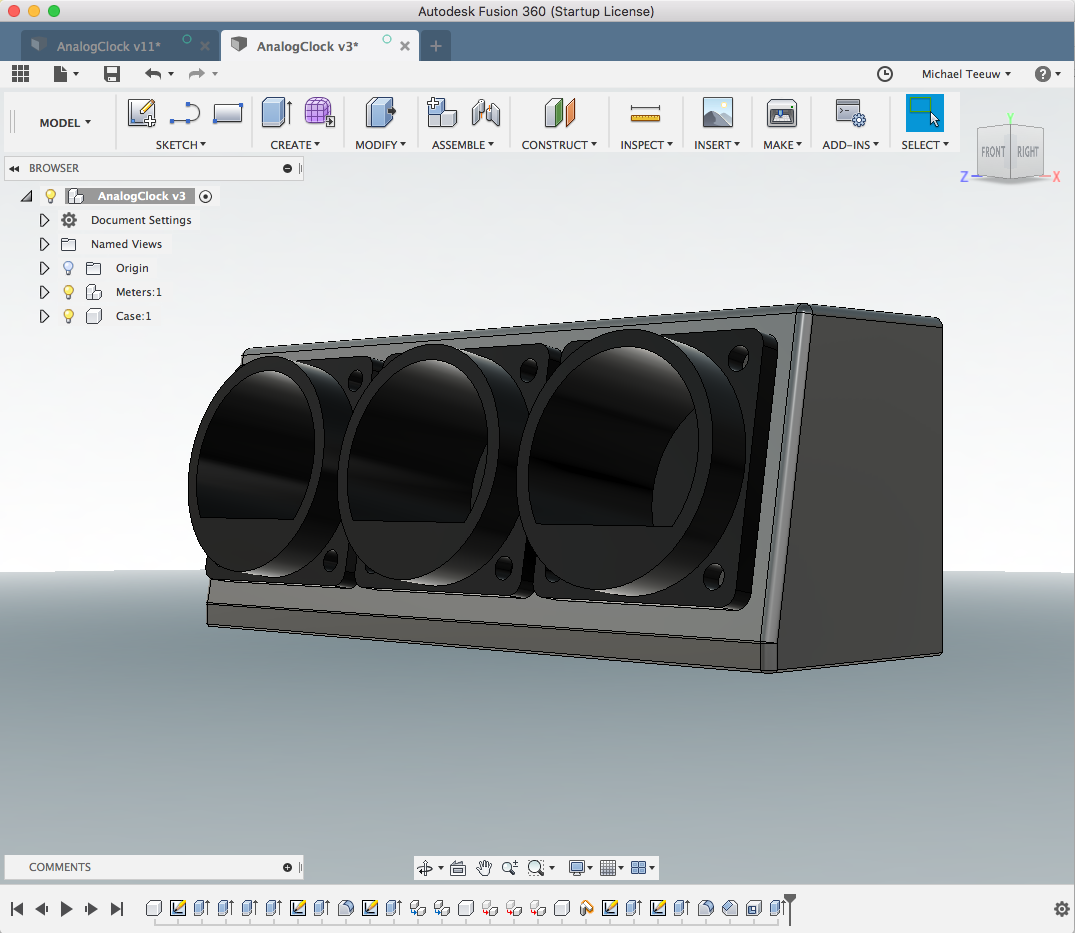
My initial idea was to design one simple case that holds 3 meters next to each other. Unfortunately, the minimum size of the case would have been at leas 16cm width. Which exceeds the maximum print size of my Lulzbot Mini …
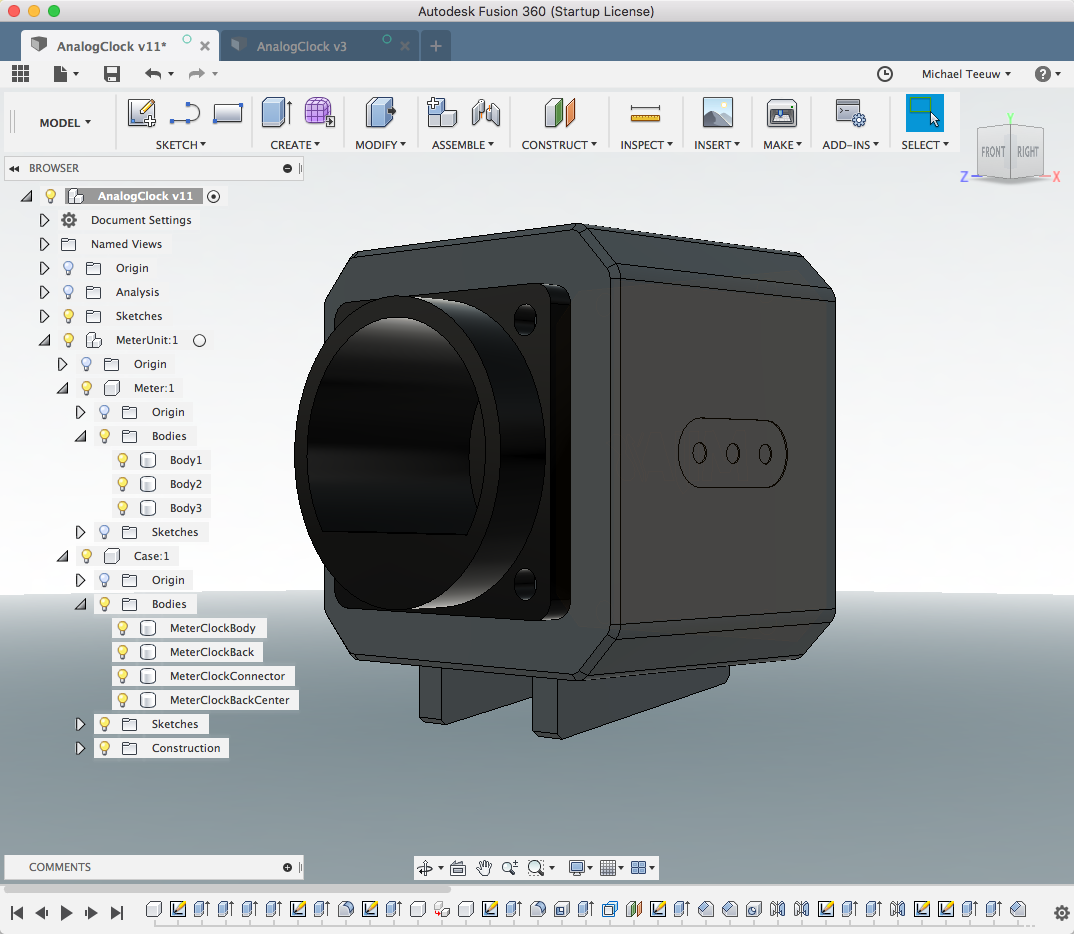
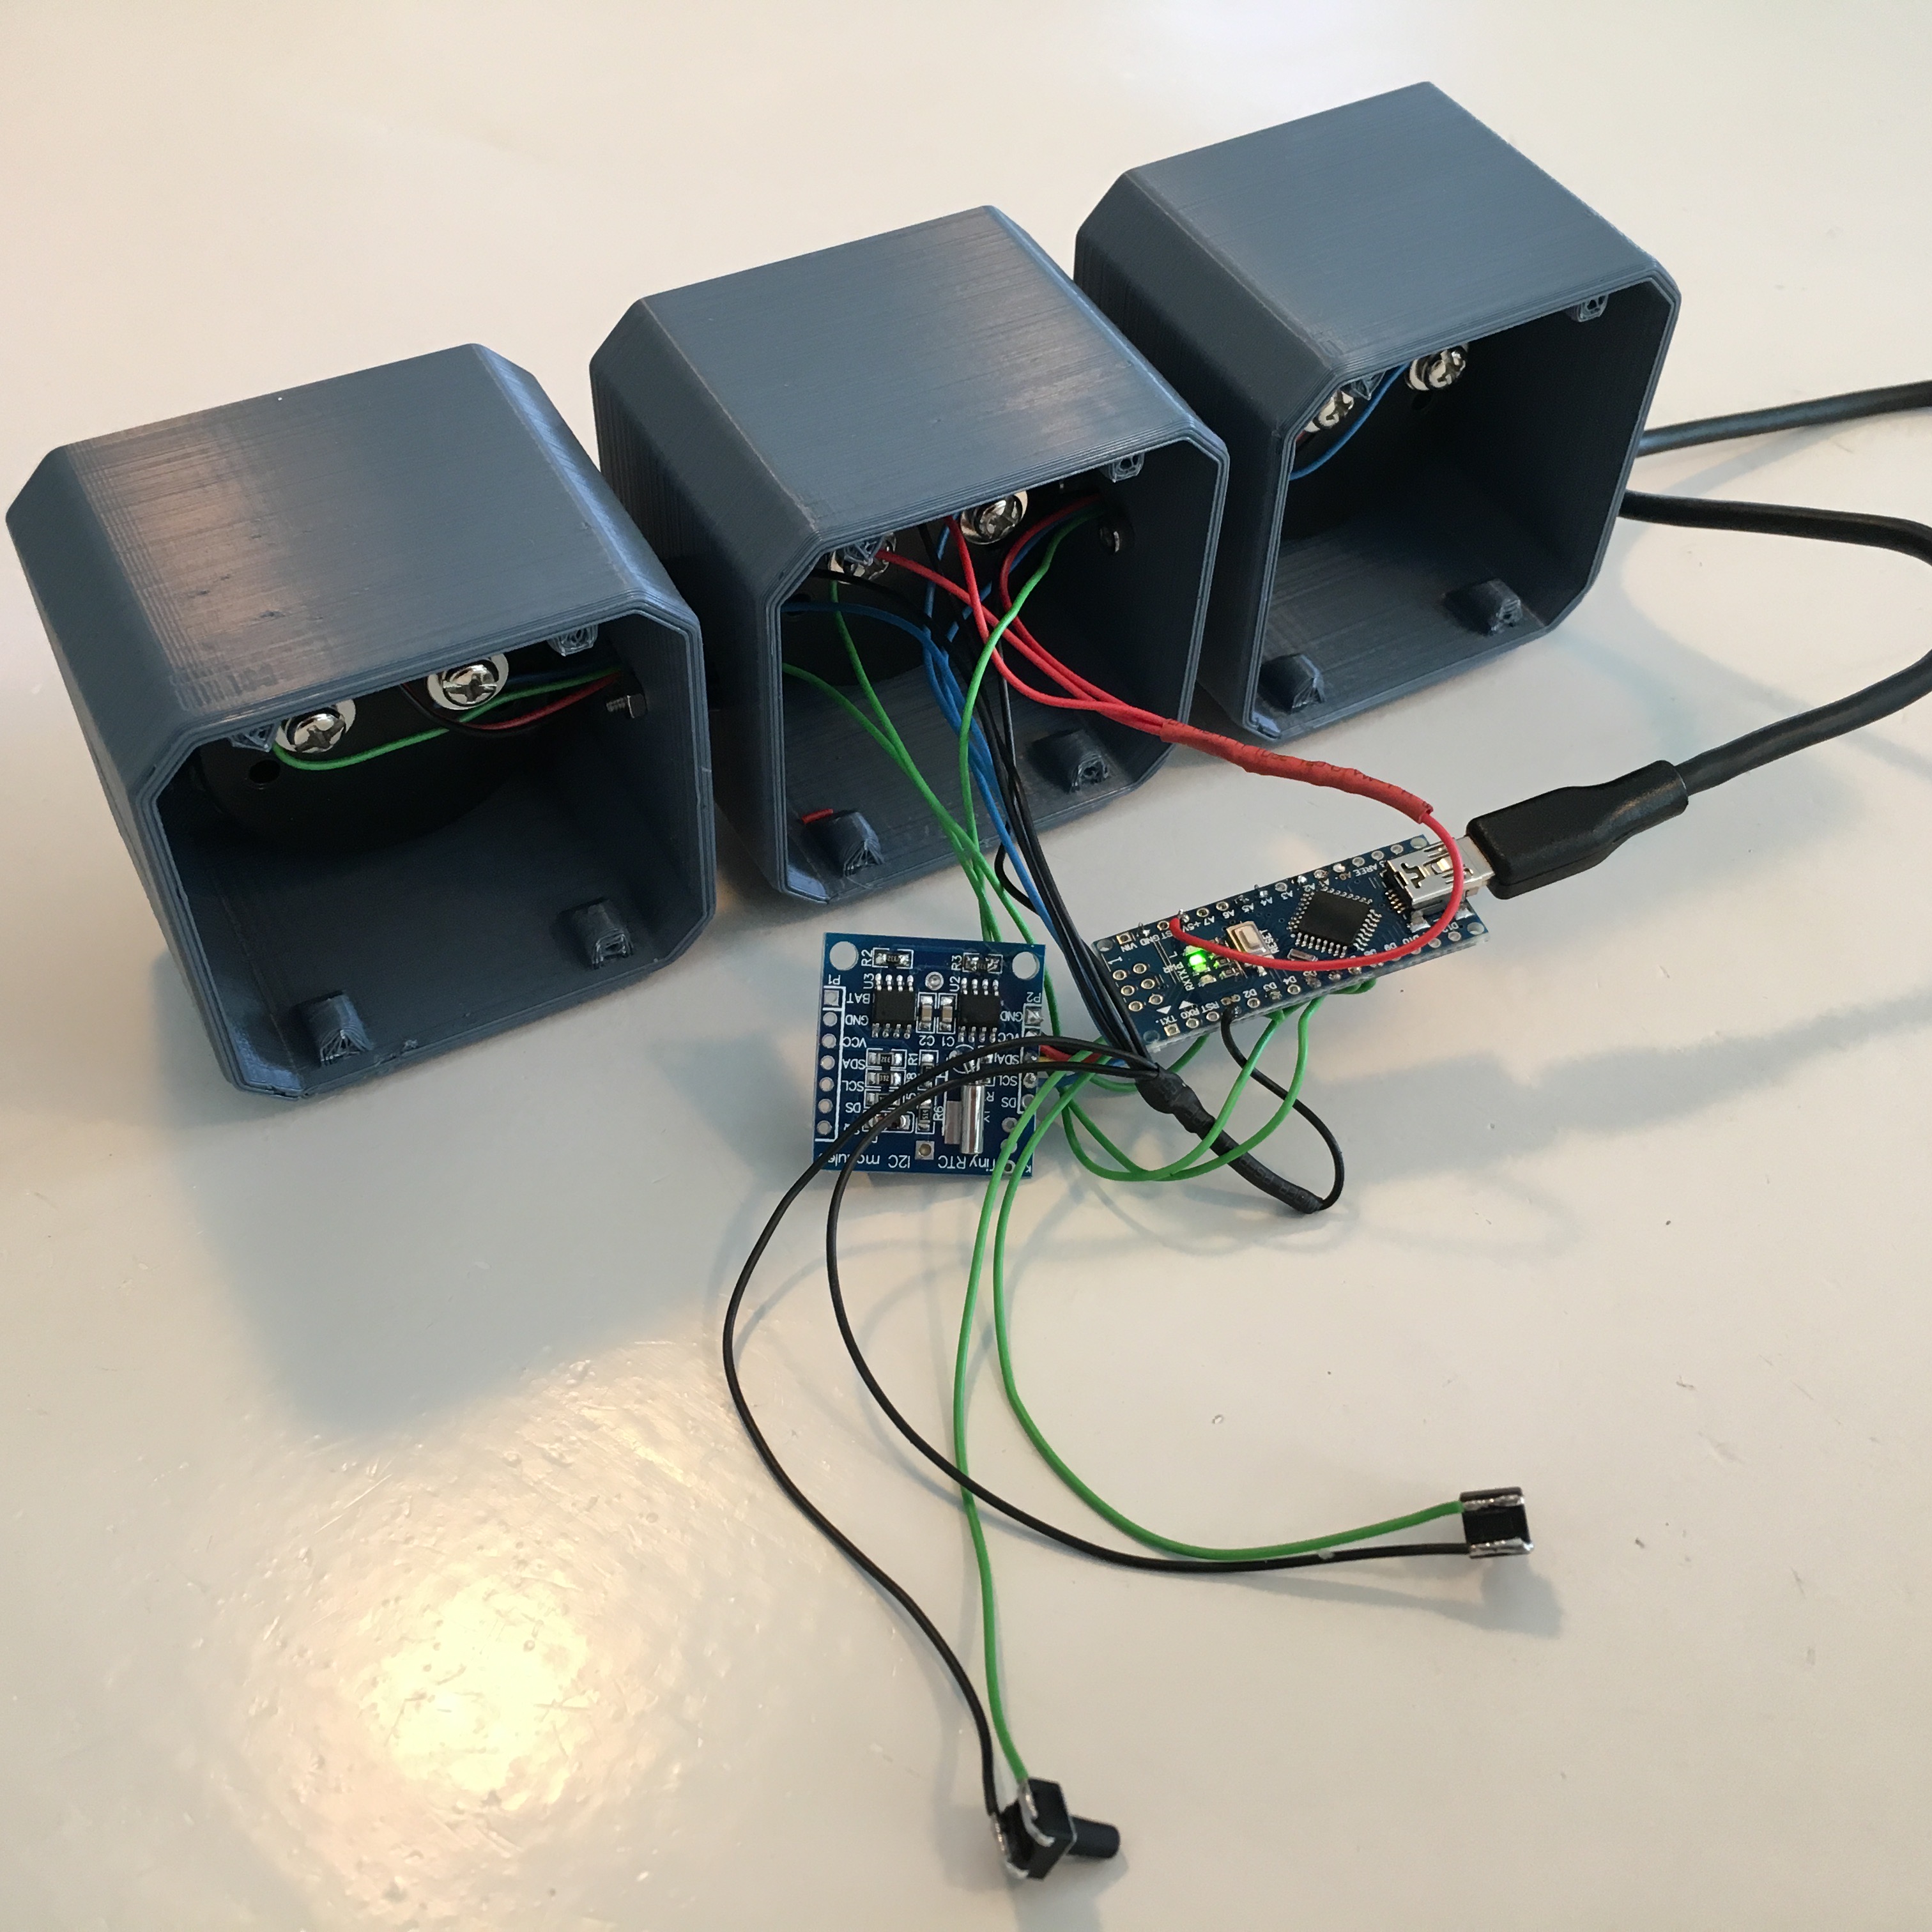
Time for a different approach: 3 separate meter holders that will be attached to each other with a 3D-printed spacer and 2 bolts.
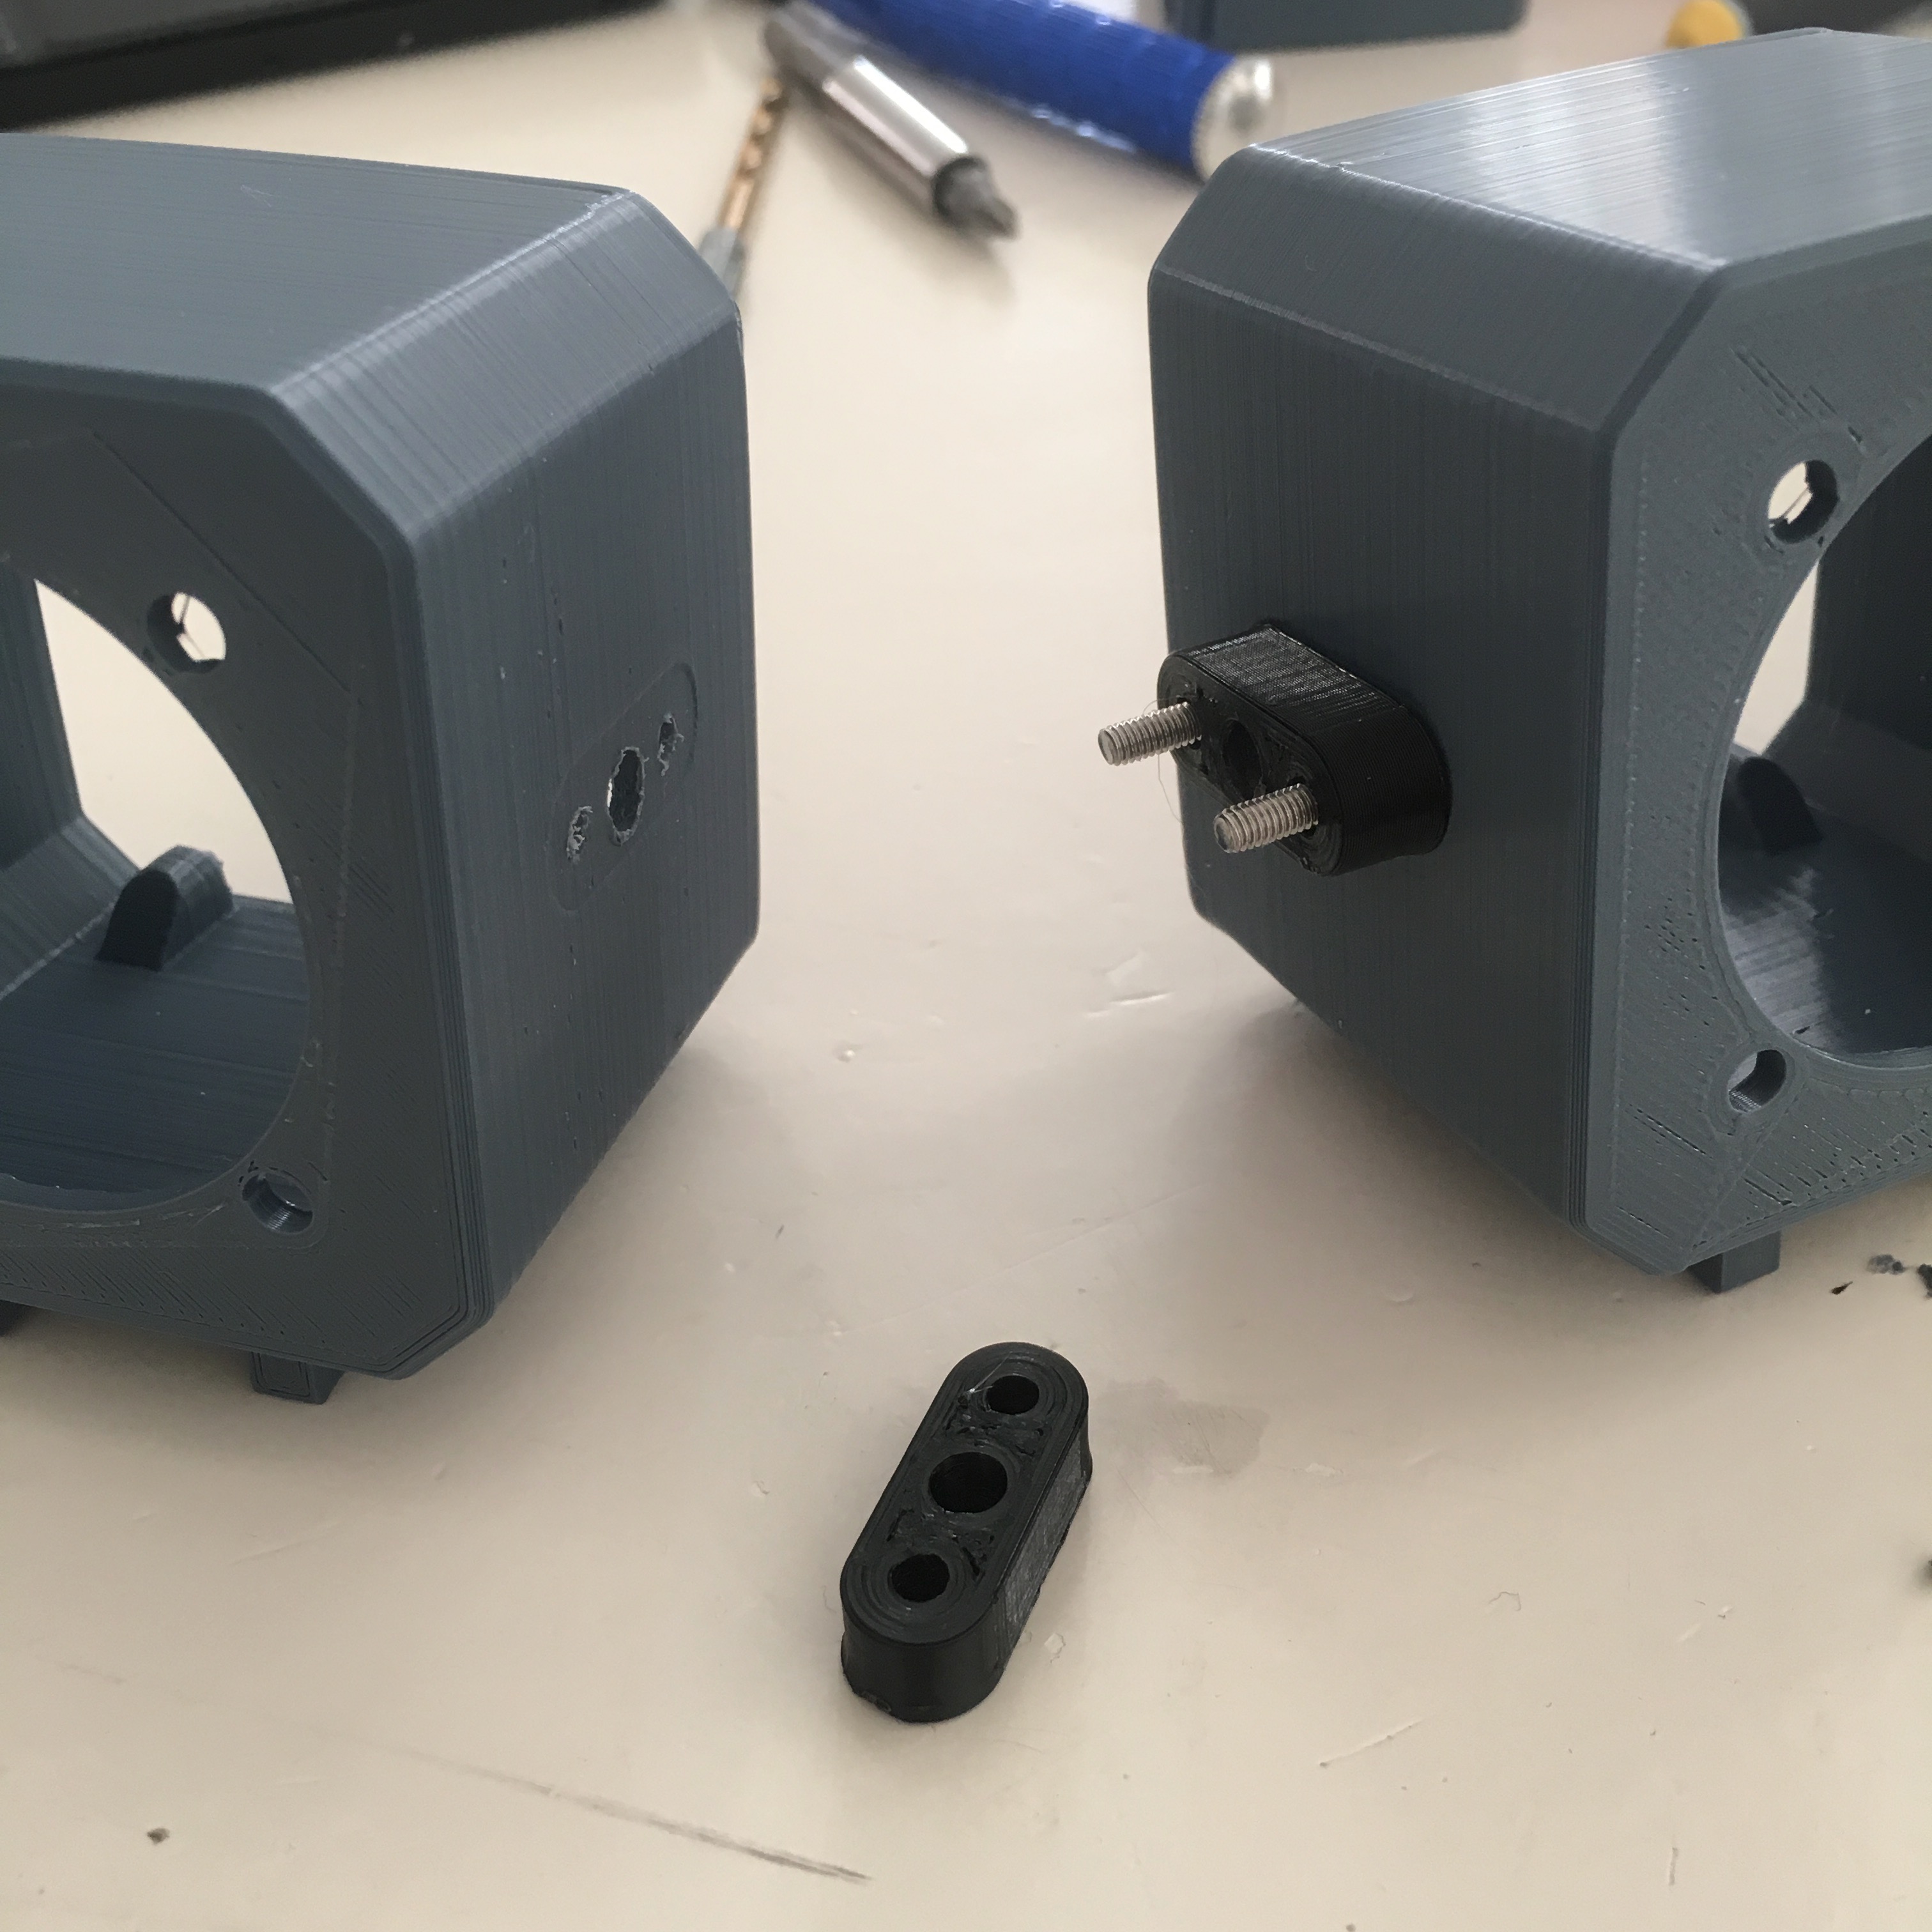
In the middle of the spacer I have an extra hole for the wires. All the wires go to the middle unit in which they will be connected to an Arduino Nano.
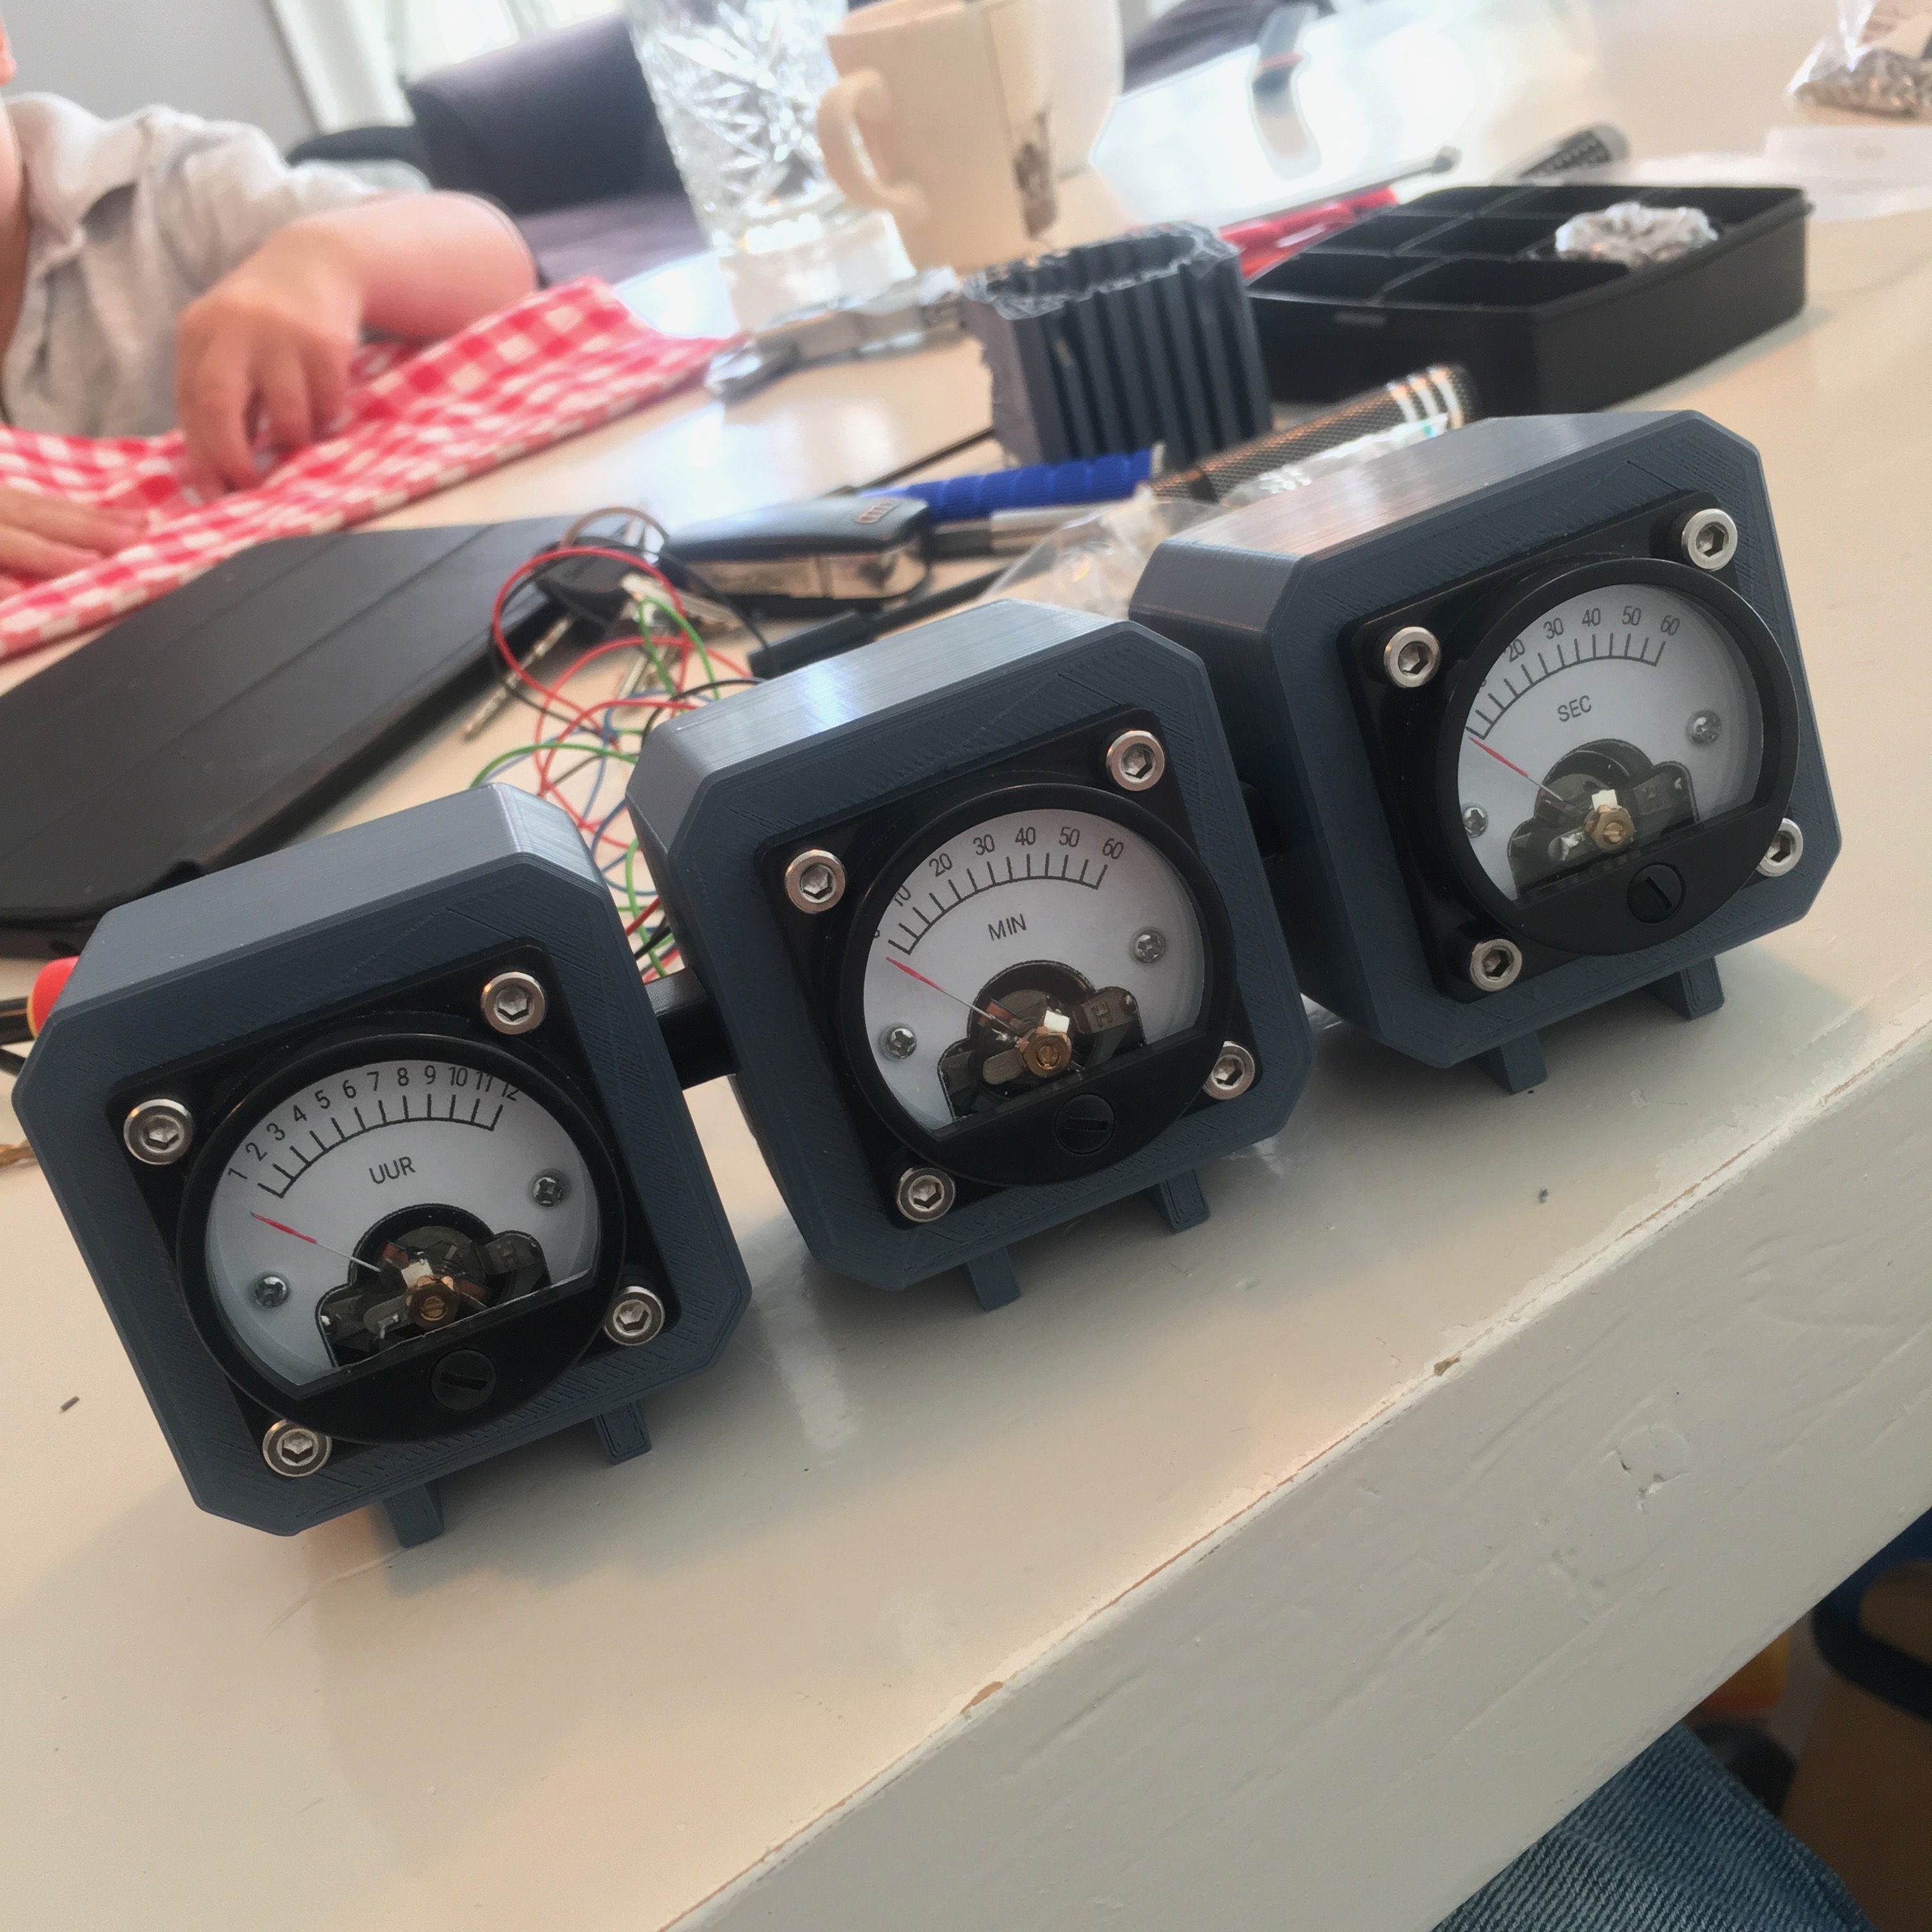
The meters are mounted using some 4MM hex bolts under supervision of my oldest son. He’d better take notes. I expect a similar Father’s Day present from him and his little brother.

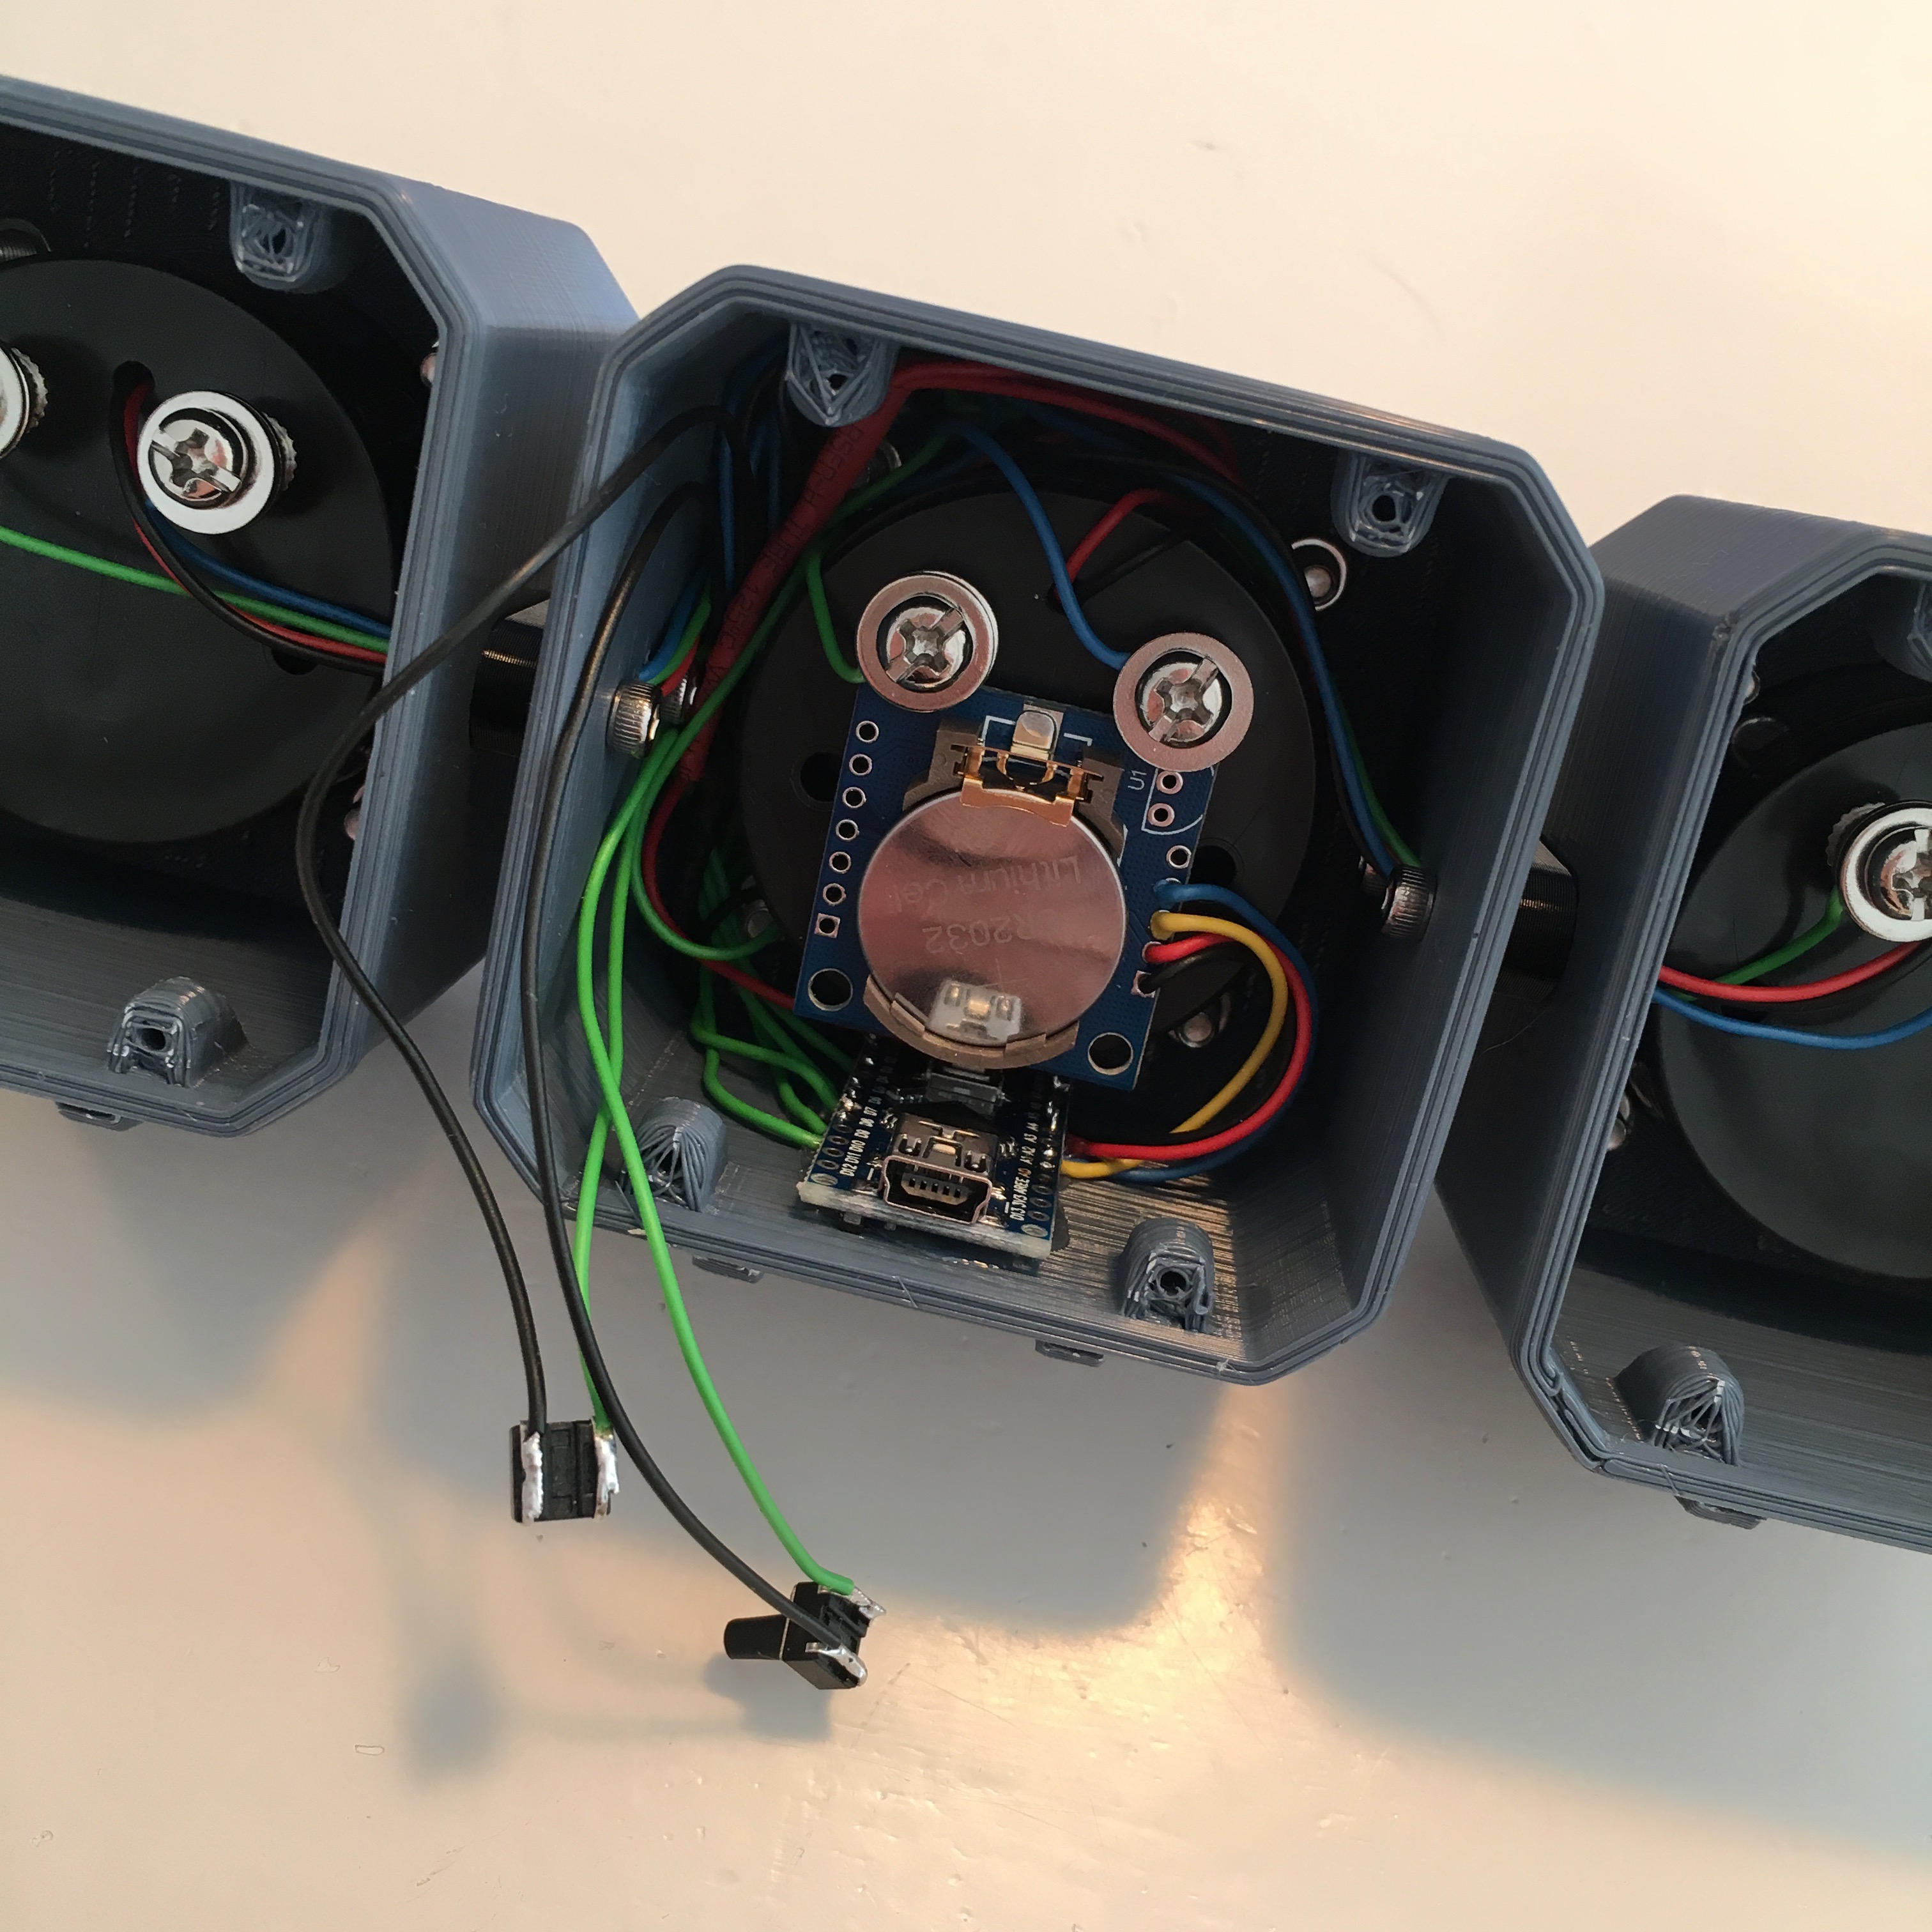
The next step is to create the electronics. Since an Arduino is not particularly great in keeping track of time, I used a TinyRTC as a real time clock. The added benefit is that this TinyRTC includes a battery so even when the Arduino is powered off, the time will continue running.
I must say I had a lot of issues getting this setup up and running. Caused by two factors: 1. The first TinyRTC I tried was dead (so when you order these units, make sure to order a few extra). 2. The supplied library did not work. Luckily once again the awesome folks of Adafruit made a great working Library.
In addition to the real time clock, I added two simple buttons to allow me to set the time.
After I had the real time clock up and running a tested using the serial connection, it was time to connect the meters. The moment of truth!
By converting the hours, minutes and seconds to PWM signals, the meters are able to display the time:
analogWrite(METER_MINUTE_PIN, map(now.minute(), 0, 60, METER_MINUTE_MINIMUM_VALUE, METER_MINUTE_MAXIMUM_MAXIMUM));
If you are interested in the full code, check out the GitHub repository.
After everything was working as intended, I once again used the hot glue gun to keep it all nice and tidy …
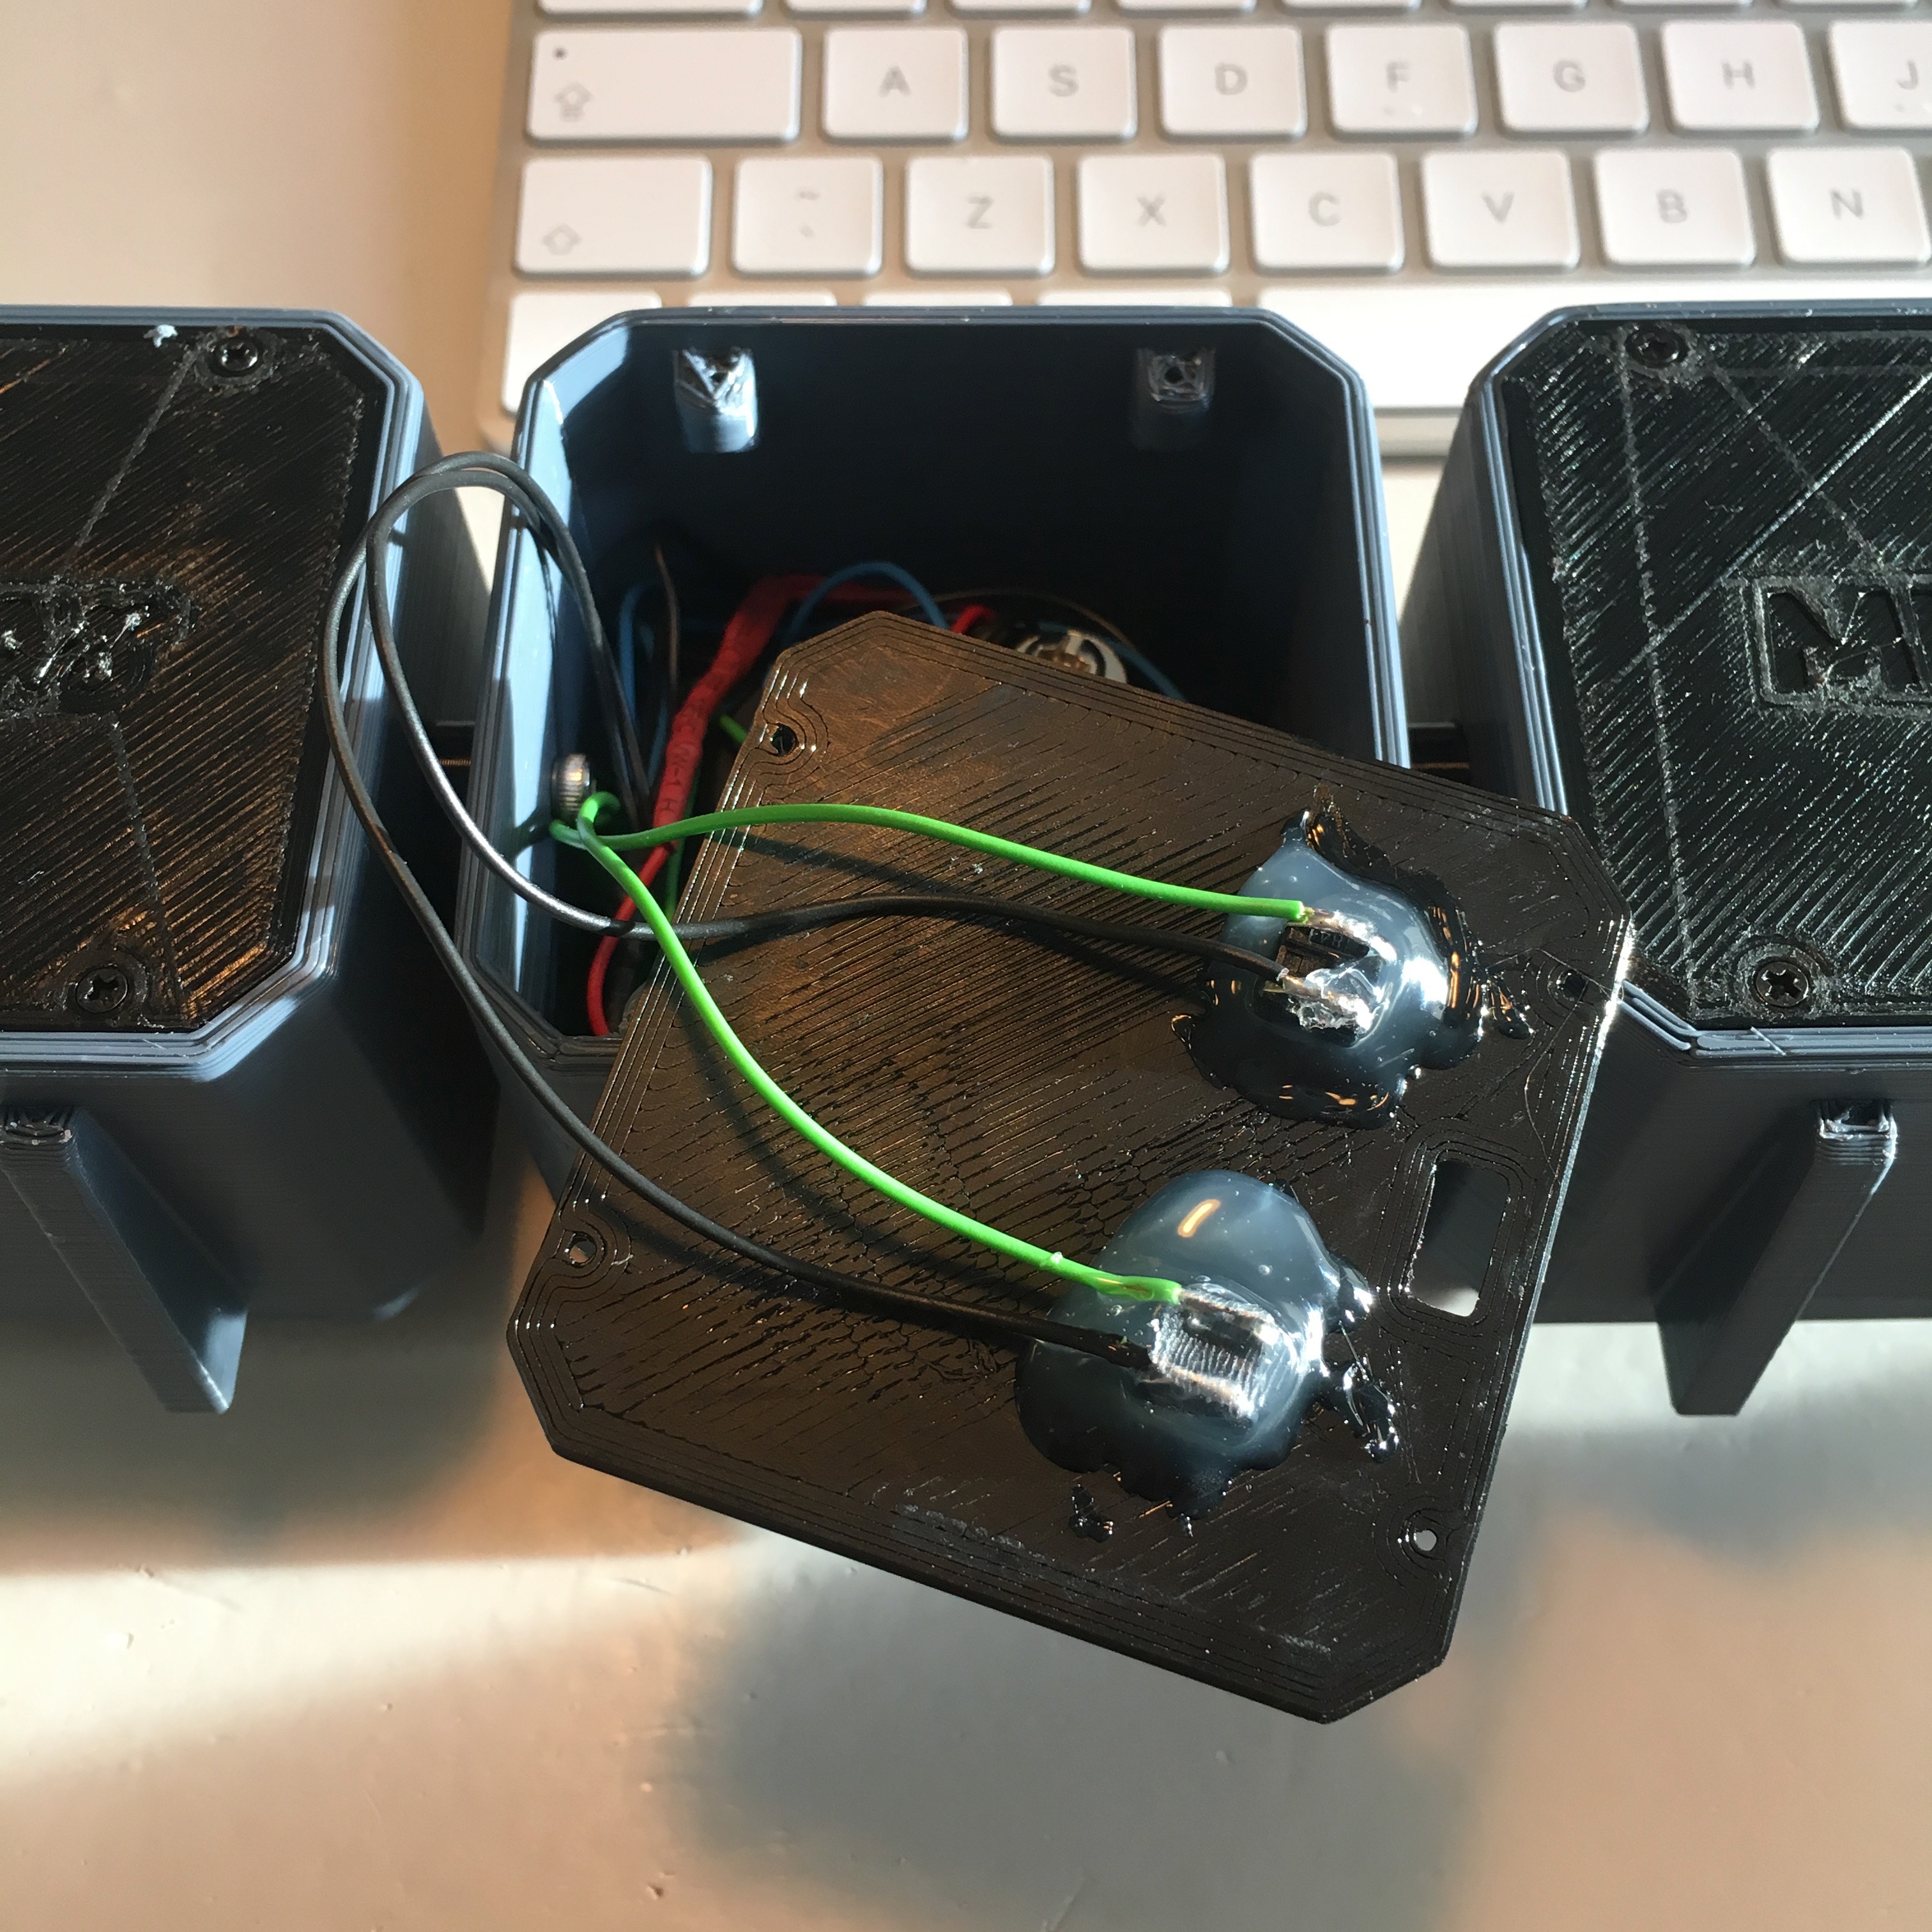
And while I was at it, I used a few dabs of glue to keep the buttons in place on the back plates.
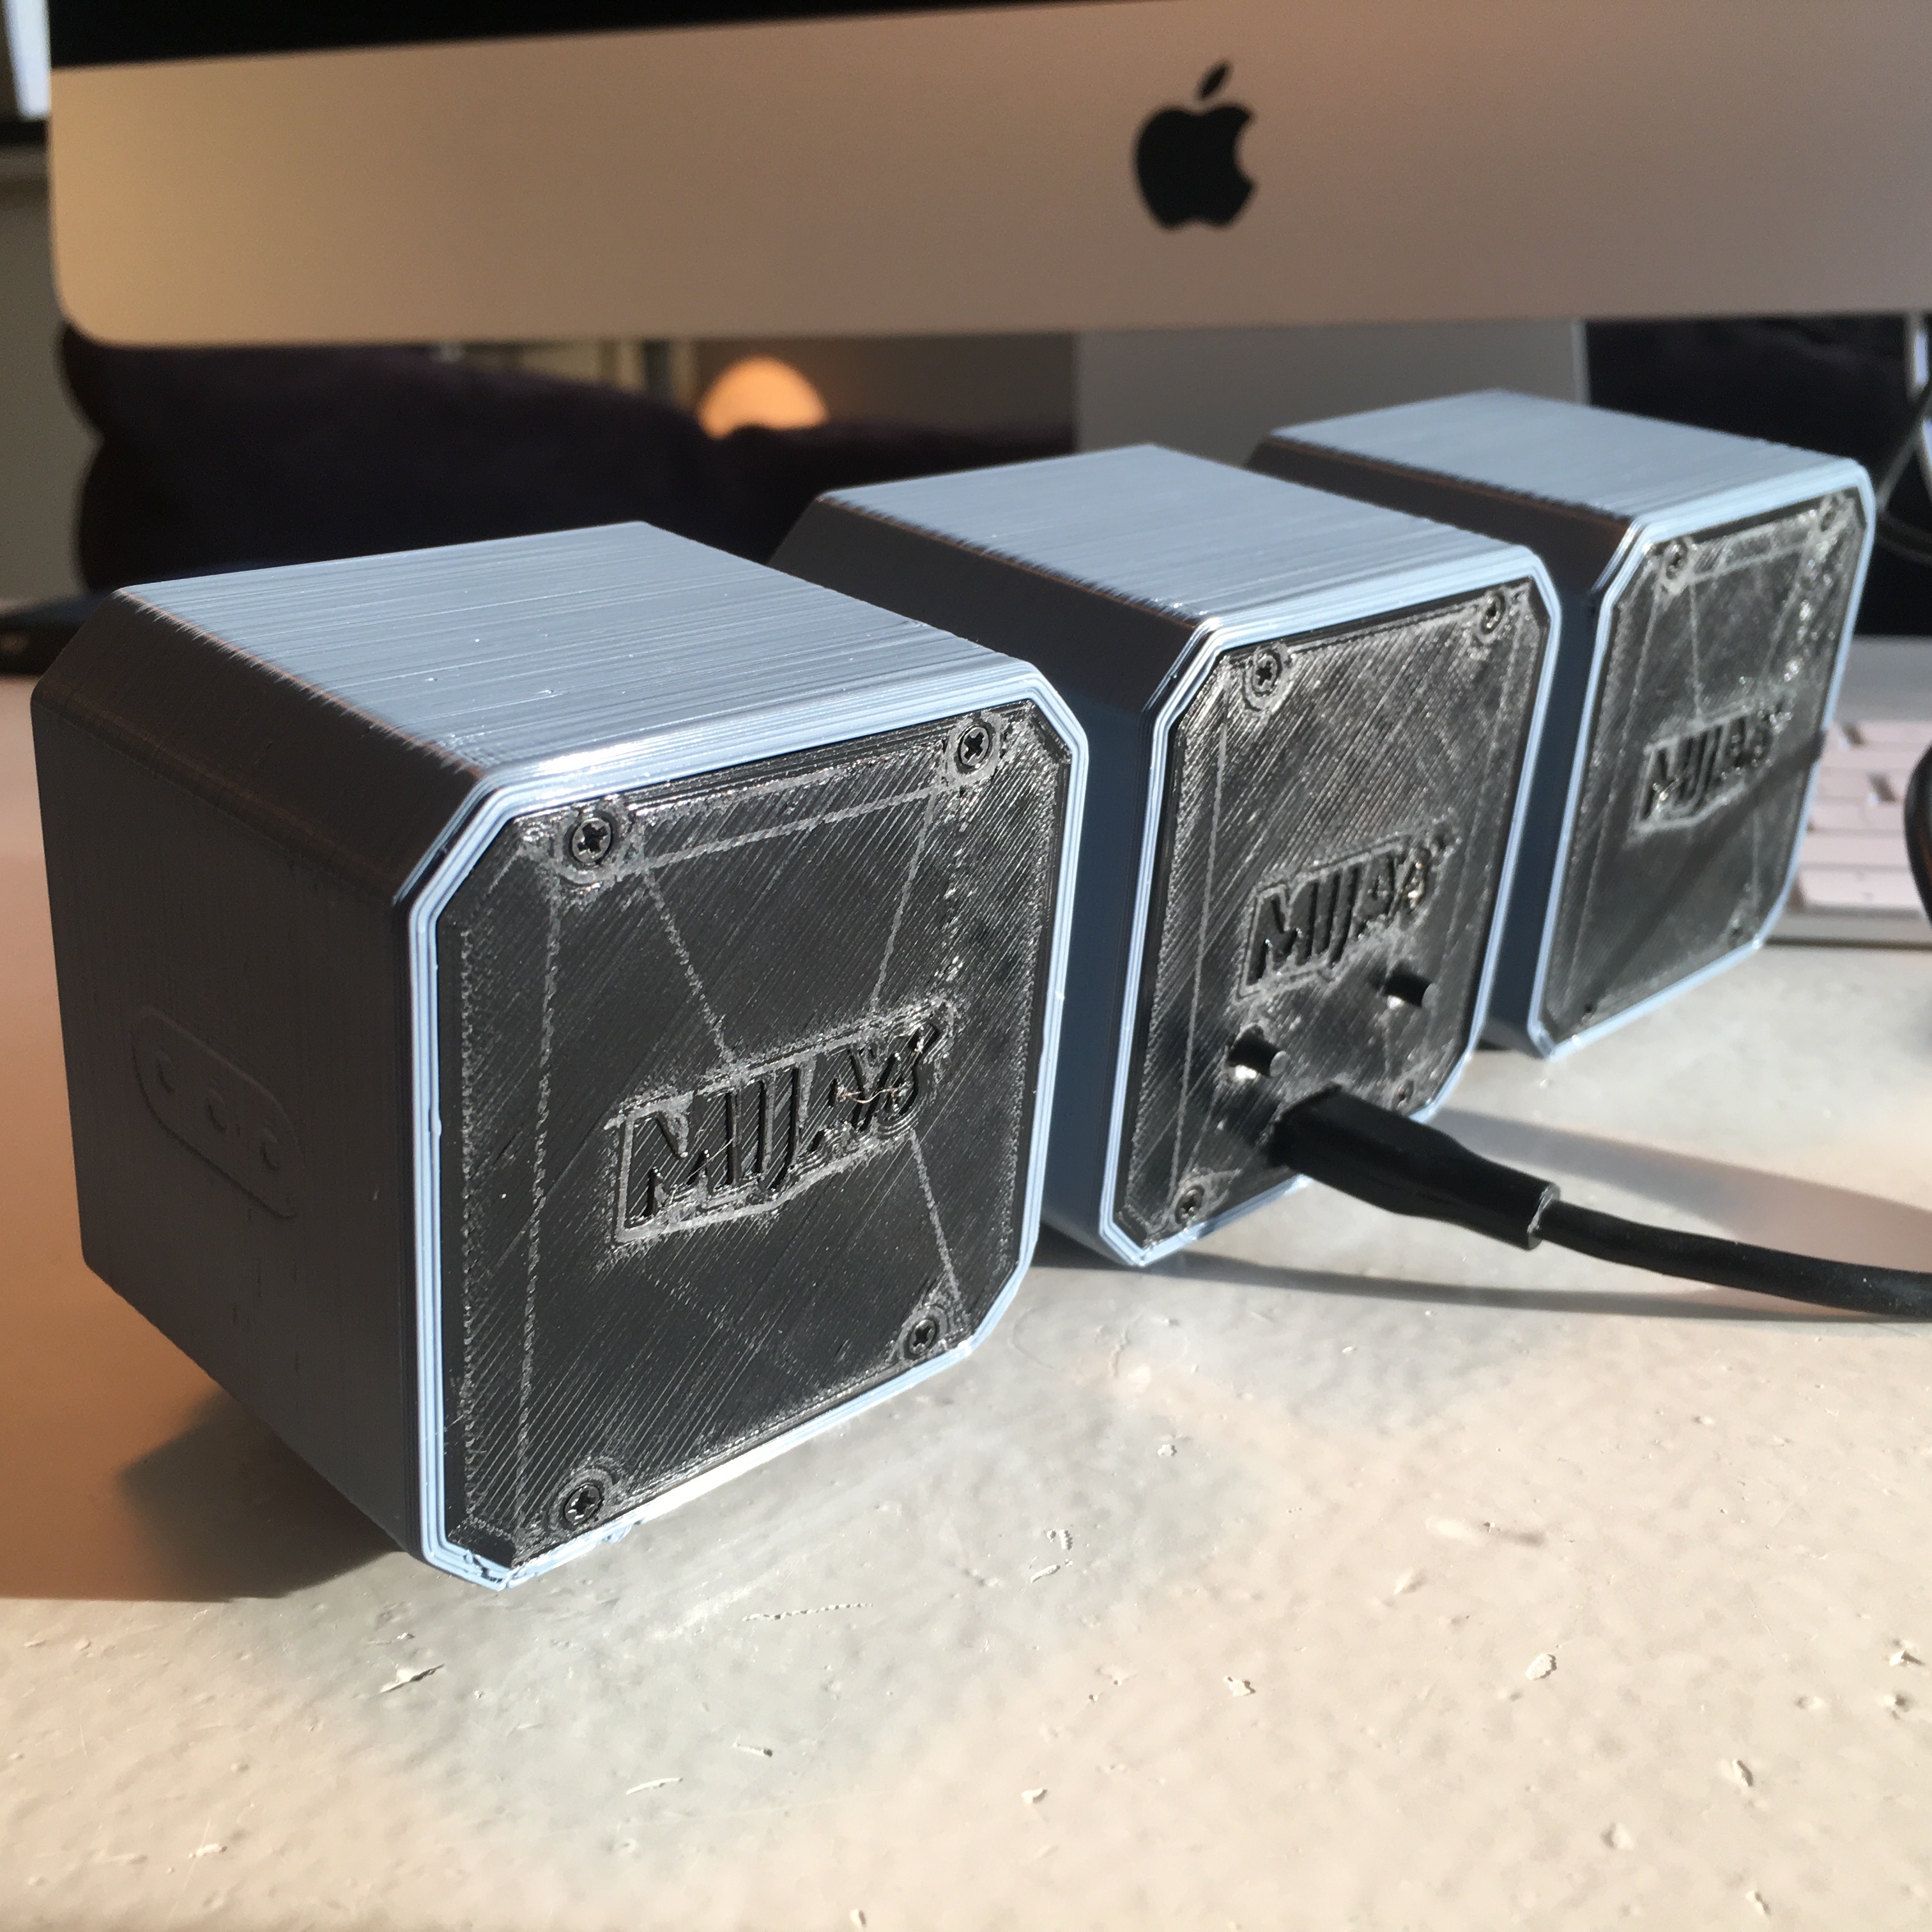
The backplates contain a MIJA'18 logo. The surface finish could have been a bit better, but since it was almost Father’s Day, I went for the impromptu “urban look and feel”.
To make the clock just a little bit more exciting, I added a small power-on self test sequence. And with that in place, I think I’ve managed to finish up my most original Father’s Day present in years!
Happy Father’s Day dad! Thanks for teaching me the fun of tinkering! <3
Looking for the full source code? Check out the GitHub repository! Want to print the enclosure yourself? Get the STL files on Thingiverse!