With most of the automatic curtain motor units done, it is time to start worrying about the controls. With projects like these, you always have to work on the WAF-score. The Wife Acceptance Factor. So a simple control pad is a must.
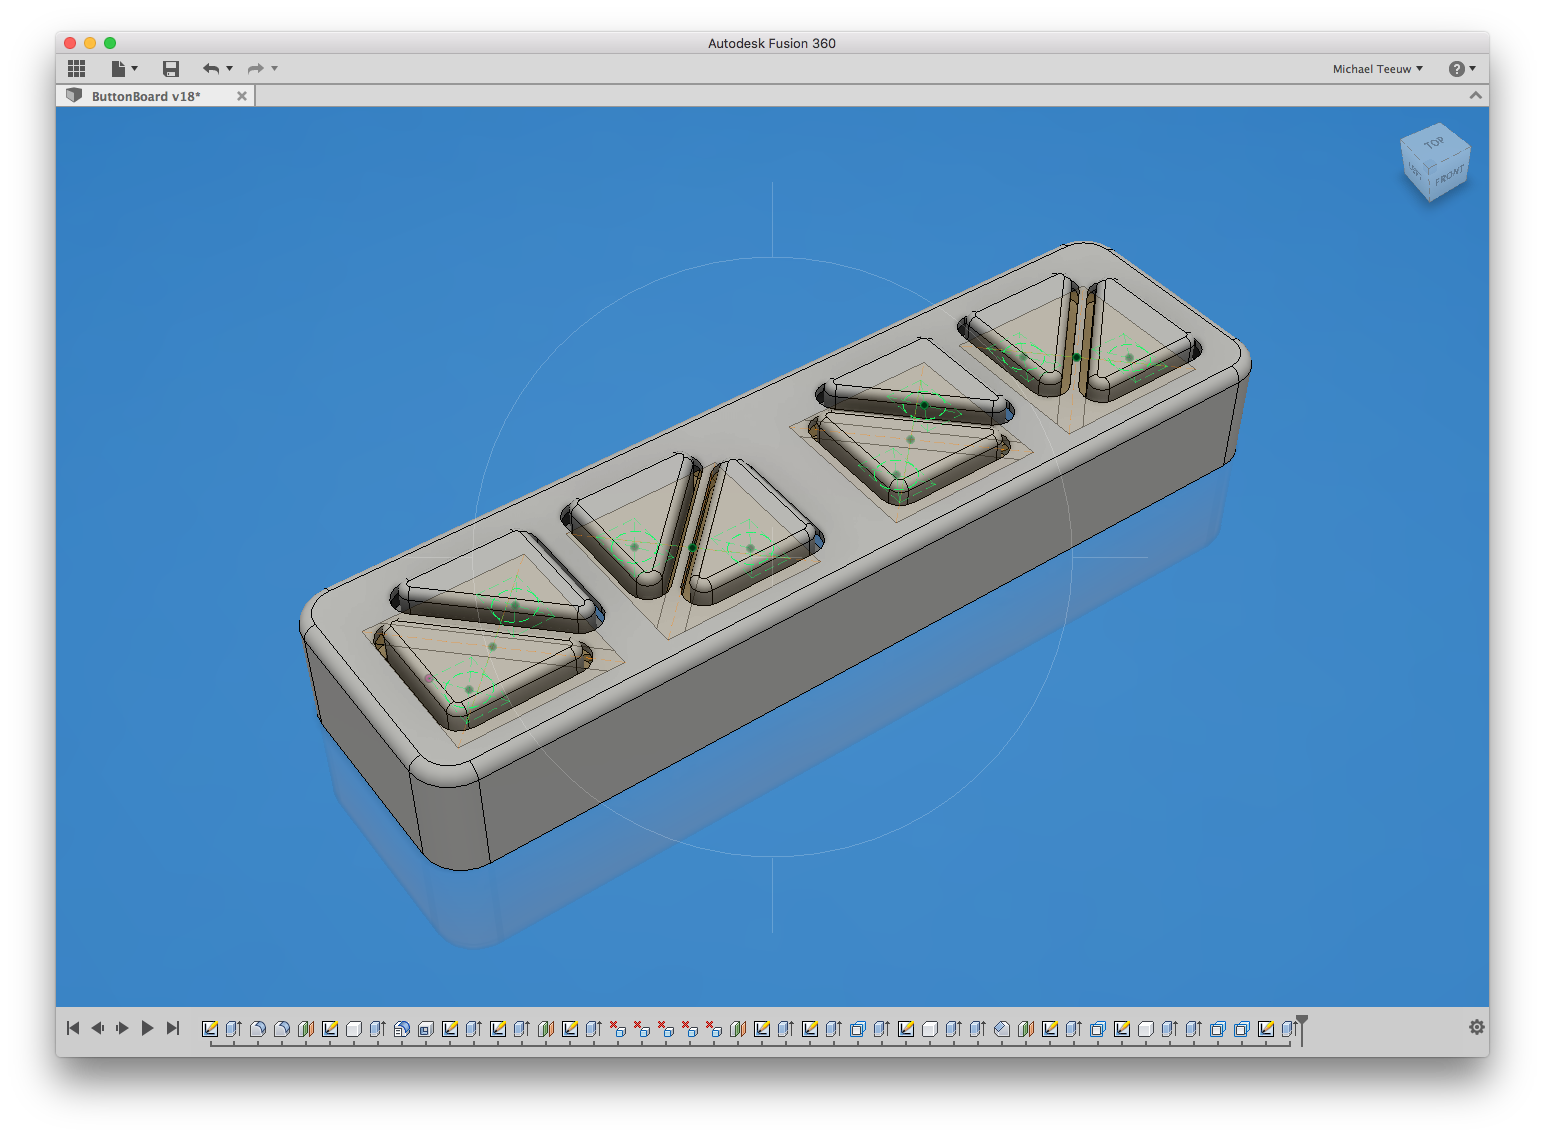
Automatic Curtains: Designing a PCB Mount in Fusion 360 [Video]
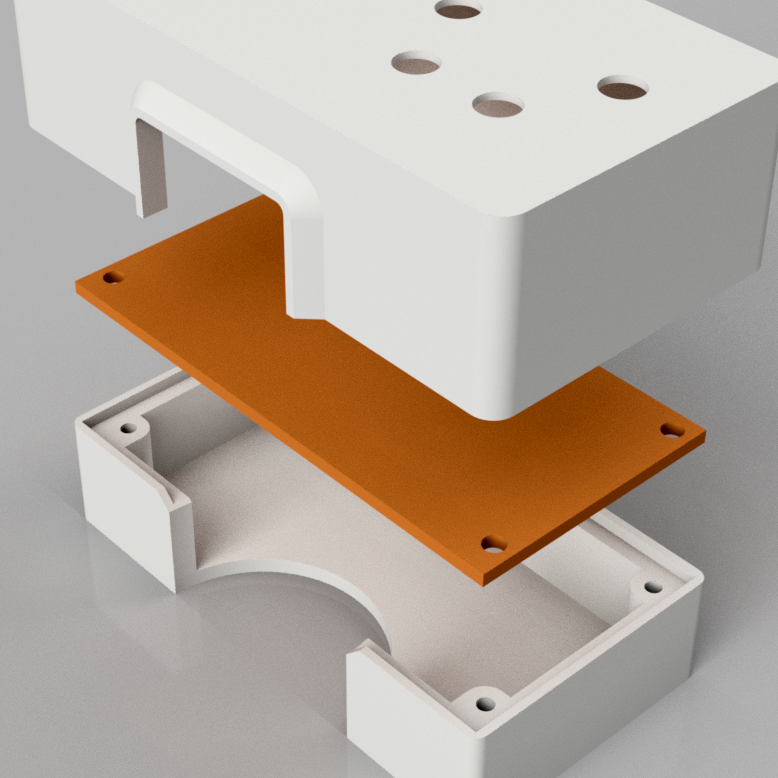
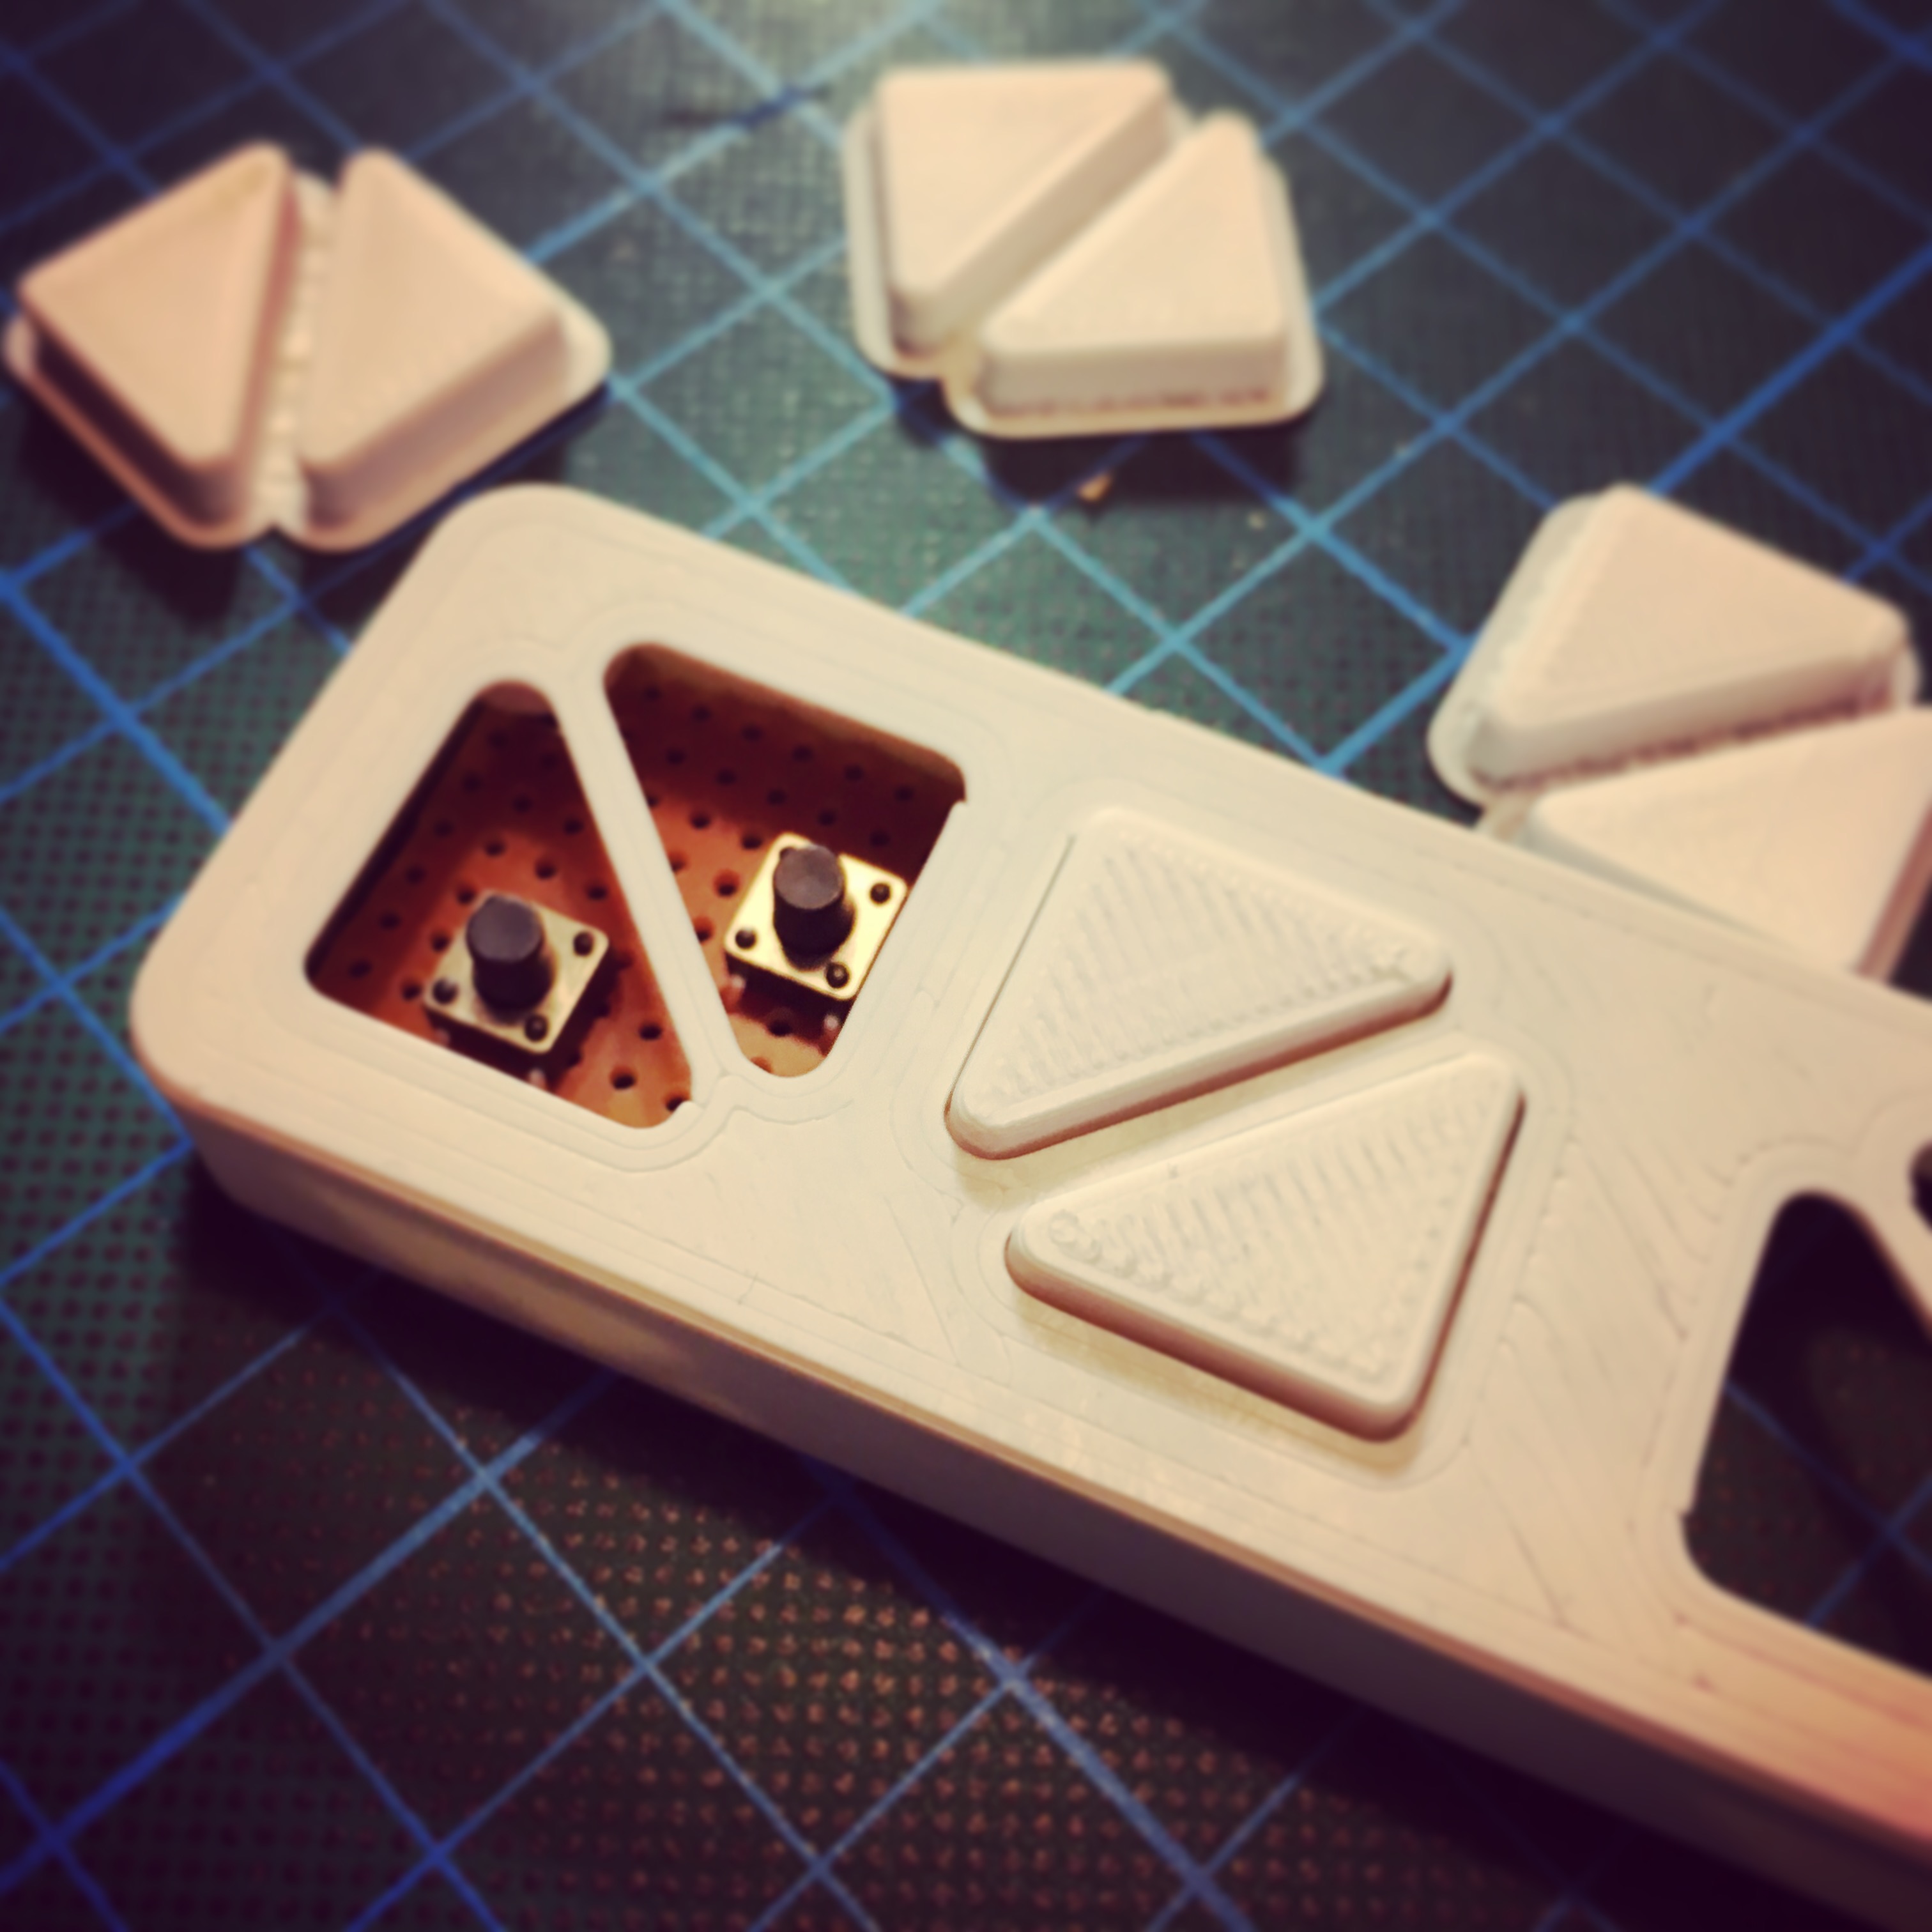
Using my favorite 3D drawing tool Autodesk Fusion 360, I managed to draw a 3d drawing of my button pad. This turned out to be quite a challenge, since I needed the buttons to fit exactly on the switches I would eventually put on a piece of proto board.
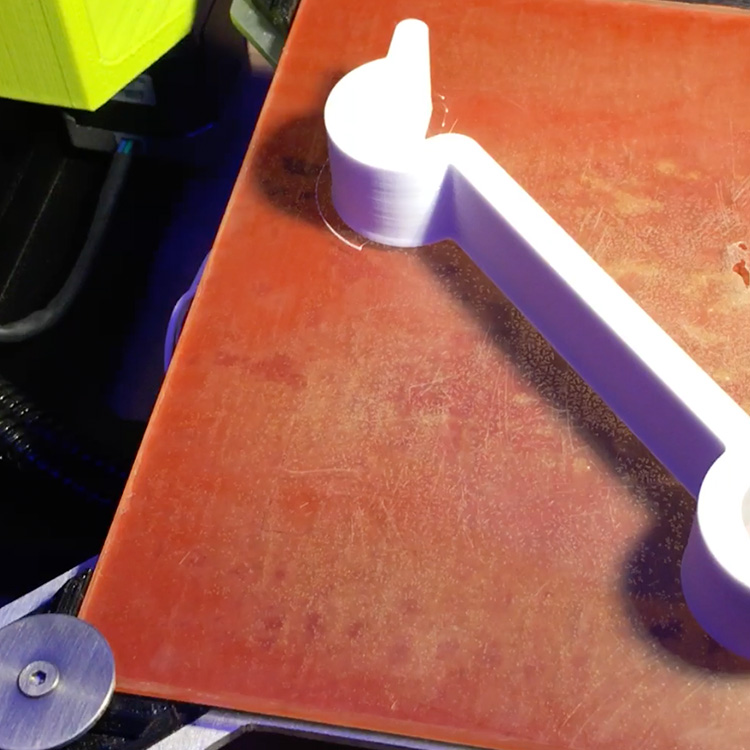
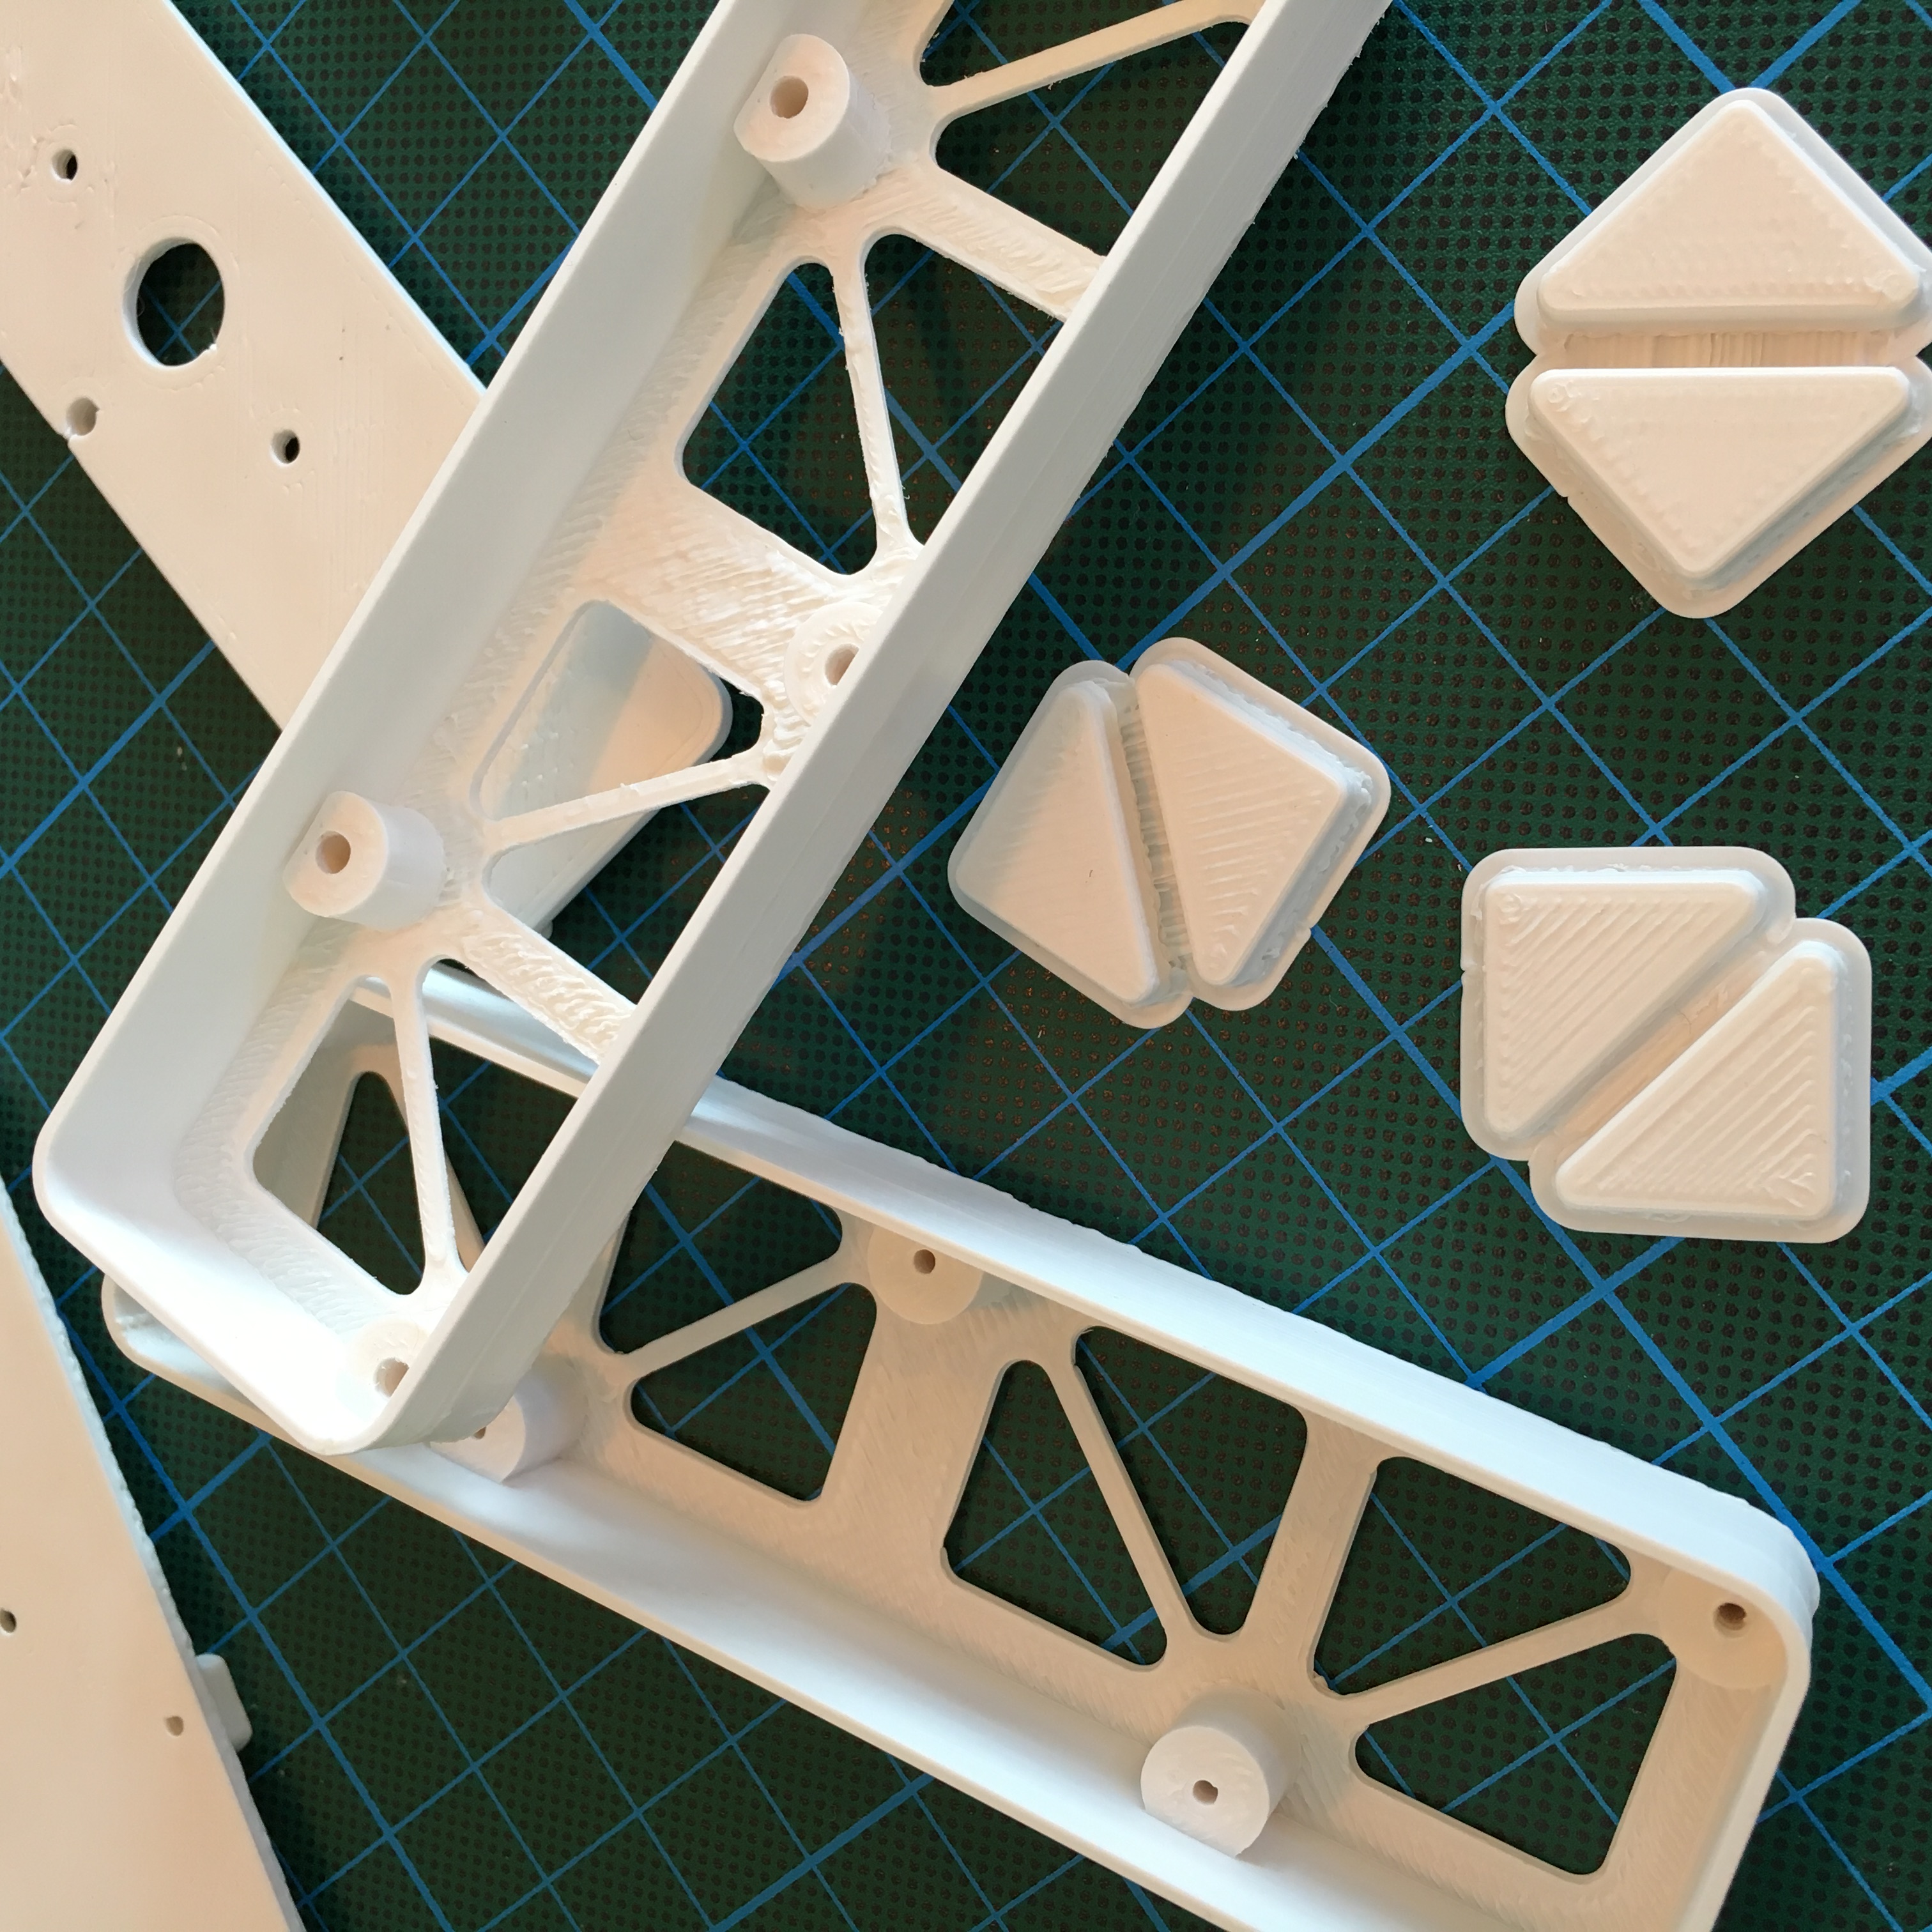
After wrapping up the drawing, I put my Lulzbot Mini to work with some white ABS.

As you probably expect, I did a few iterations of my design before everything lined up perfectly. But that’s the beauty of 3D-printing: unlimited prototyping!
With the help of some proto board, I soldered the guts of the button pad. A piece of 9 wire ribbon cable allows me to eventually connect everything.

The guts are covered with a simple backplate which I printed as well, resulting in a nice final package.

The end result looks stunning! But more importantly, it will eventually allow my girlfriend to open and close the curtains without any technical guidance. ;)
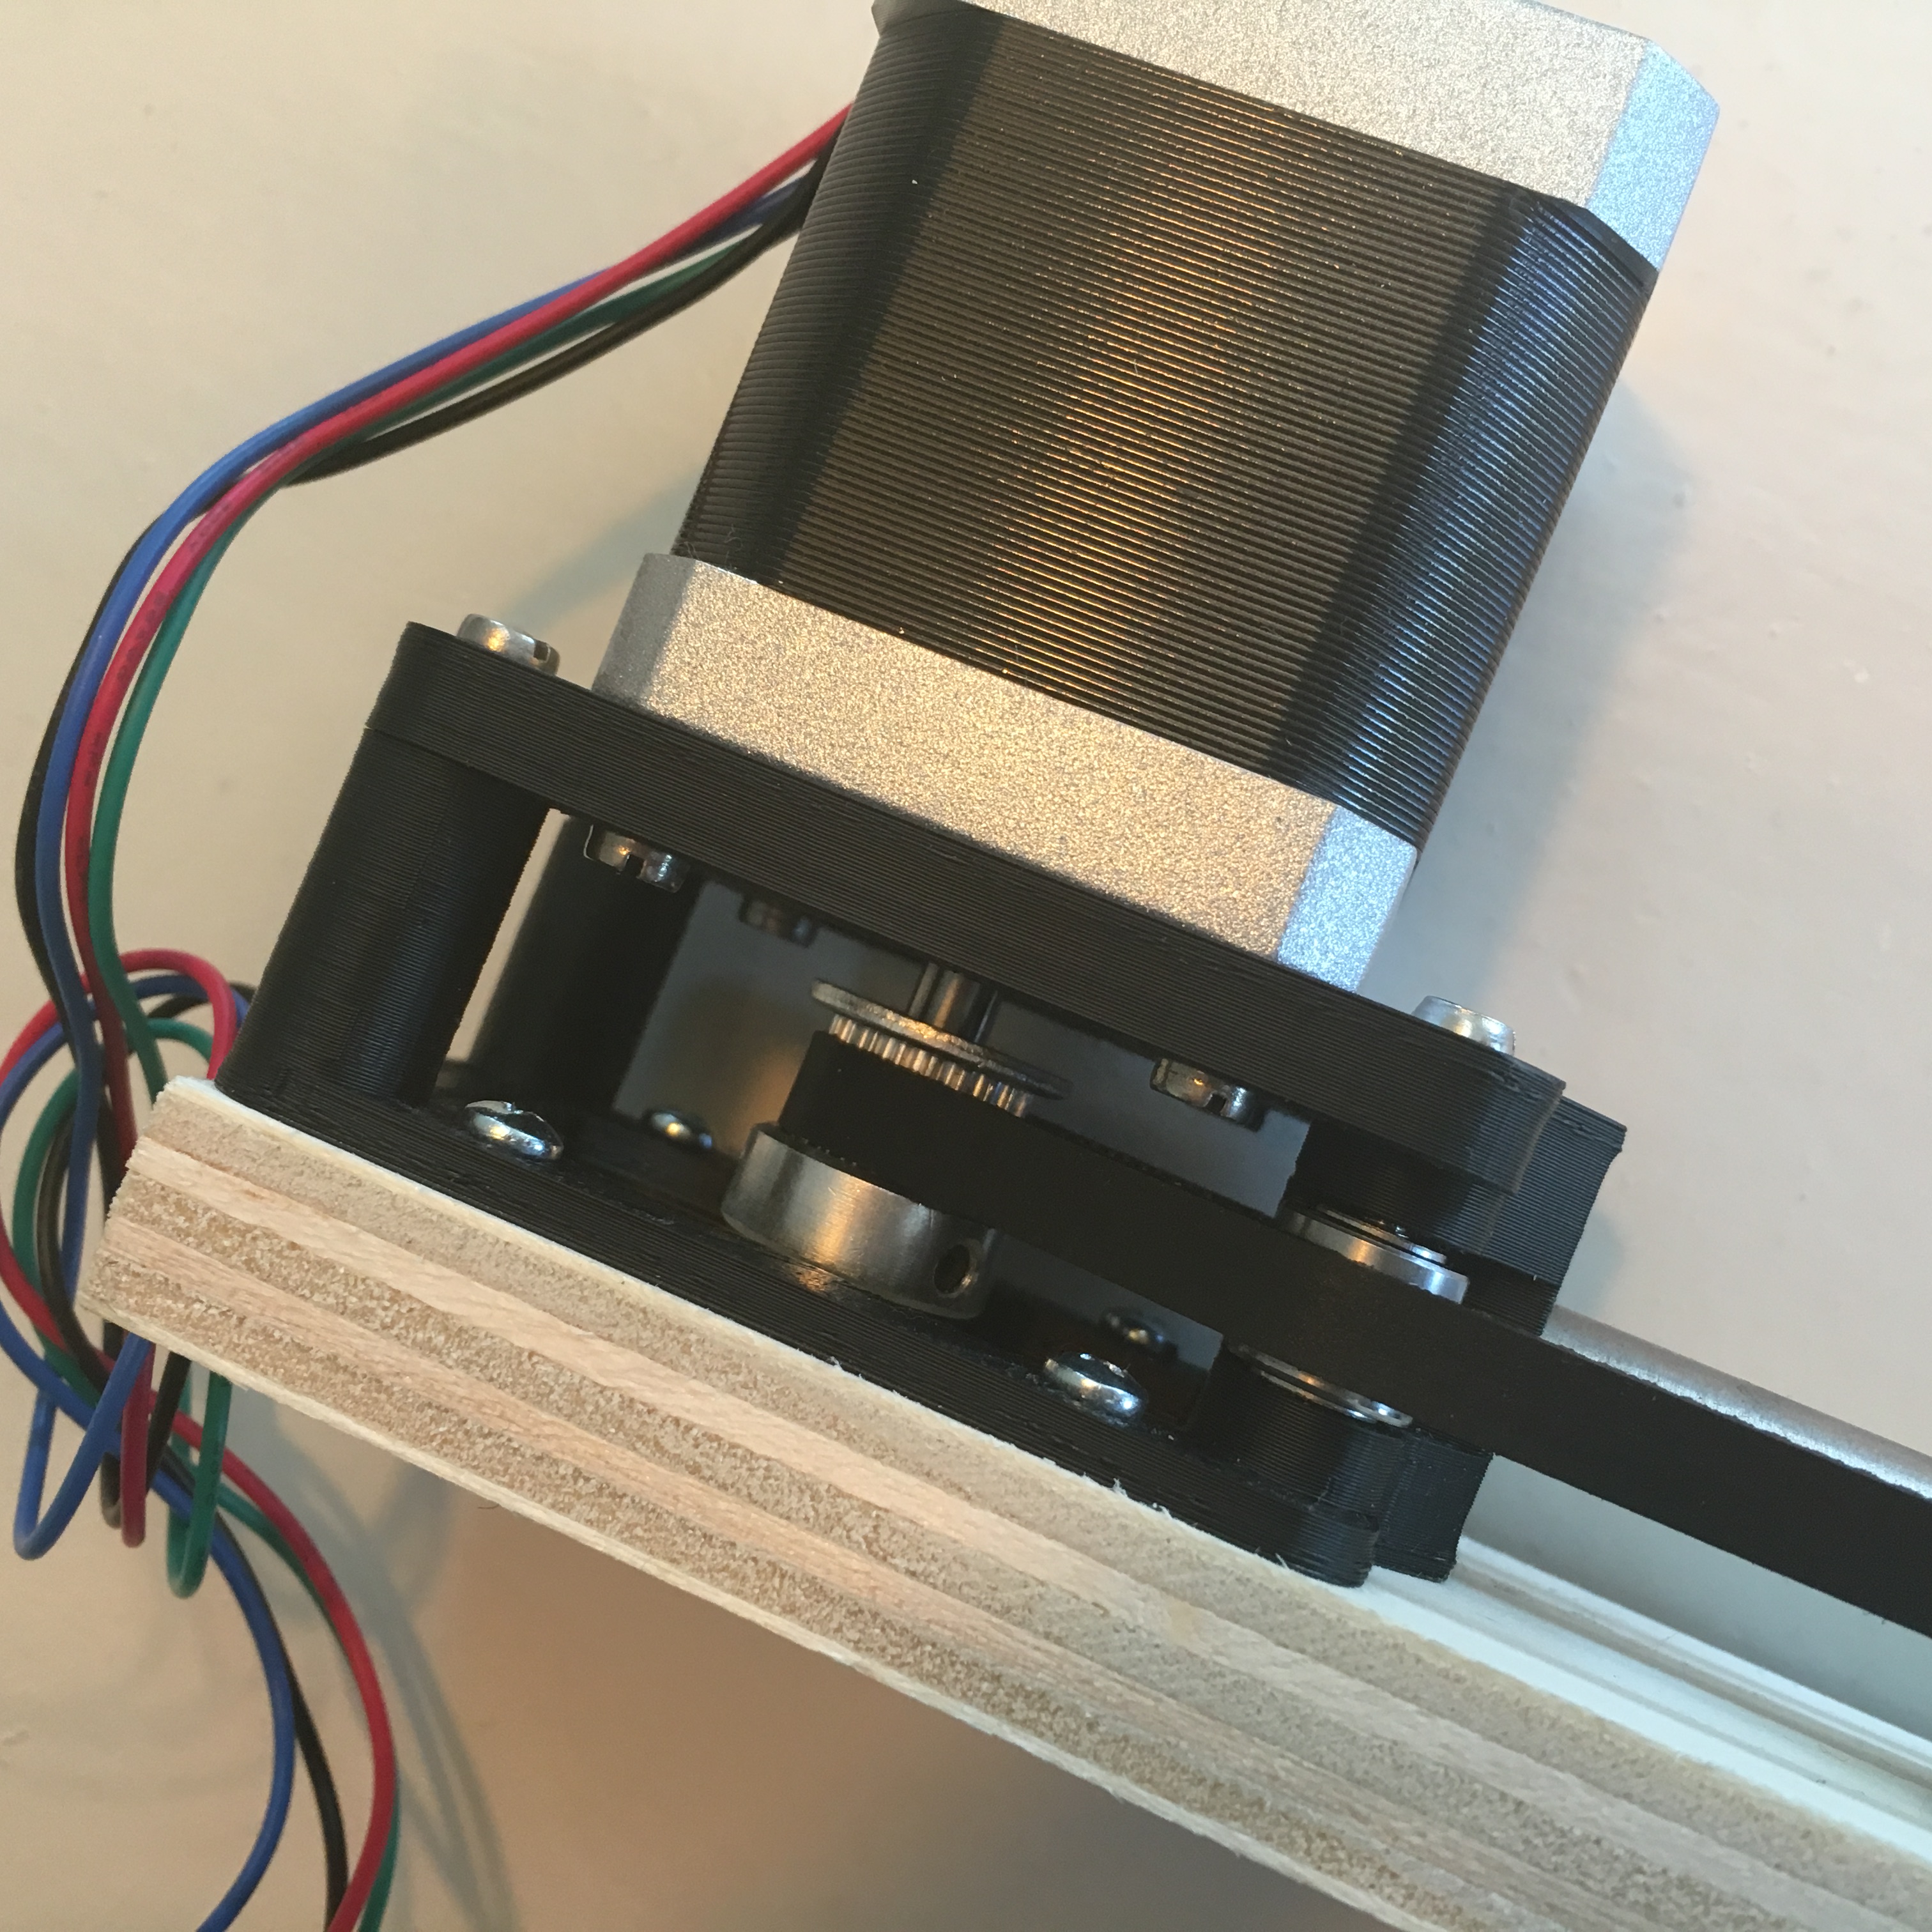
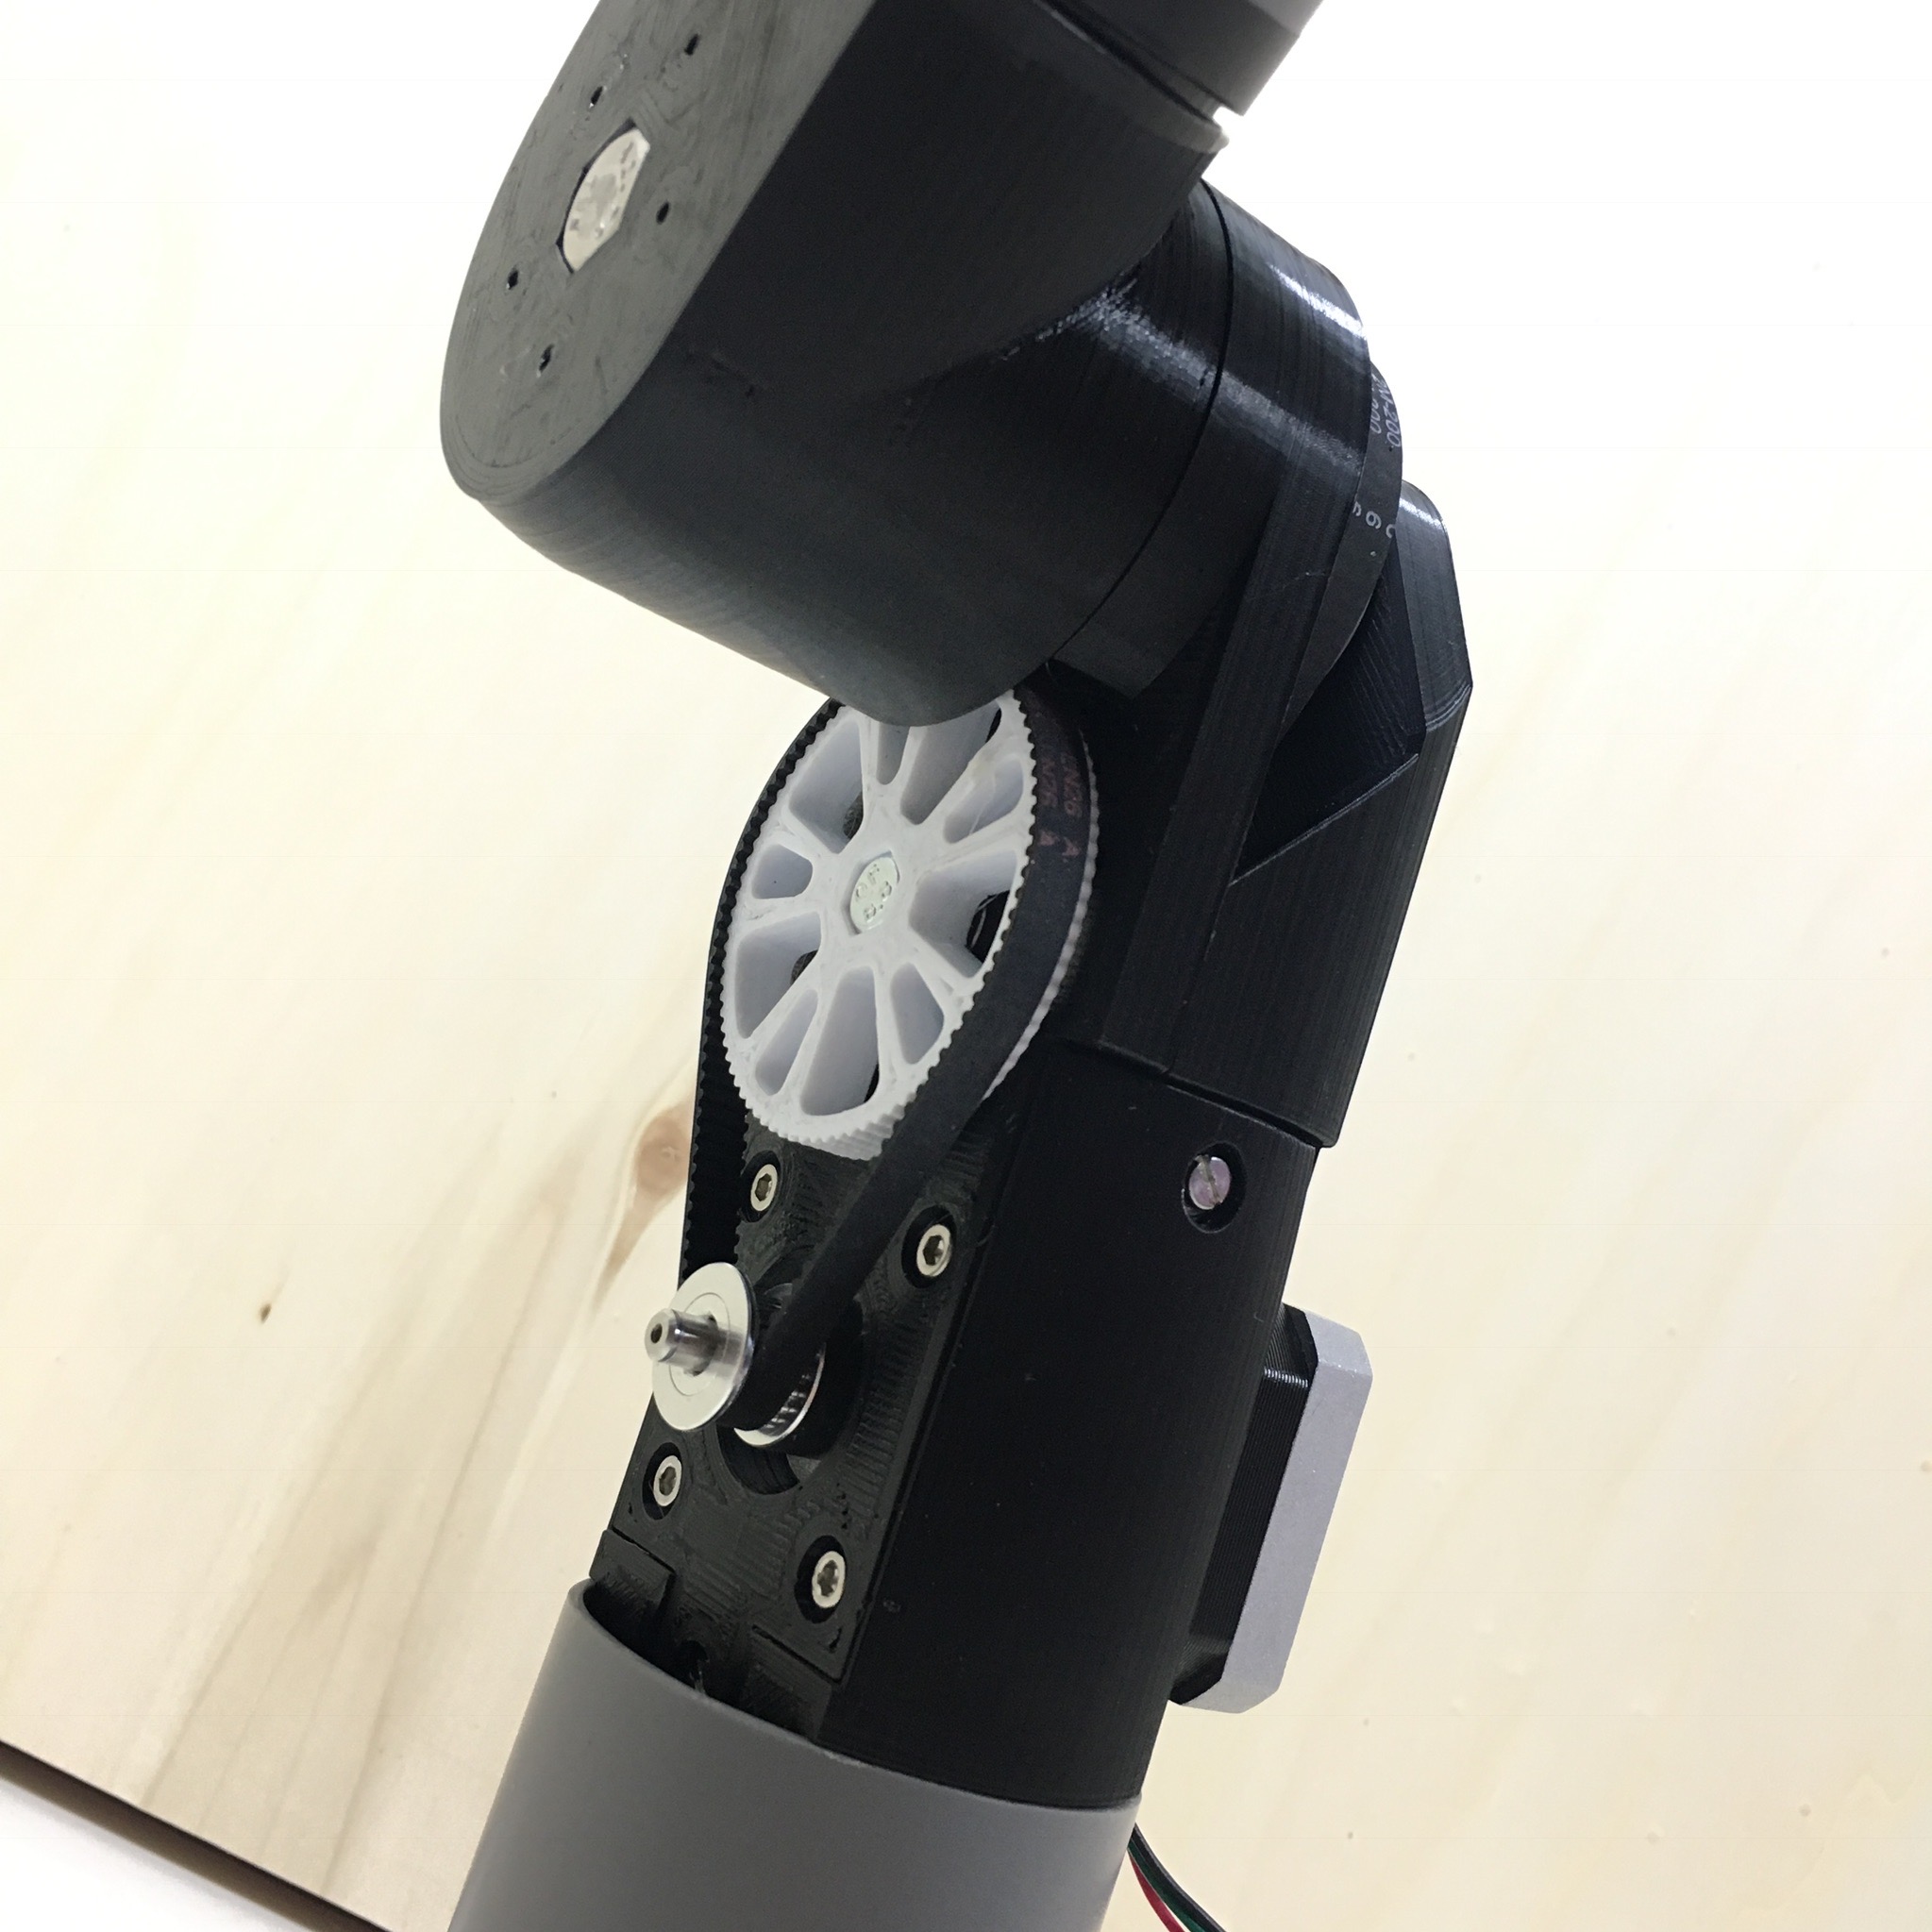
Automatic Curtains: The state of the Curtains.