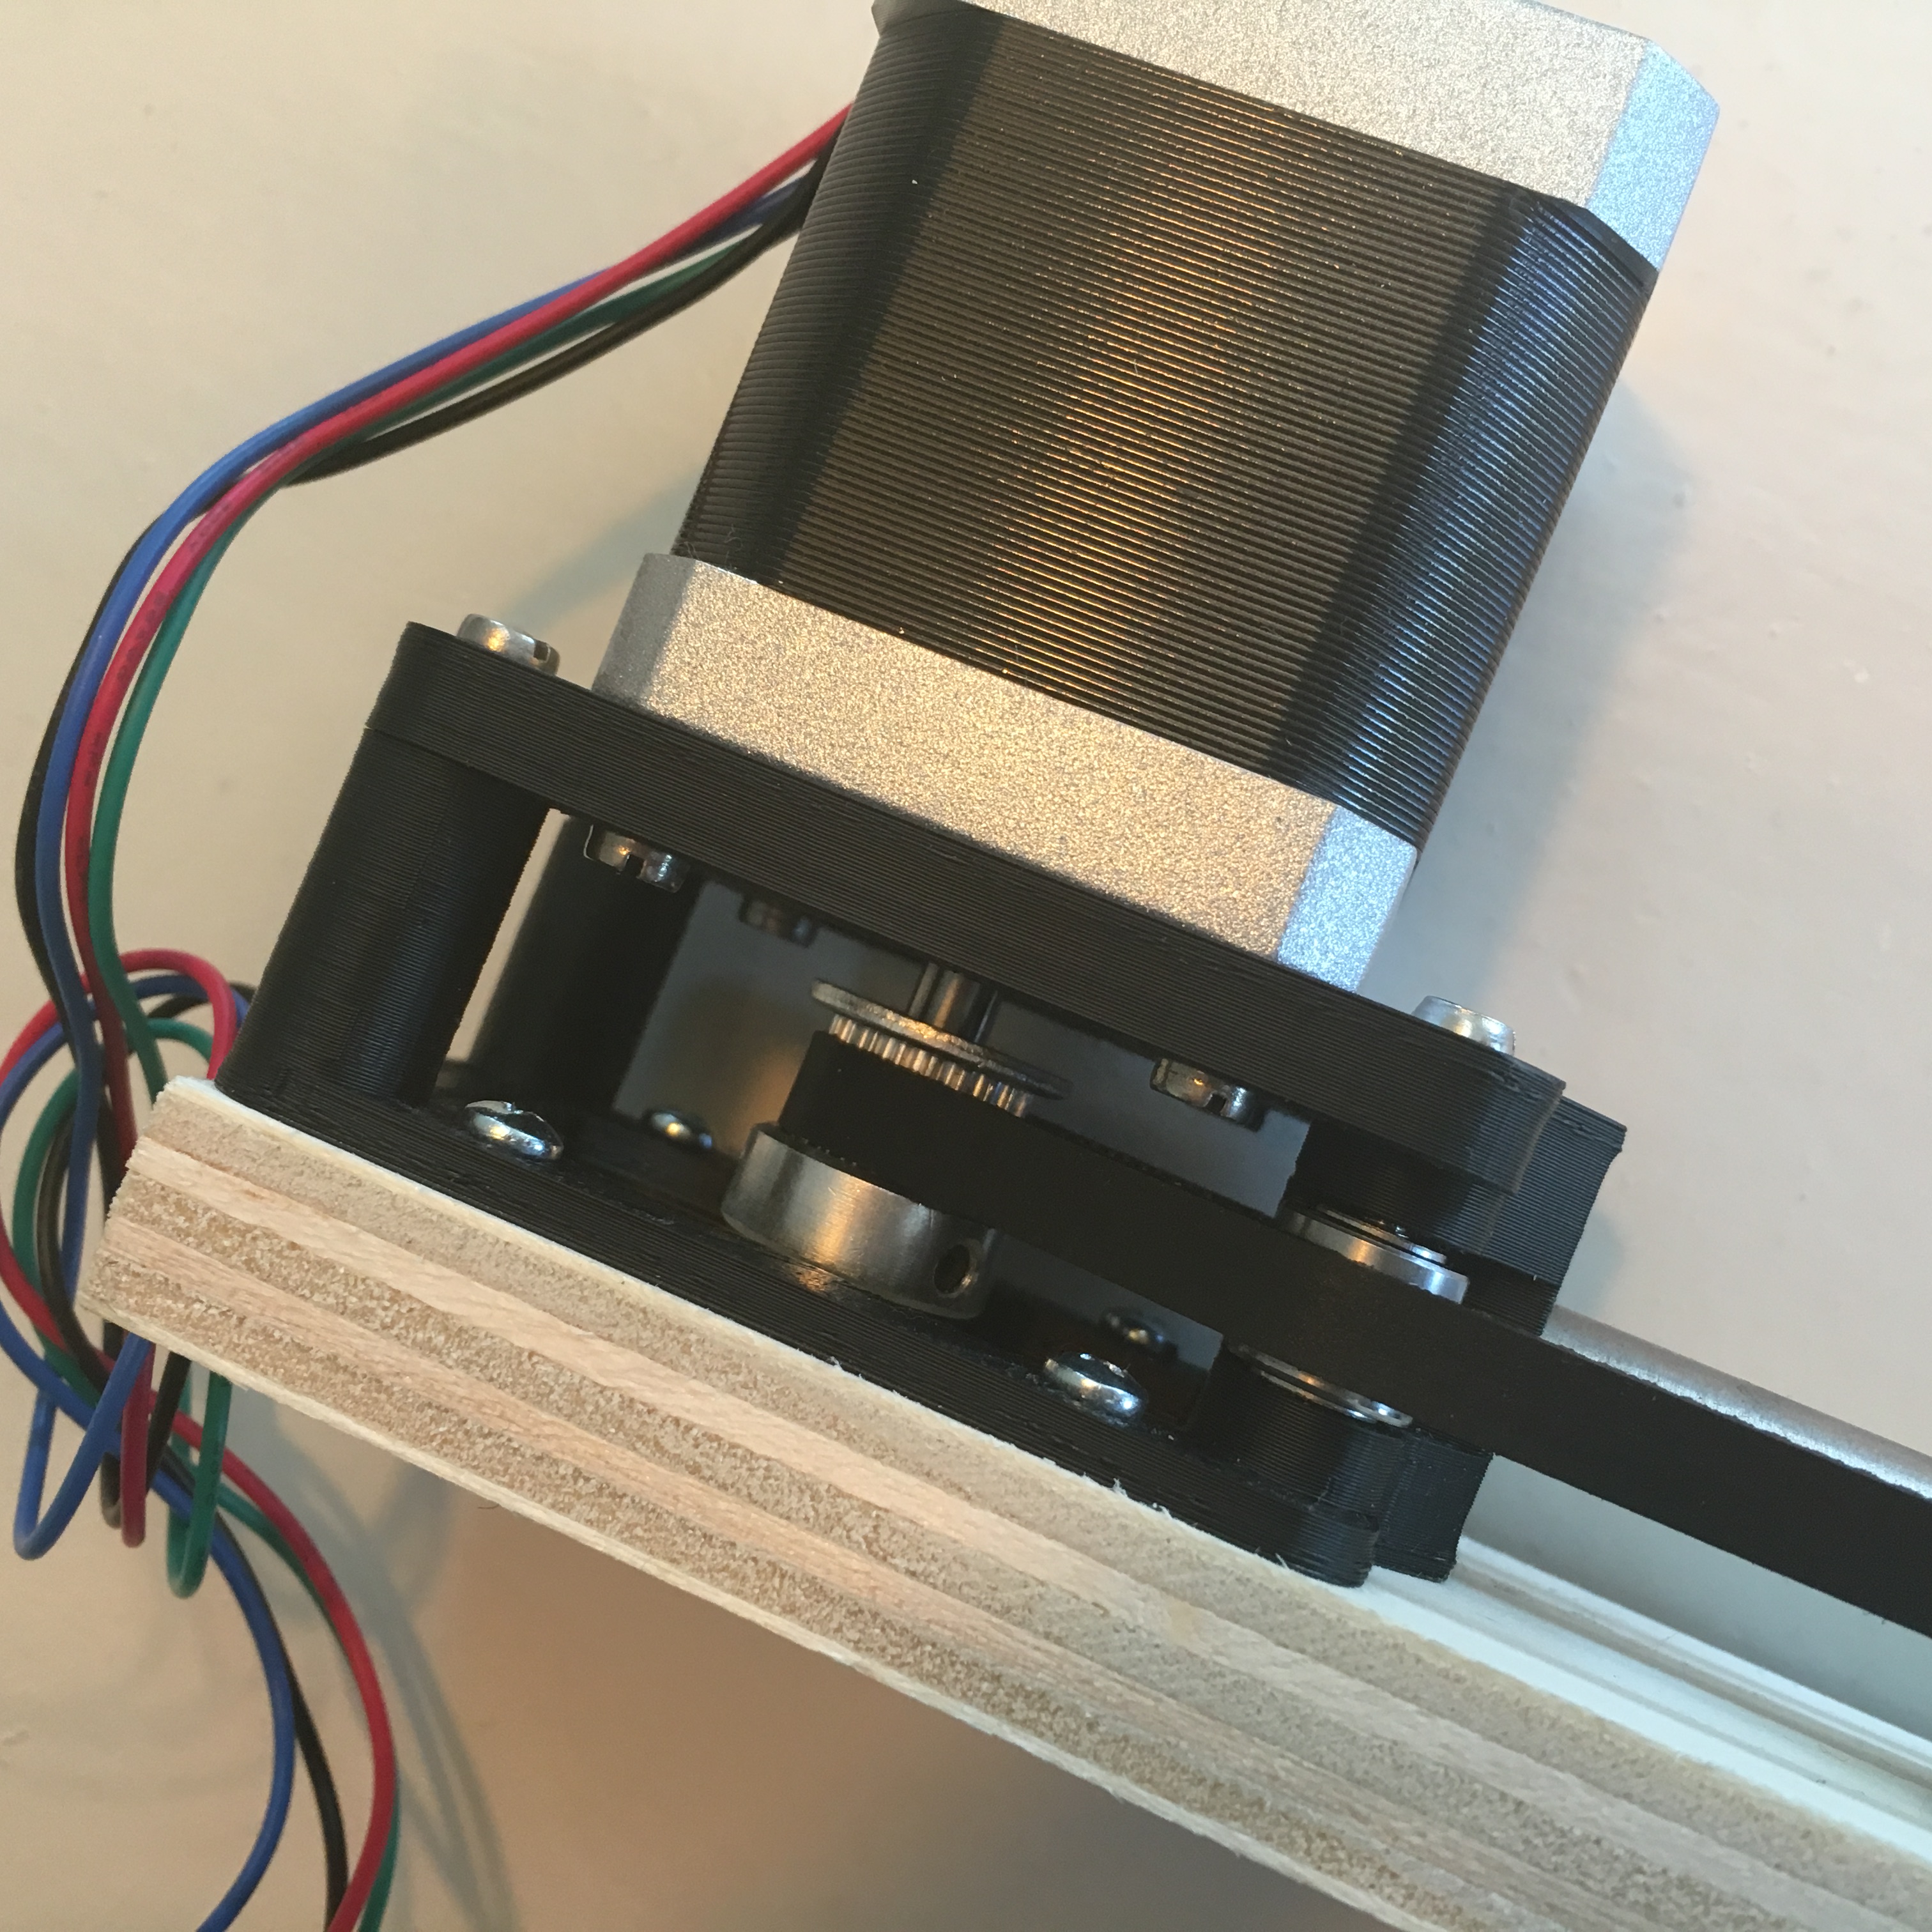
With the final Motor Unit moutend, and the cables routed to a central location, it is time to install a simple control unit. Unfortunately, the sophisticated button pad I created a while ago, wasn’t functioning as well as I hoped. So while I fix these issues, I need to mount a temporary control unit.
Automatic Curtains: The state of the Curtains.
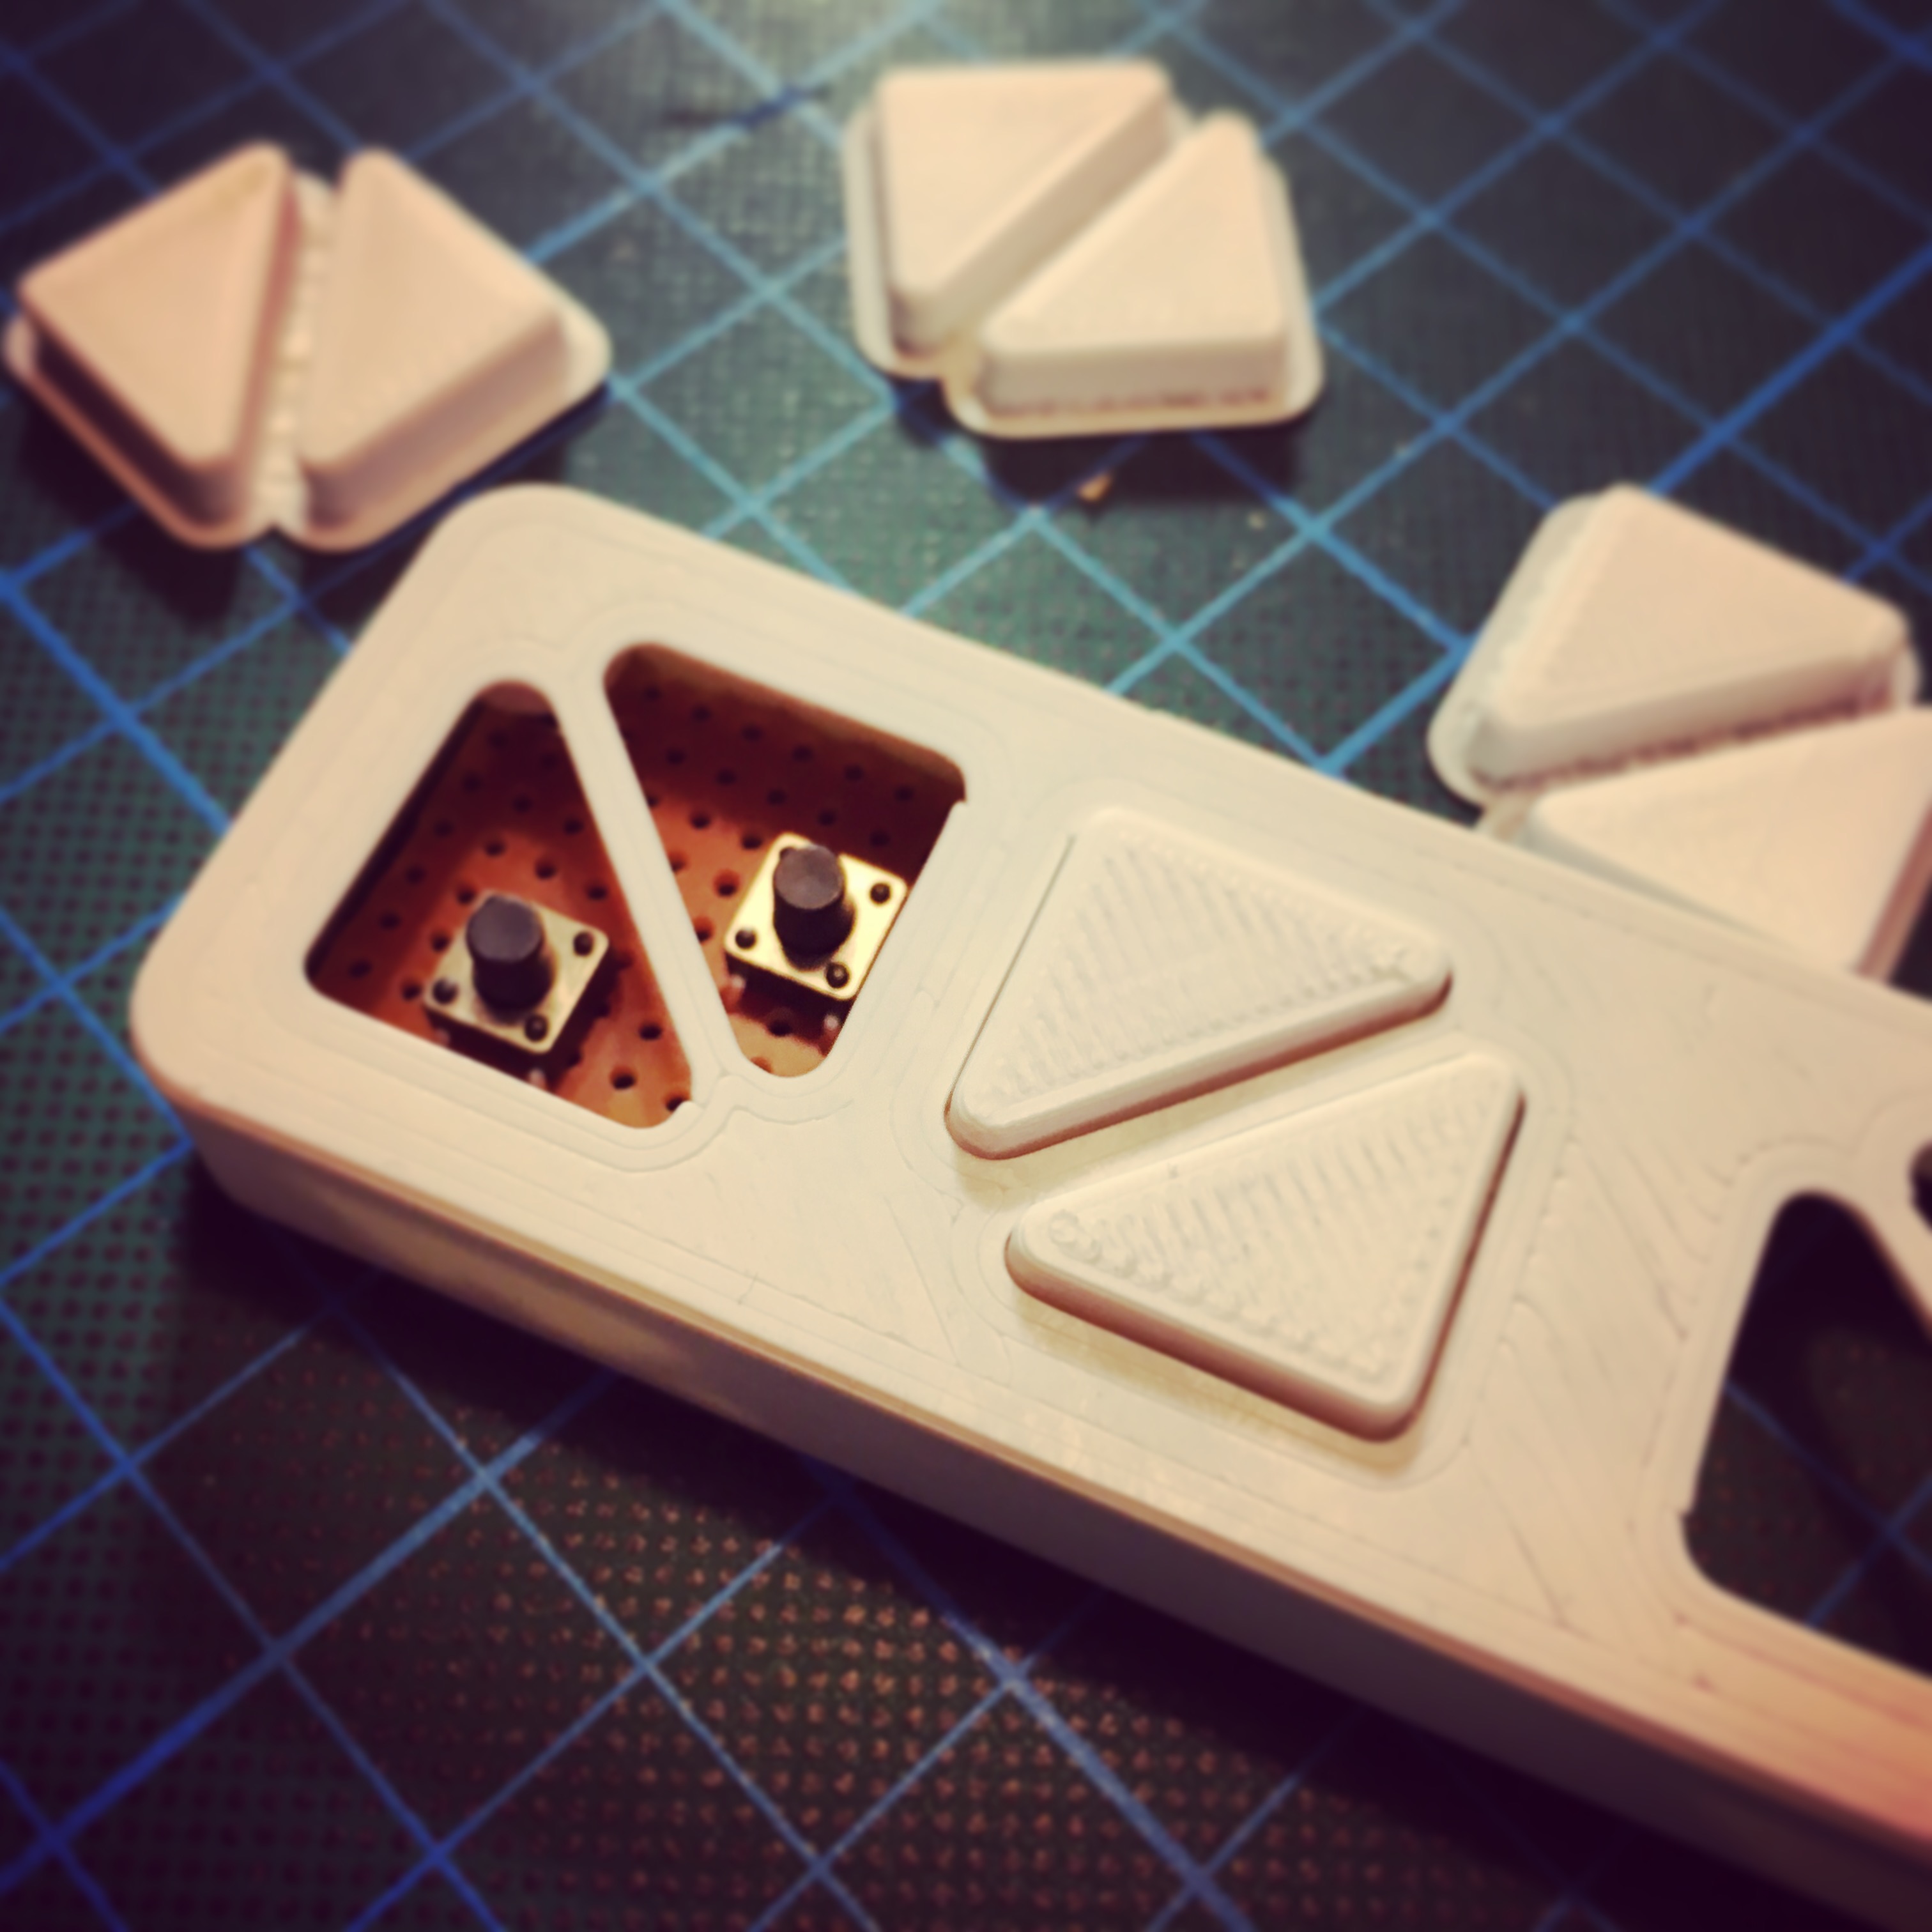
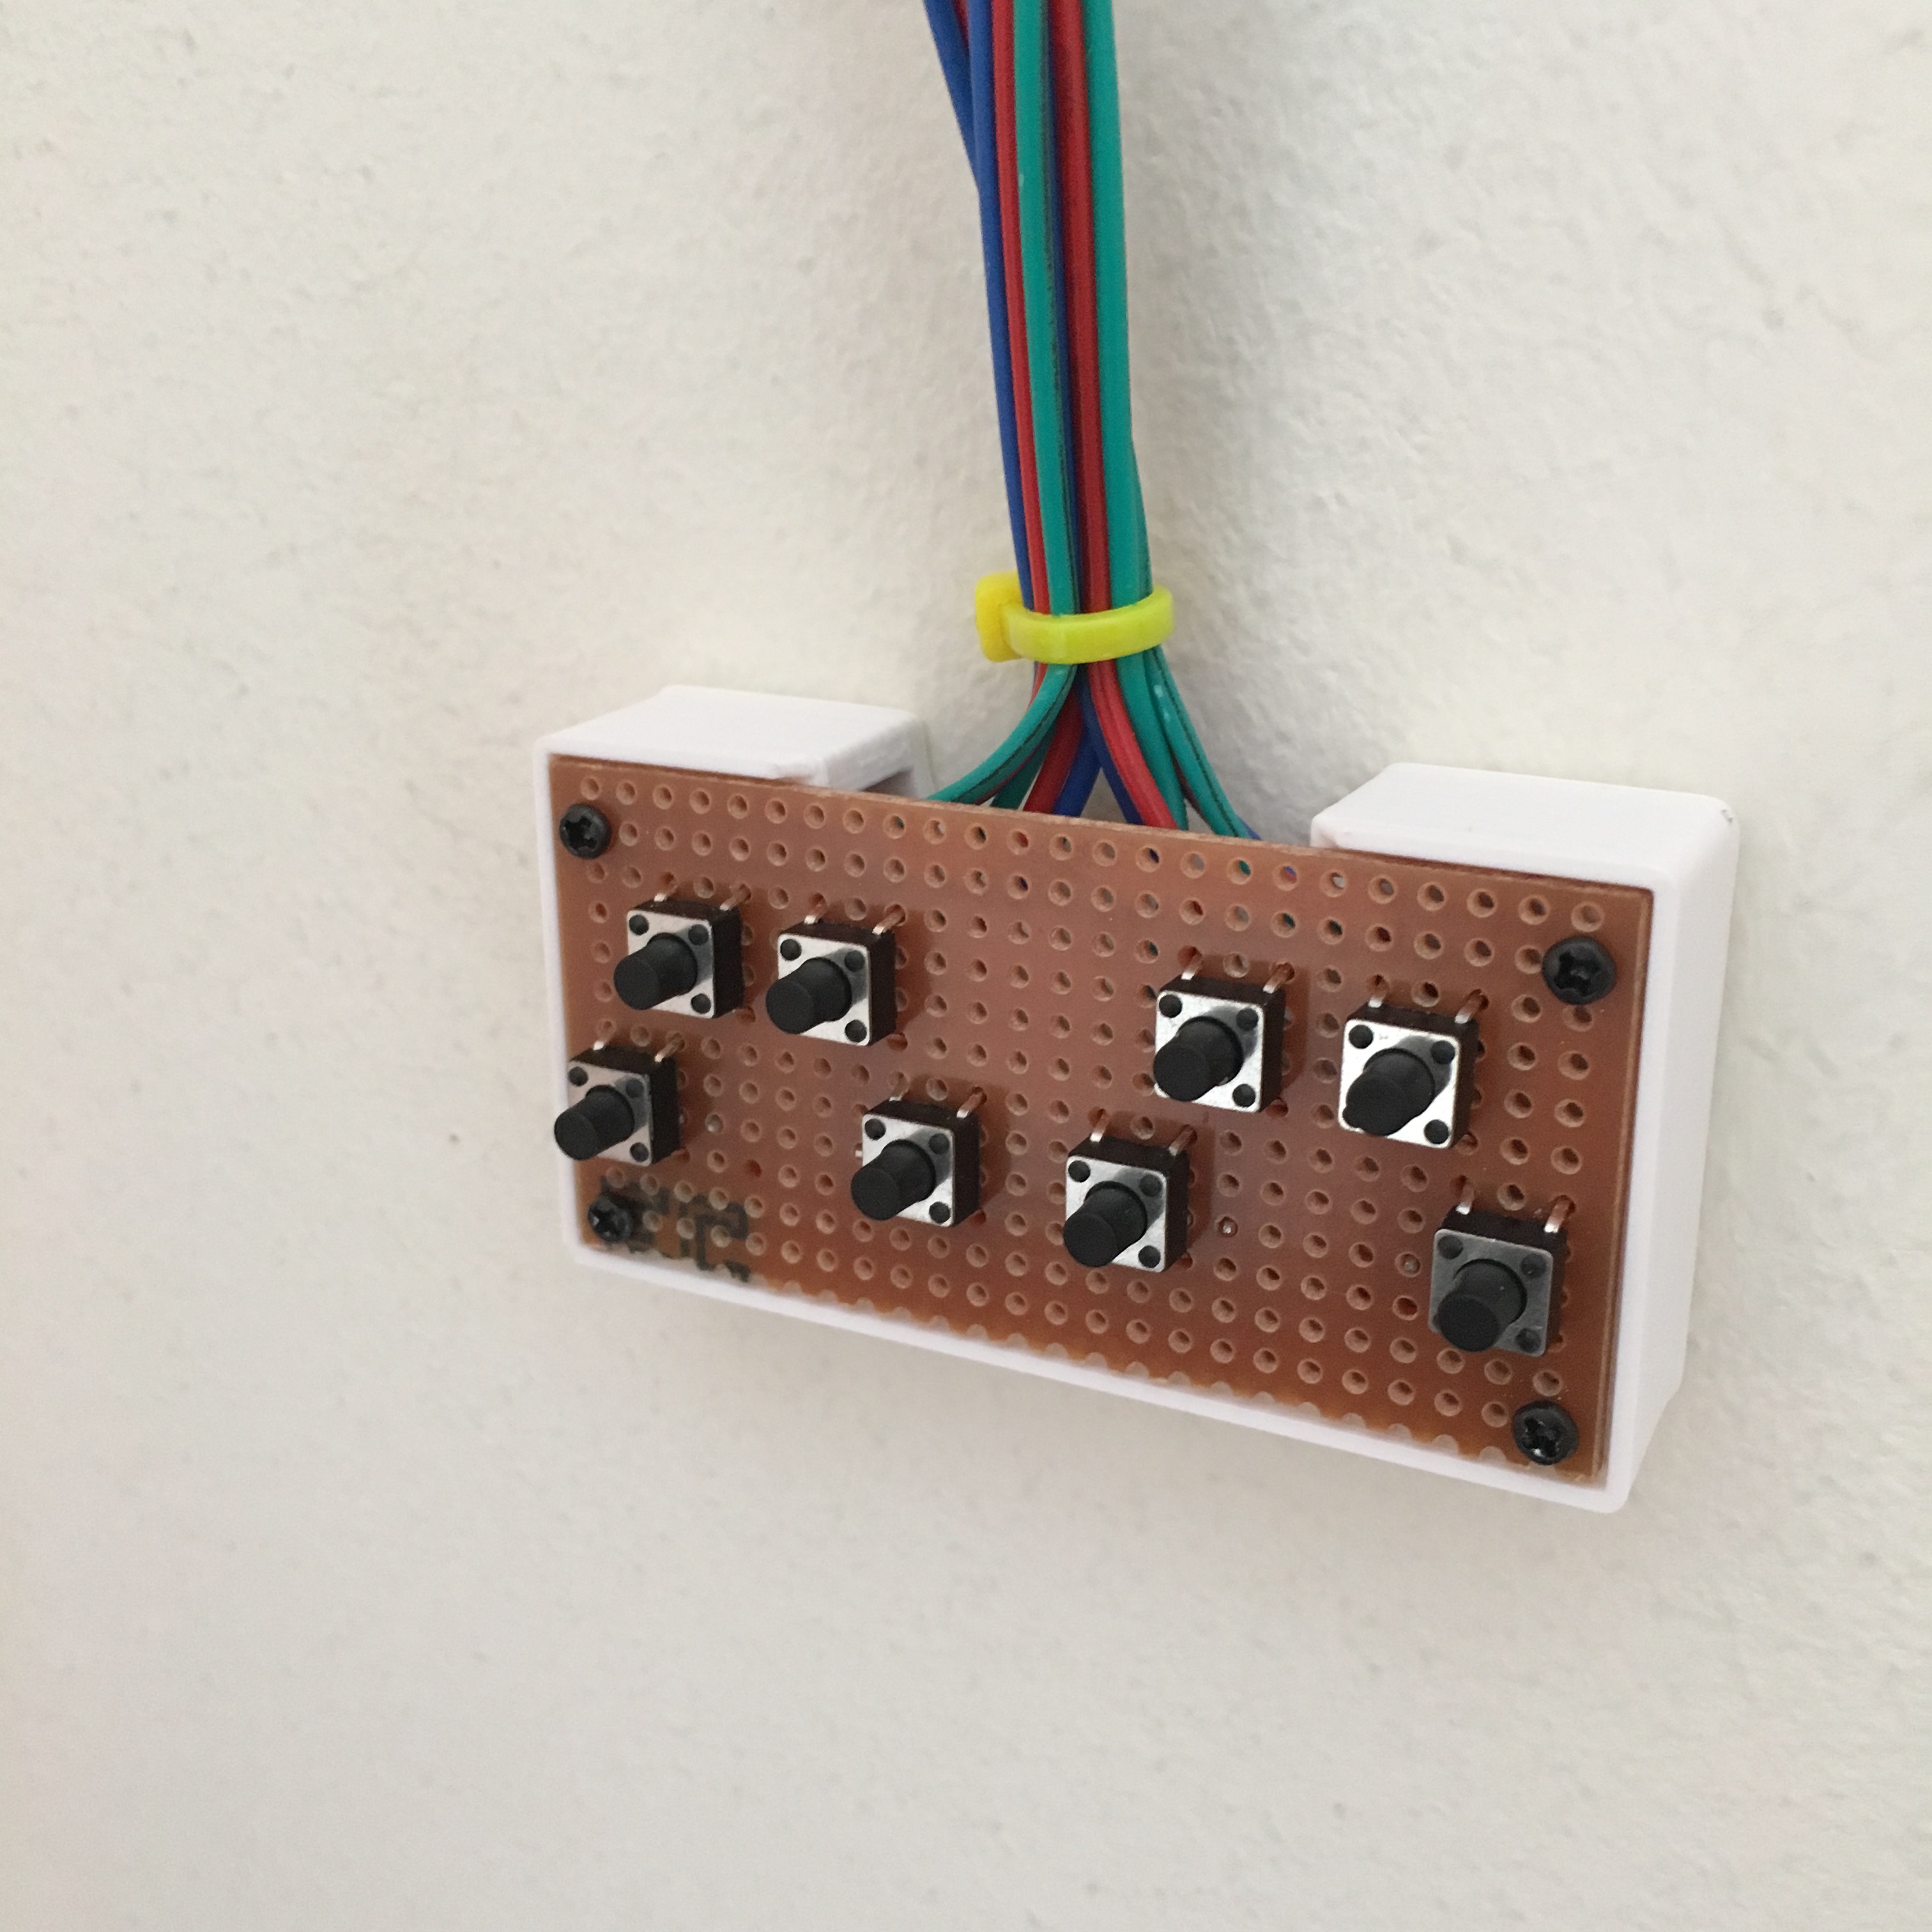
Using a simple piece of proto board, I mounted 8 buttons in such a way that I didn’t need to use any additional jumper wires to connect everything.
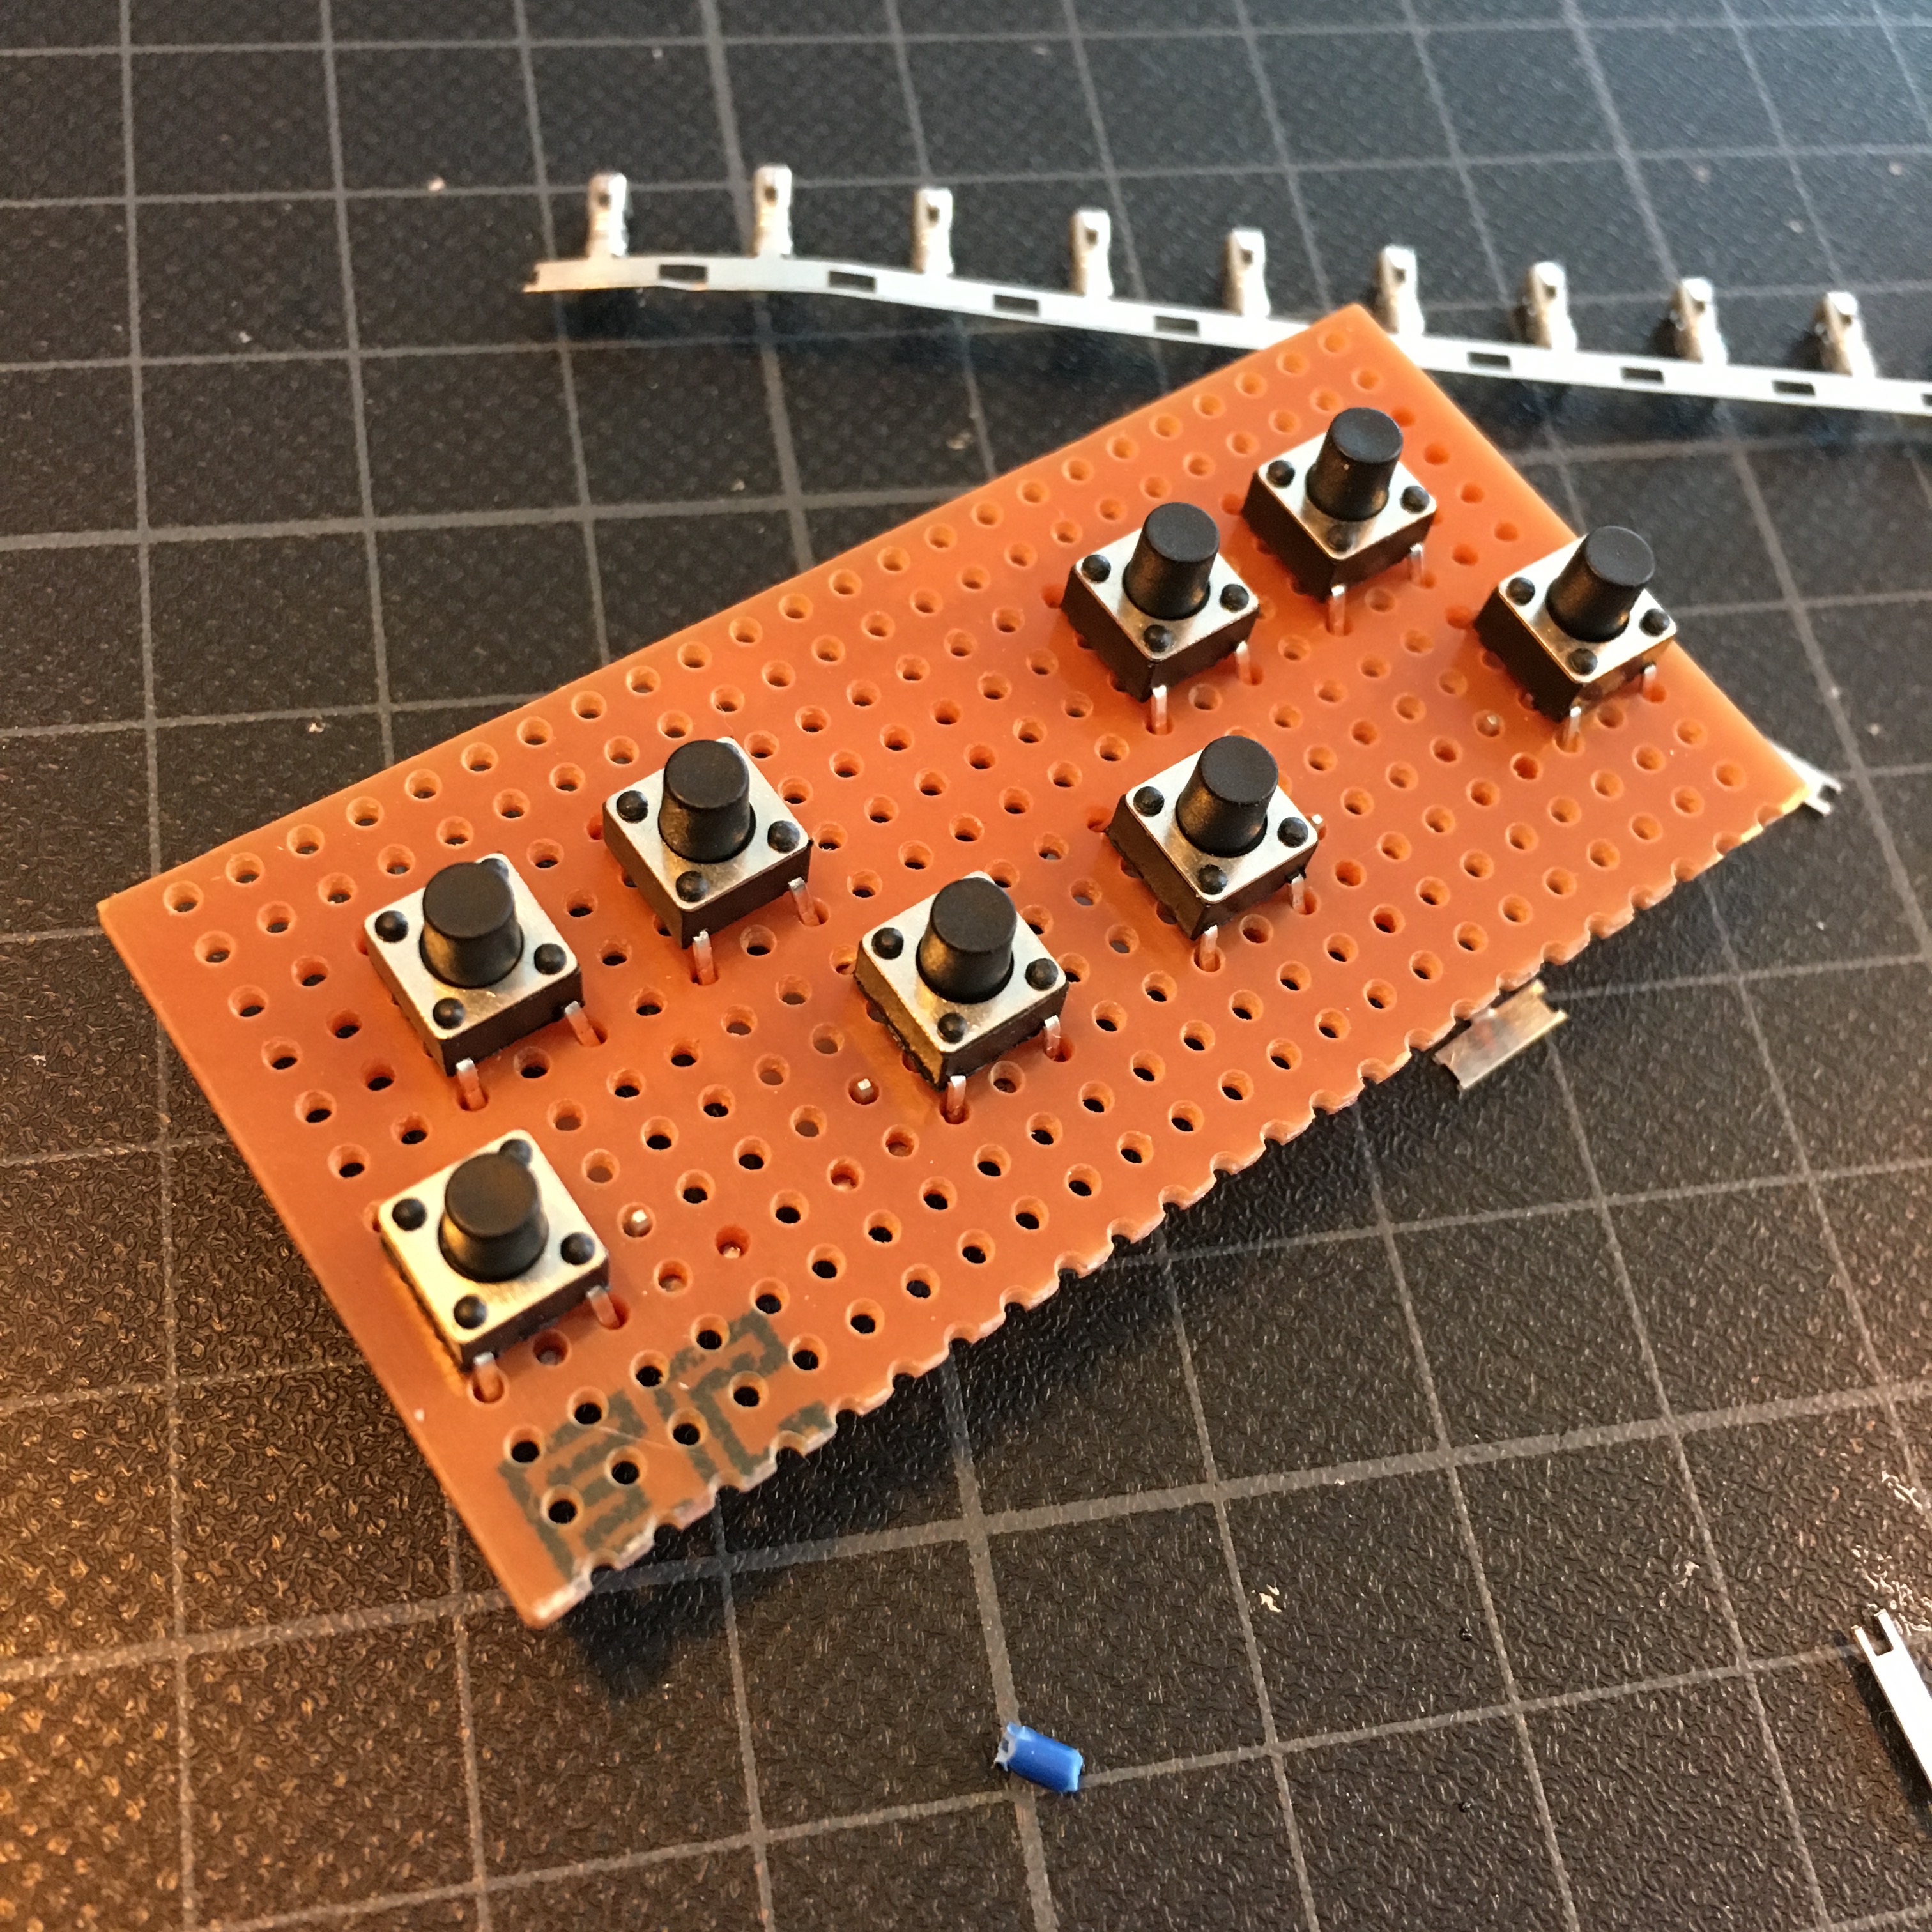
And with this simple setup, I am able to solder four 3-pin JST connectors on the back of the print, connecting 2 buttons each. A wire free proto board prevents OCD-type of annoyances …
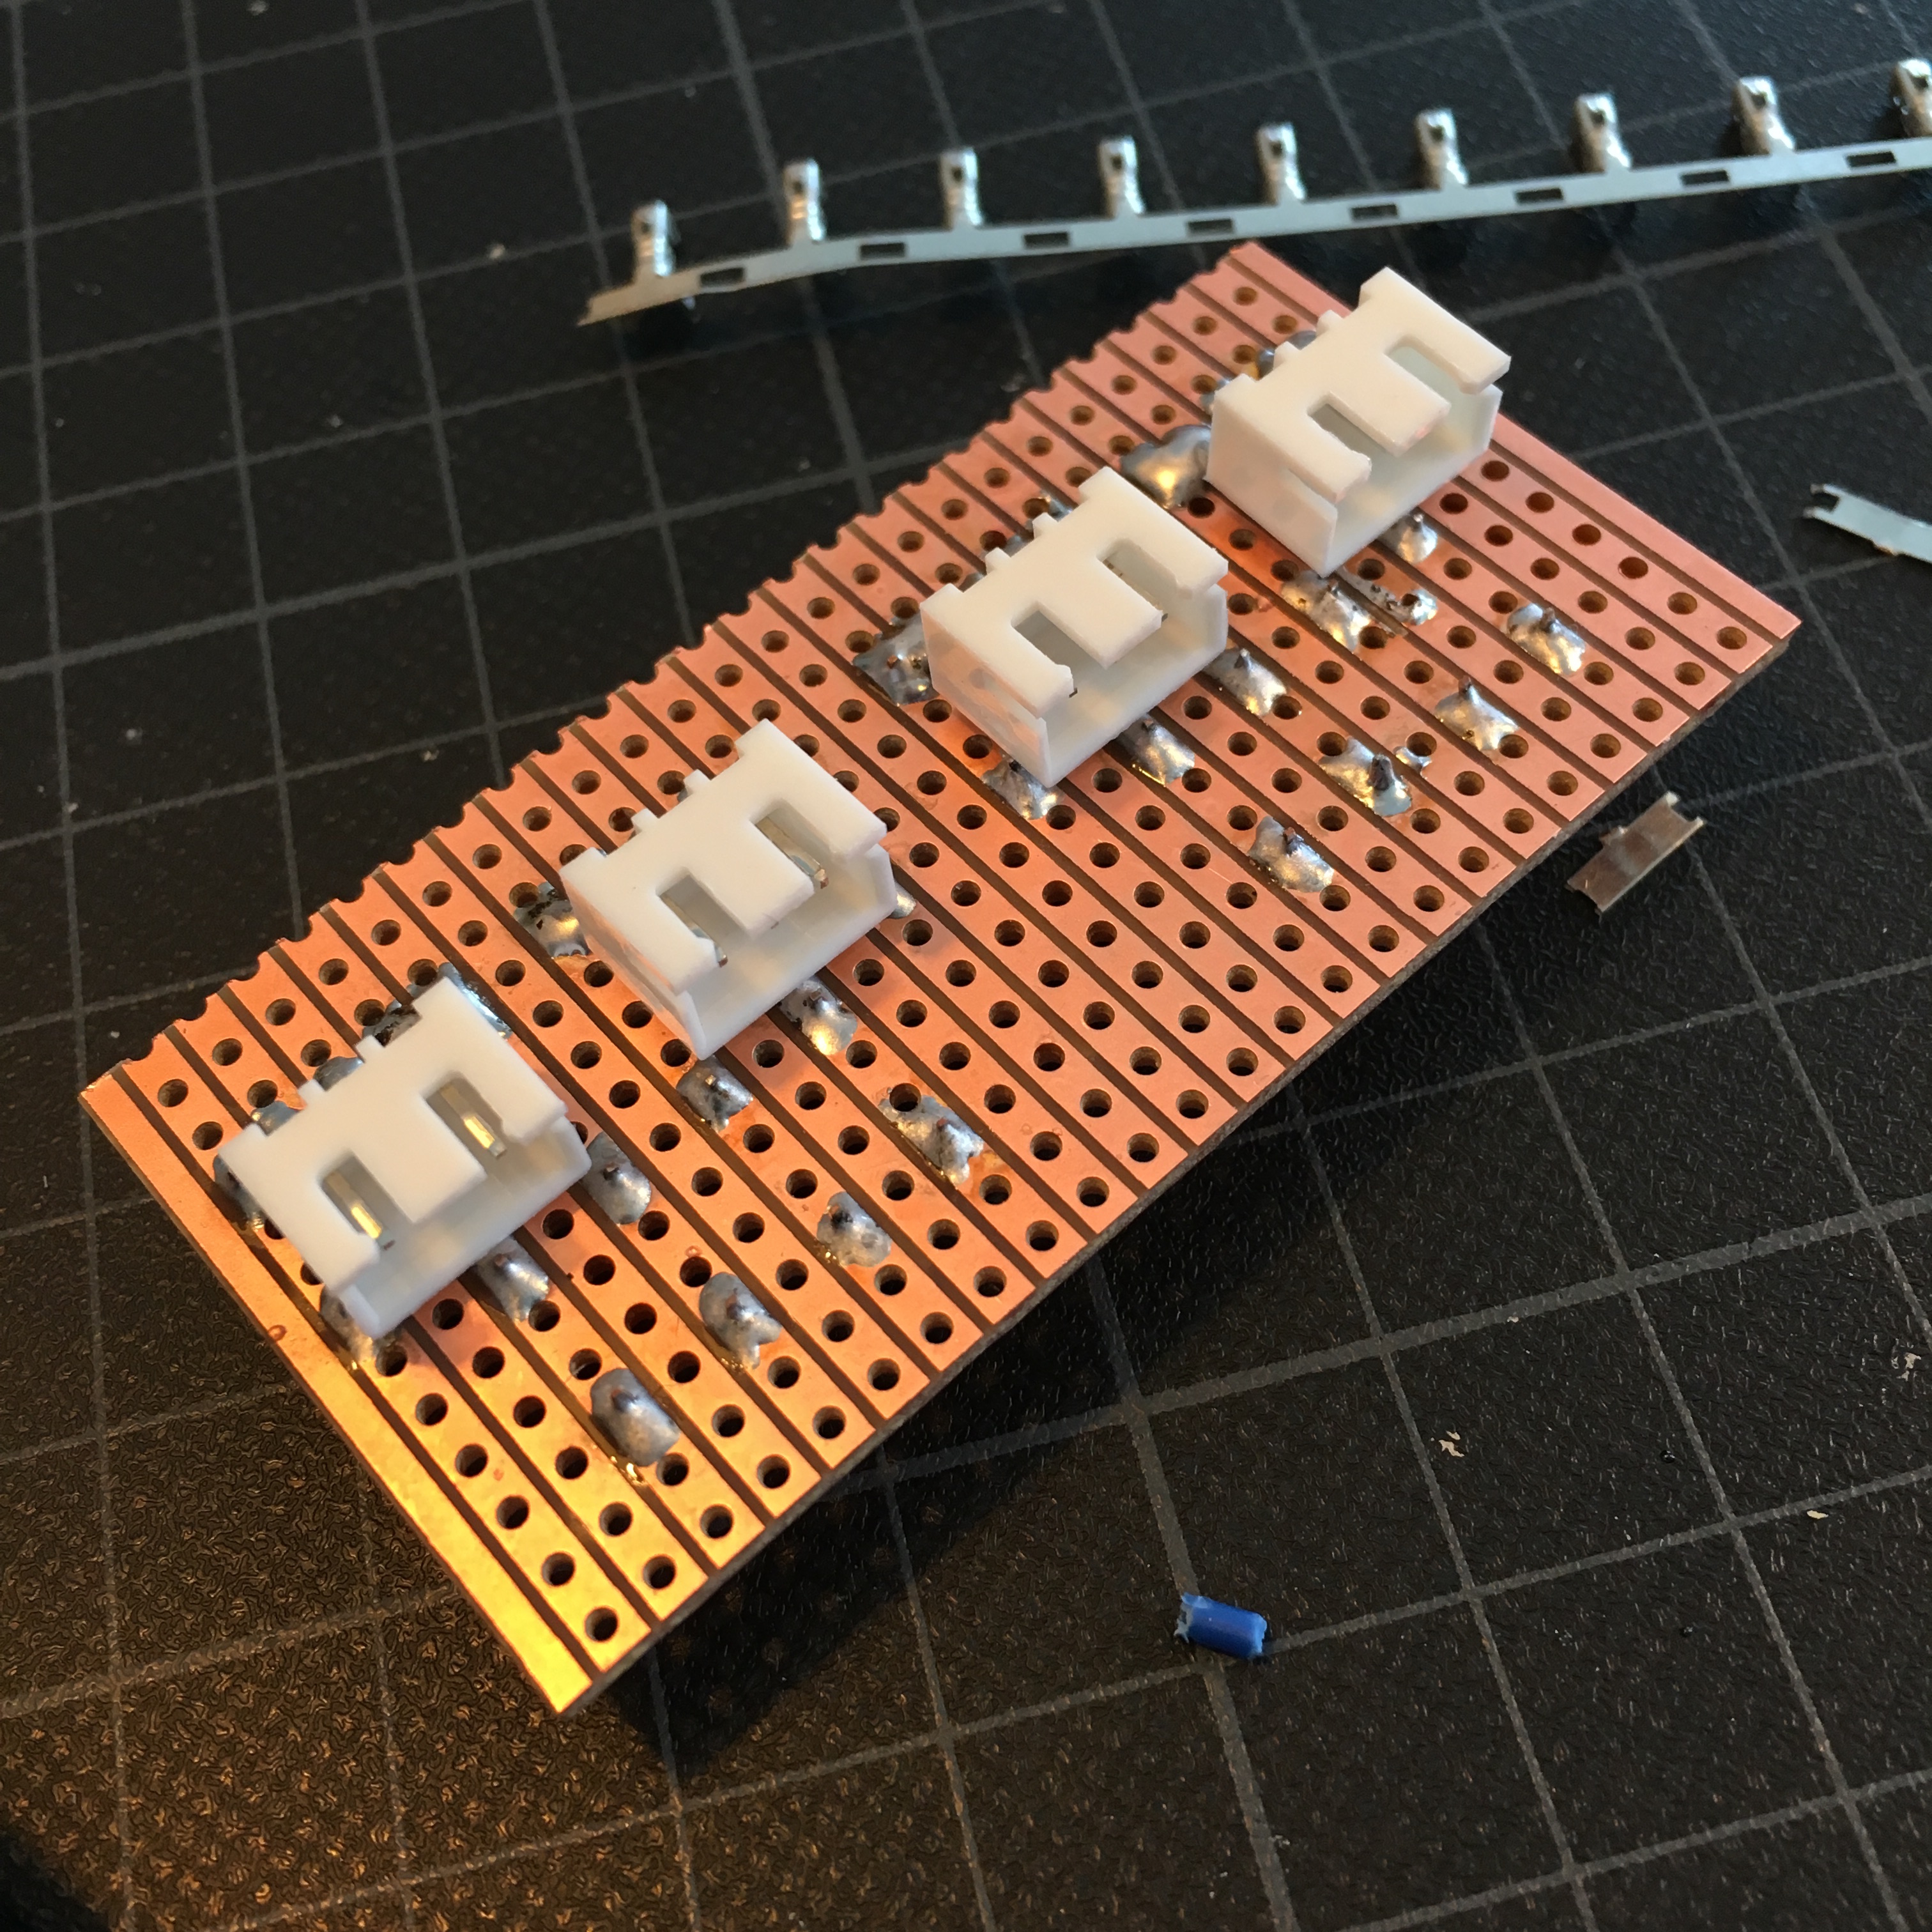
The use of these JST connectors allows me to simply connect and disconnect the button pad whenever I need to perform any maintenance or modifications. In past projects, the use of connectors (in stead of permanent connections) has proven to prevent a lot of cussing.
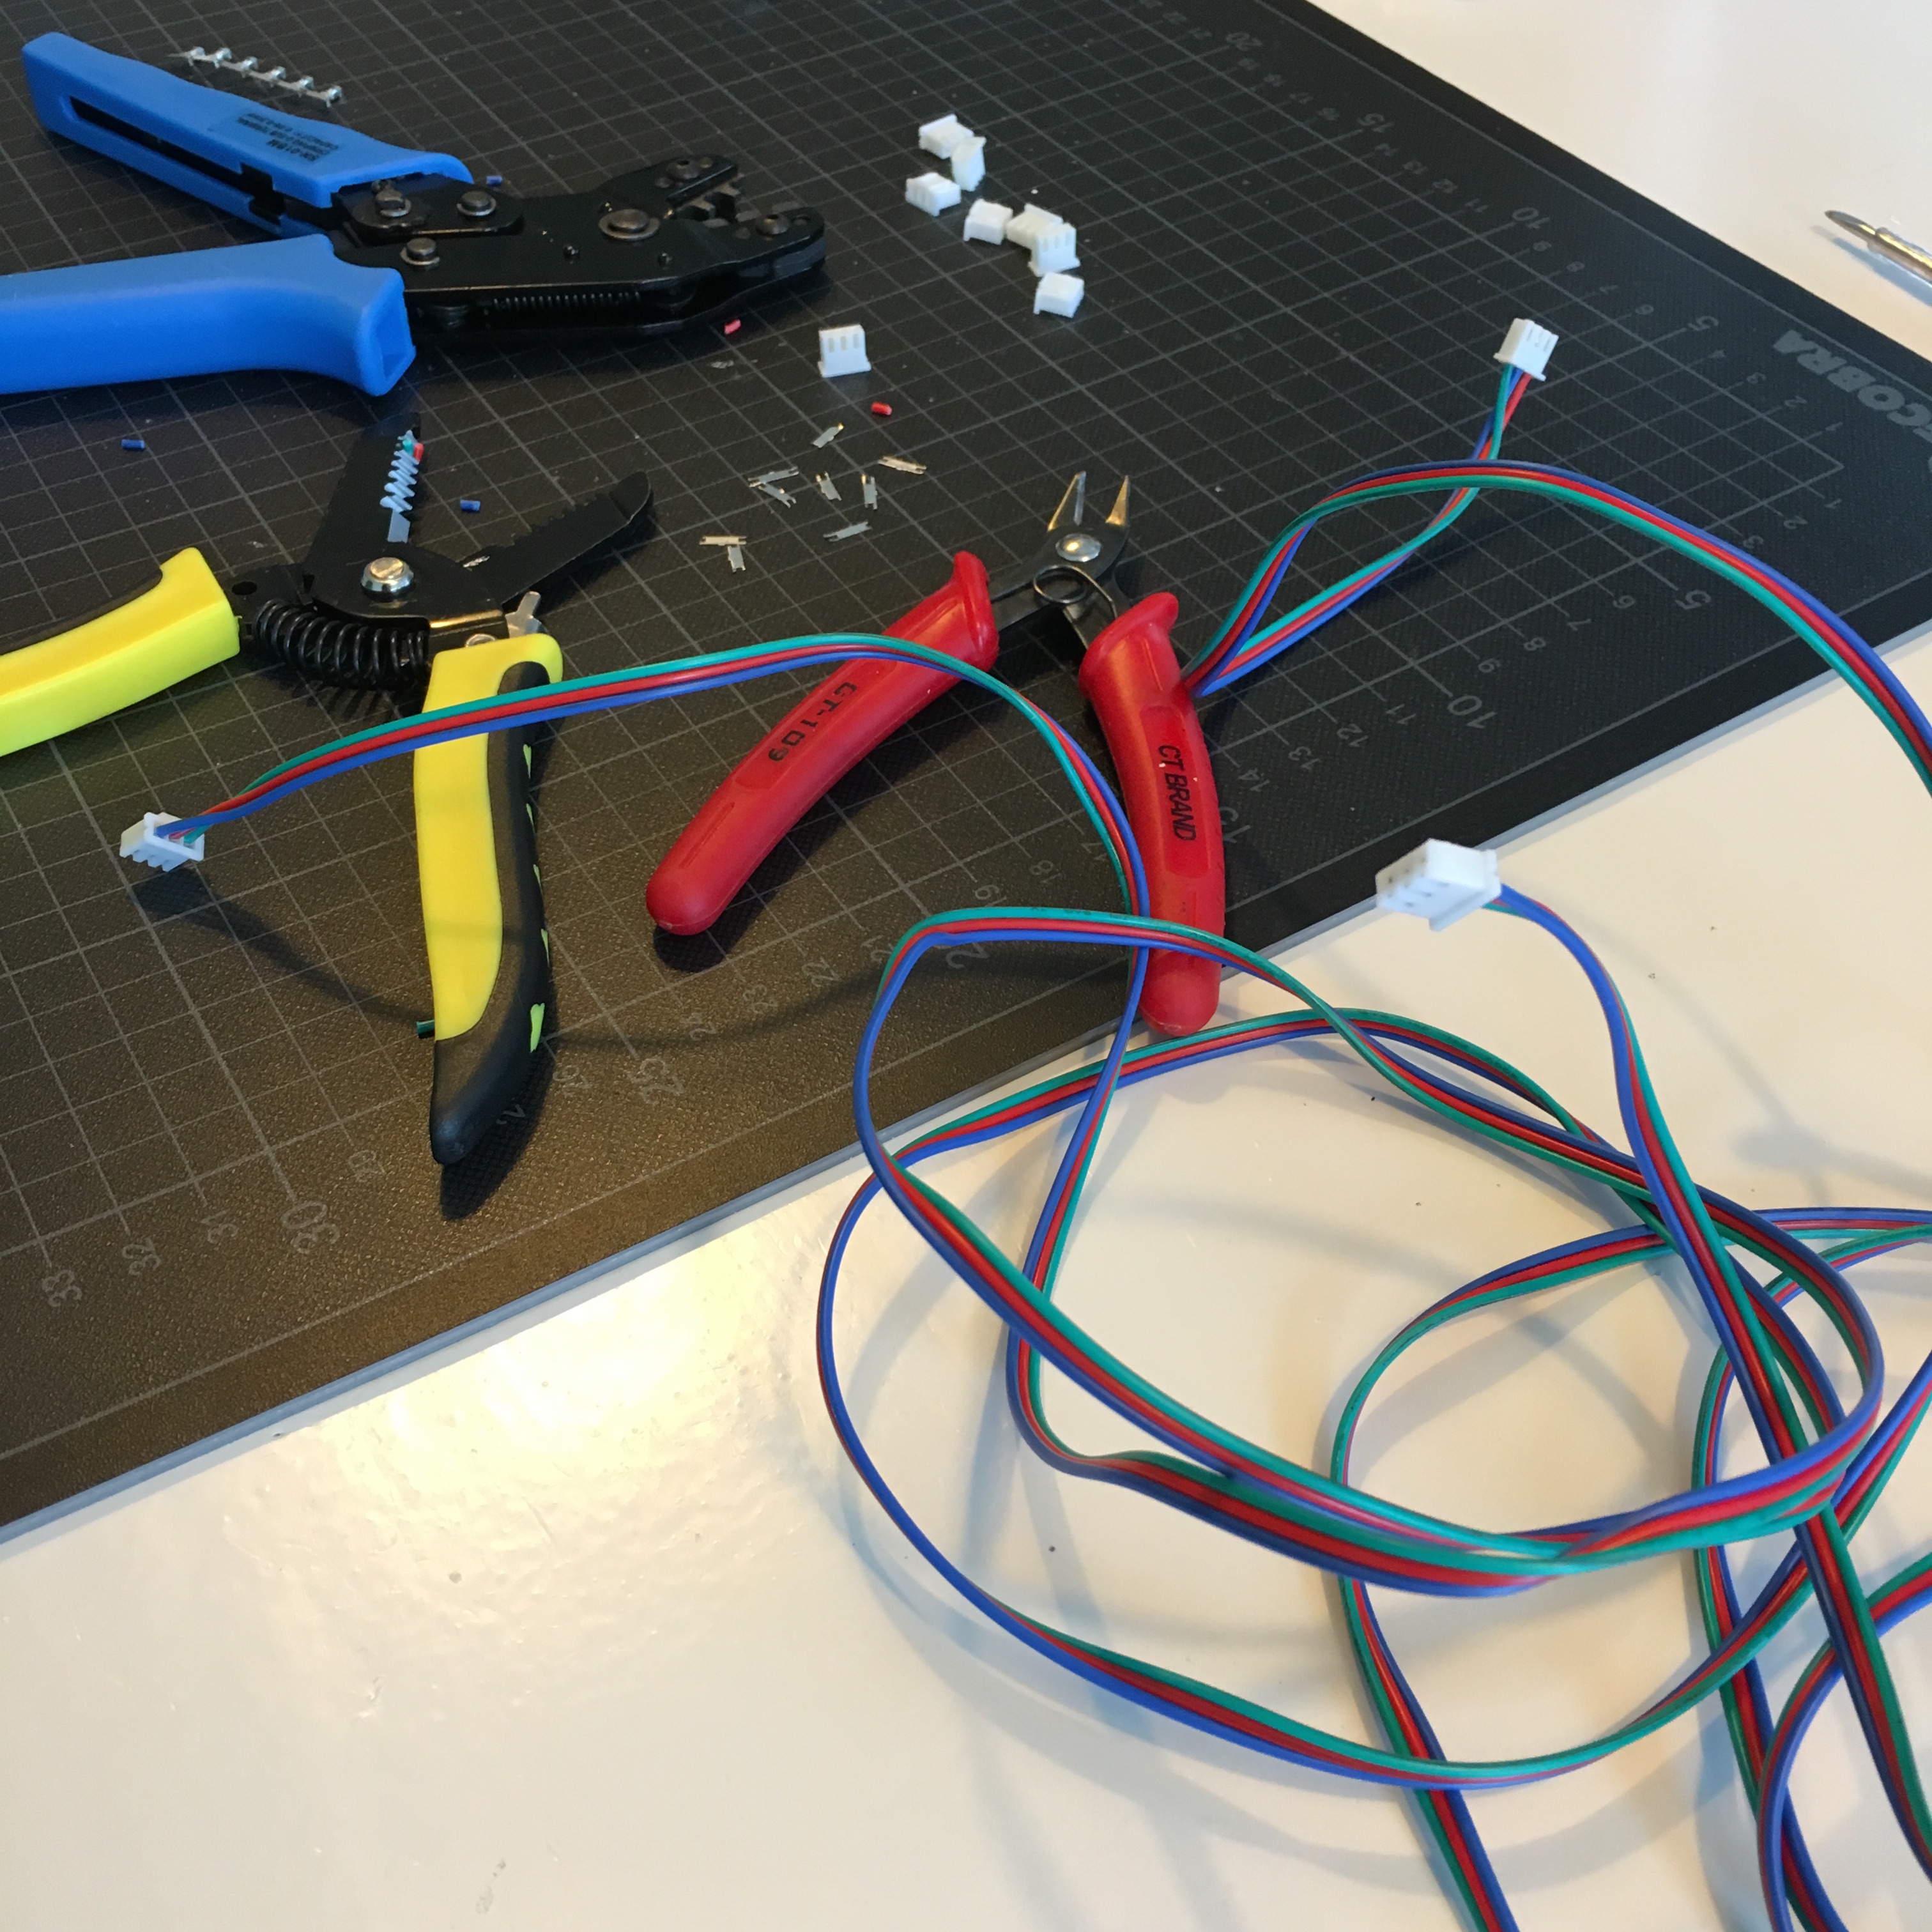
And with the help of my AliExpress shrink-pliers, the necessary cables were made in a few minutes.
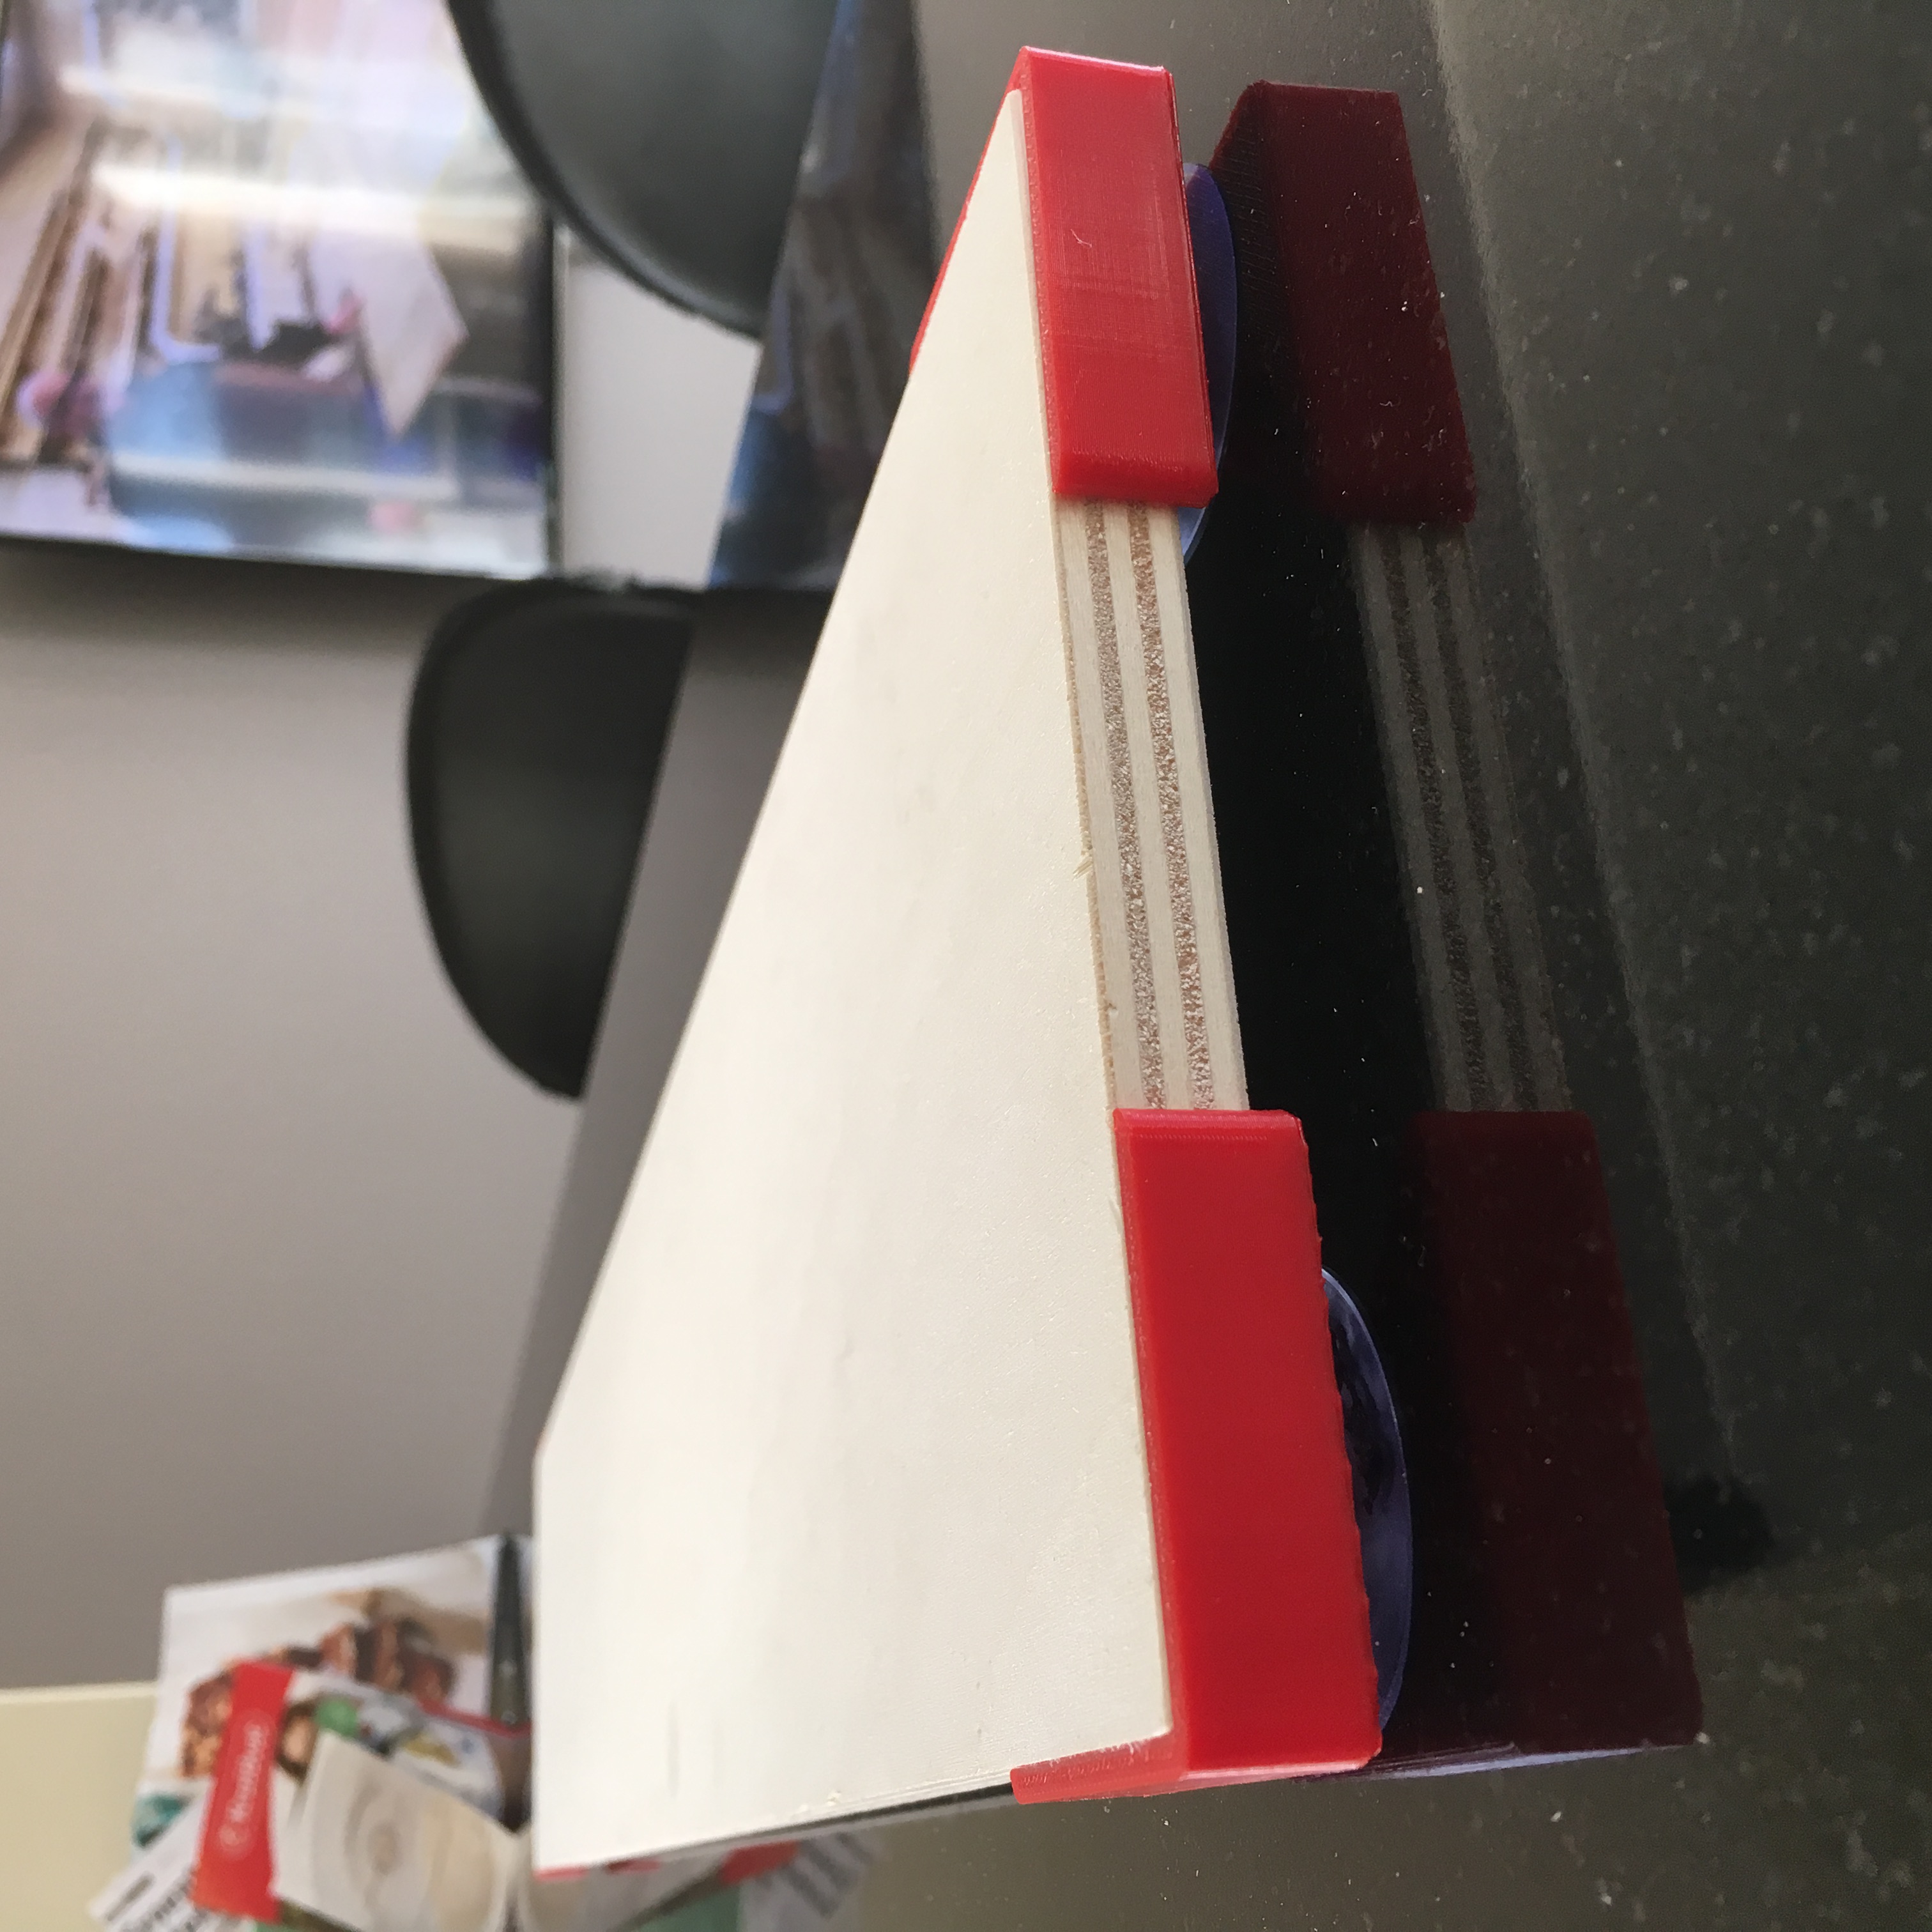
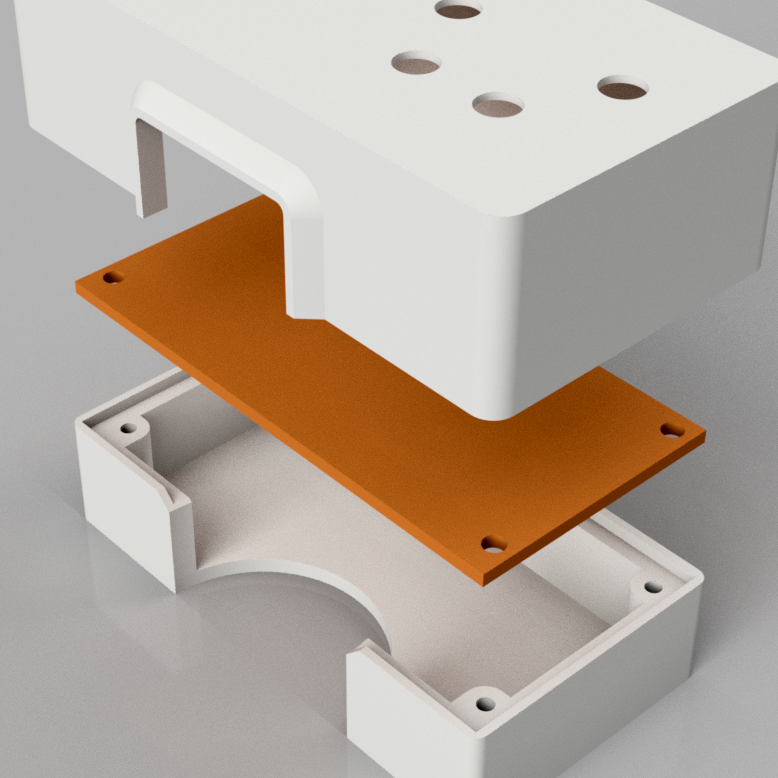
Due to the connectors on the back of the PCB, I can’t stick this proto board directly on to my wall, so with the help of Autodesk Fusion 360 I designed a simple but effective 3D-printable wall mount.
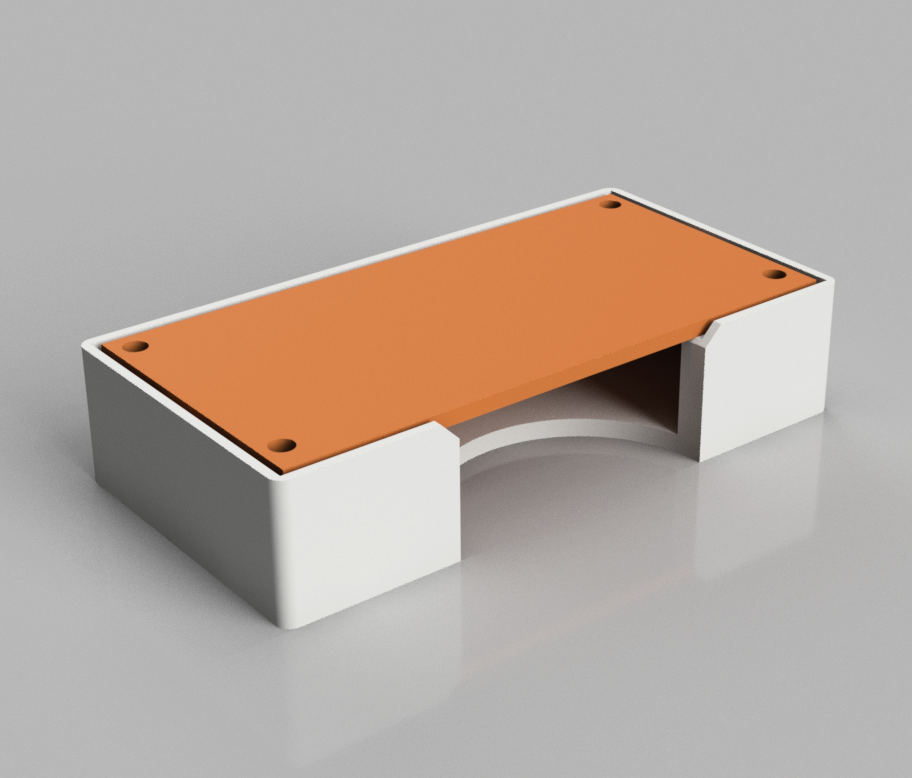
This wall mount is simply fixed to my wall using a double-sided adhesive strip. The PCB is held in place using 4 M2X5 screws I ordered on AliExpress. Something I can highly recommend. You can never have enough small screws for your 3D-printing projects!
And although this was initially the main goal of the temporary controls, I just spent a few more minutes to draw a shell I could slide over the 3D-printed mount.
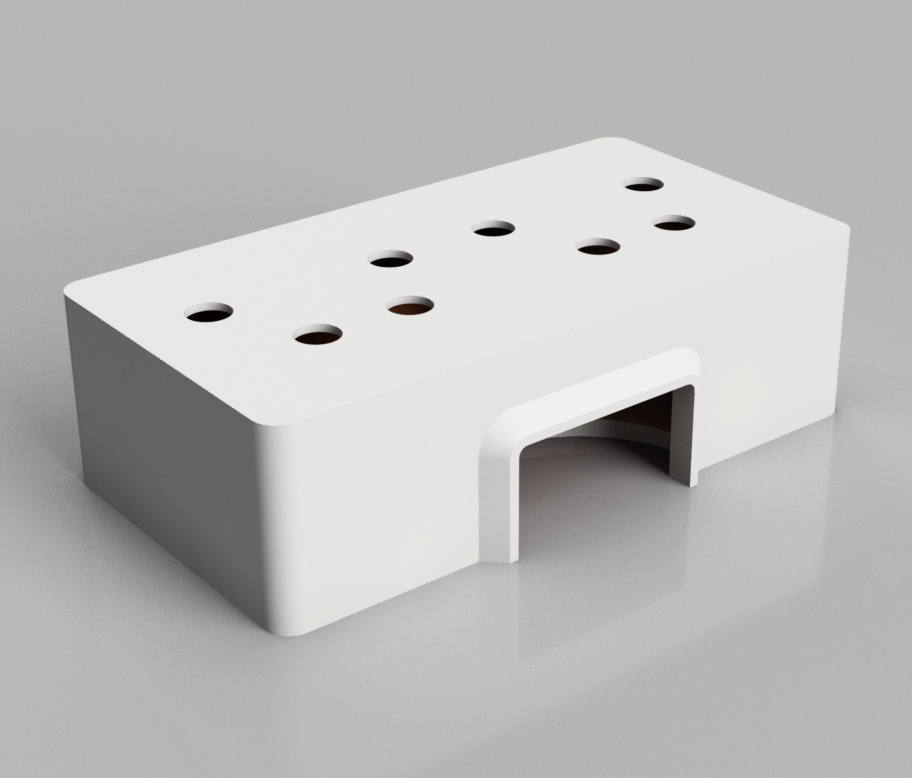
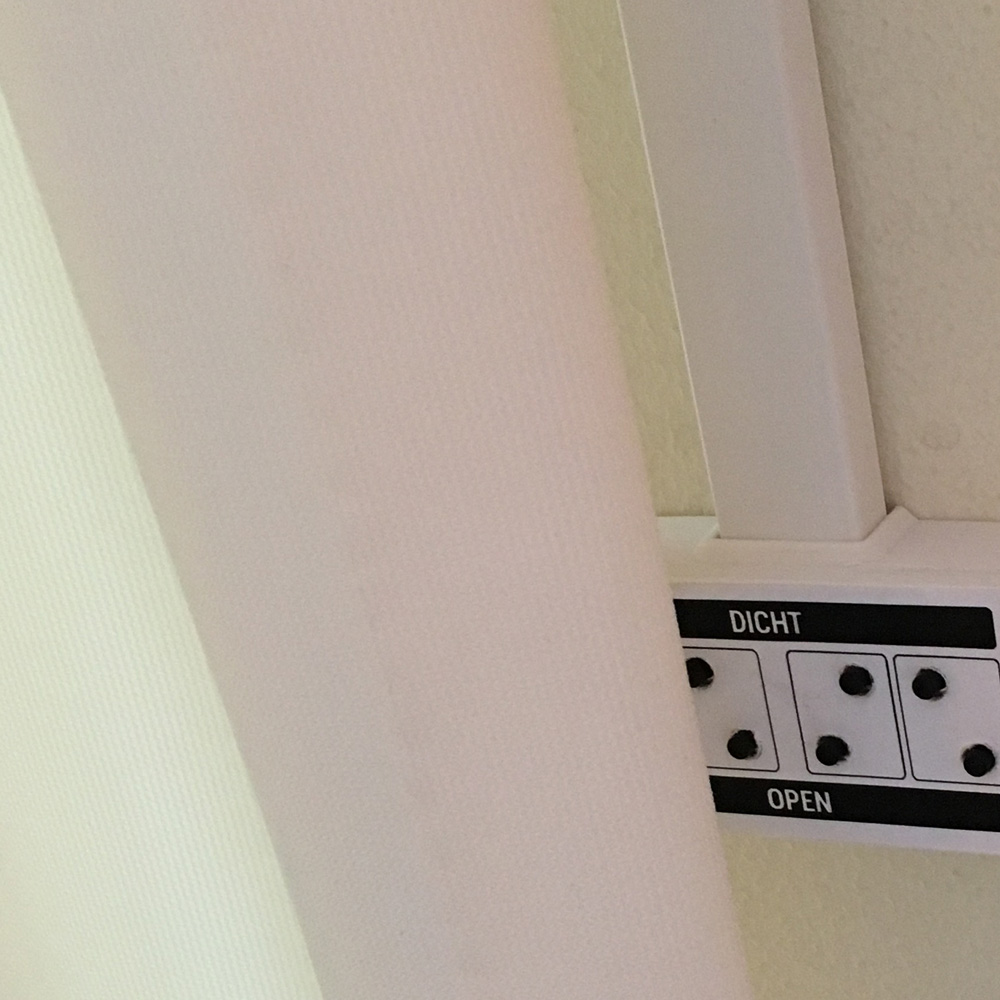
With a tolerance of 0.1mm, the outer shell will keep itself in place without the need of any extra screws. Of course, a simple white shell is a bit boring, and with 8 buttons, it couldn’t hurt to indicate what the buttons do. So using Illustrator I drew a simple overlay.
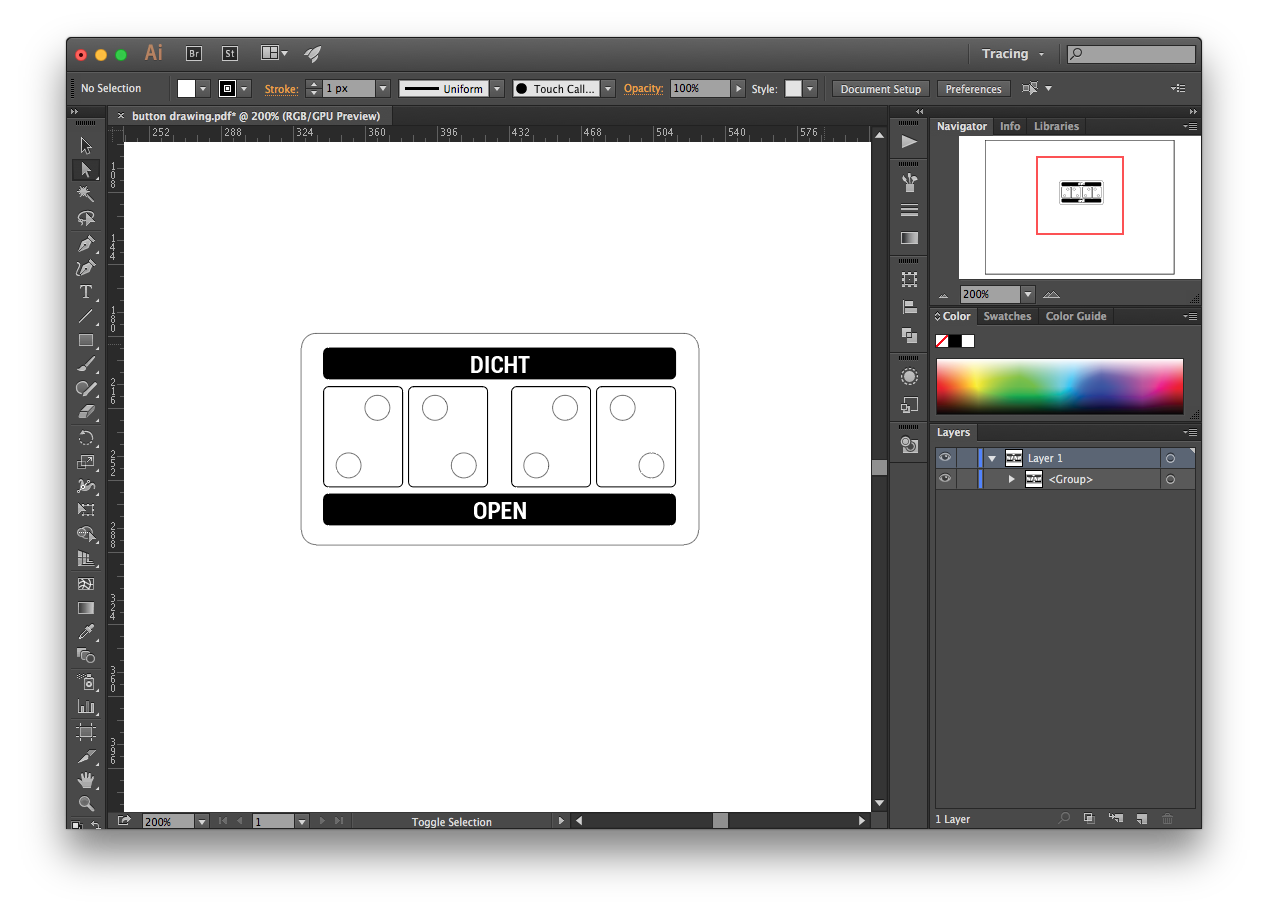
After I printed my label on a self-adhesive paper, I could simply stick the label on the 3D-printed cover and punch out the button holes.
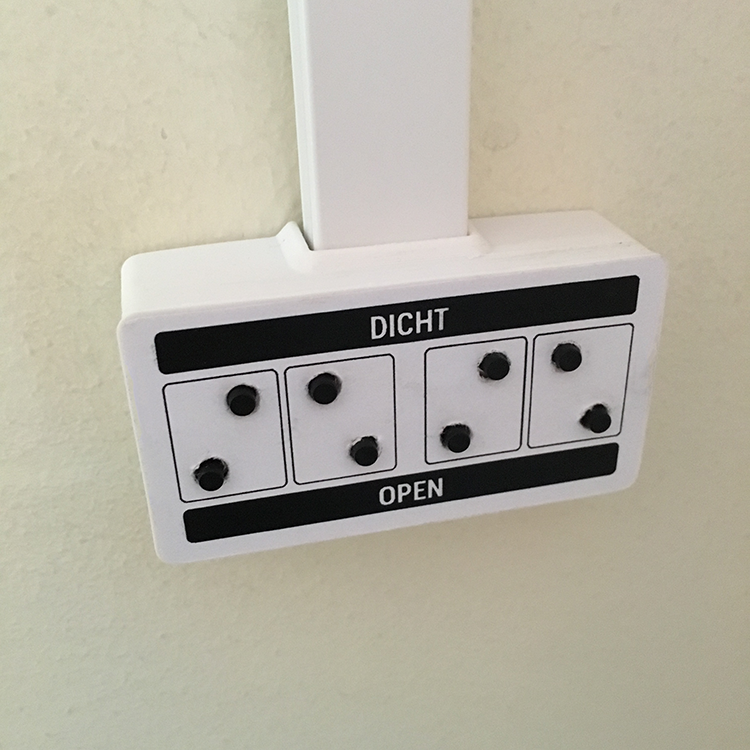
‘Unfortunately’, this beautifully piece of DIY is usually hidden behind the curtains, but luckily, you all know it’s there …
And with this button pad in place, I think it’s time to quote my sister’s famous words: “Nothing is as permanent as a temporary solution.”. In other words: 1 task down, 3 more to go.
Check out this link to see a interactive 3D-version of the controls!
Automatic Curtains: Preparing for Development