Let’s face it. Every maker wants to become the next Tony Stark. And even though my Power Suit looked fun, it wasn’t really capable of protecting the world against the bad guys. Let’s work on something a bit more doable …
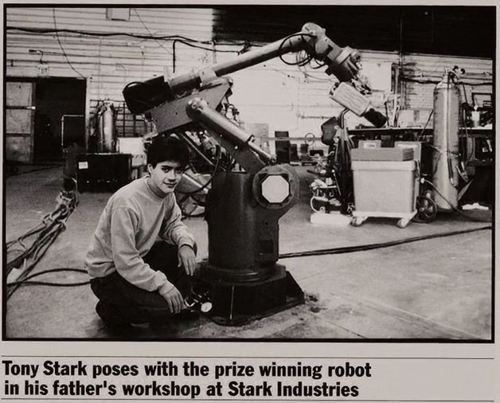
Ever since I was a little kid, I always dreamt of buidling my very own robot arm. It turned out I wasn’t the only one … Tony Stark built his very own robot arm in his father’s workshop when he was a little kid: meet DUM-E!
Now, I might not be able to build a flying exoskeleton, but building a sexy looking robot arm should be doable. Especially with the help of my other little robot helper: The Lulzbot Mini. My Next project is born. Let’s suit up, an let the fun begin!

The Goal
Now, I don’t want to burst your bubble and spoil the fun before we even get started… But I do think it is time to set some realistic goals.
Of course, building a fully functional robot arm is extremely cool, and with a few servo’s this shouldn’t be to difficult. When you take a look at YouTube, you’ll find tons of homebrewn robot’s. But none of them meet the requirements I have.
My focus will not be on a fully functional (and autonomous) robot arm. What I want to build is a robot arm joint that matches the following expecteations:
- The joint should look clean. No transmission or motors should be visible on the outside of the joint.
- It needs to have a professional sound. I love the simplicity of servos, but can’t stand the plastic sound of it. I don’t mind hearing the motor or transmission, but it should give a “professional” touch to the joint.
- It should be accurate: I don’t plan to do any heart surgery with it, but all movements should be as programmed. Not because of any backlash in the transmission.
- It should be strong. At least strong enough hand me a fresh can of RedBull every now and then.

If I manage to built a joint I’m happy with (which somehow meets most of the above expectations) I can always duplicate it to eventually built a fully functional robot arm. But as said: to keep the project fun, I will currently only focus on one joint.
The Foundation
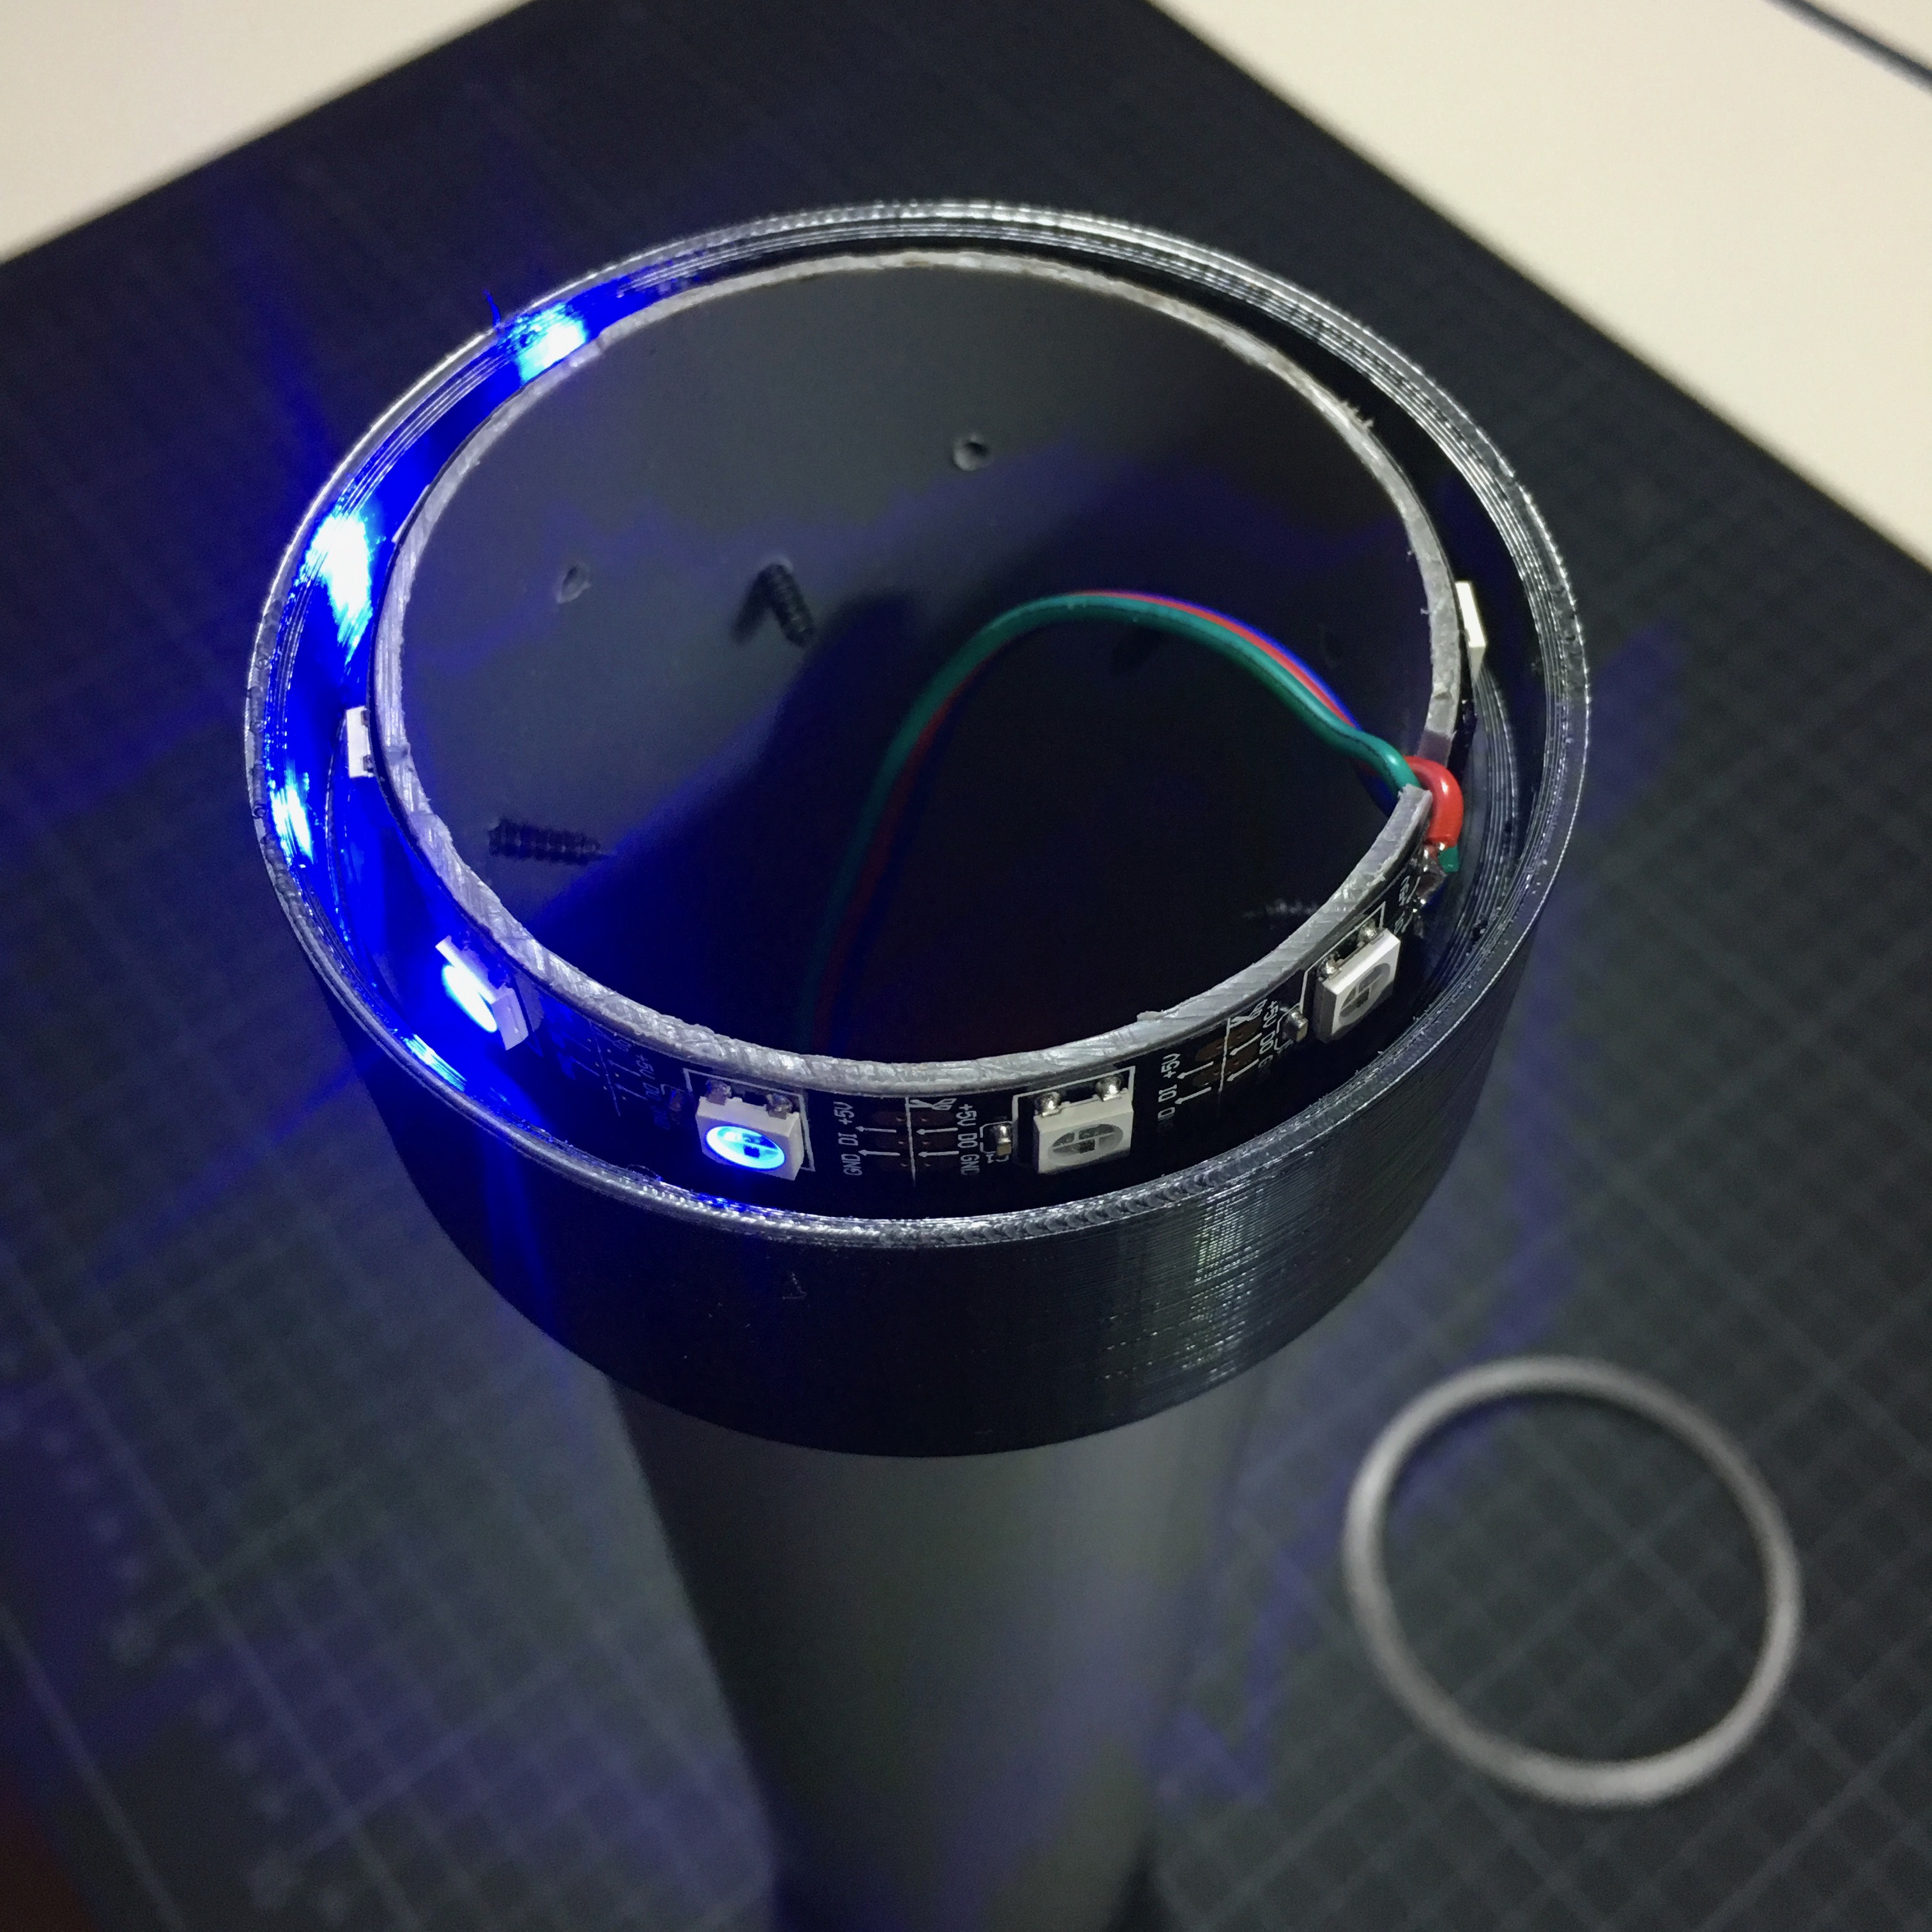
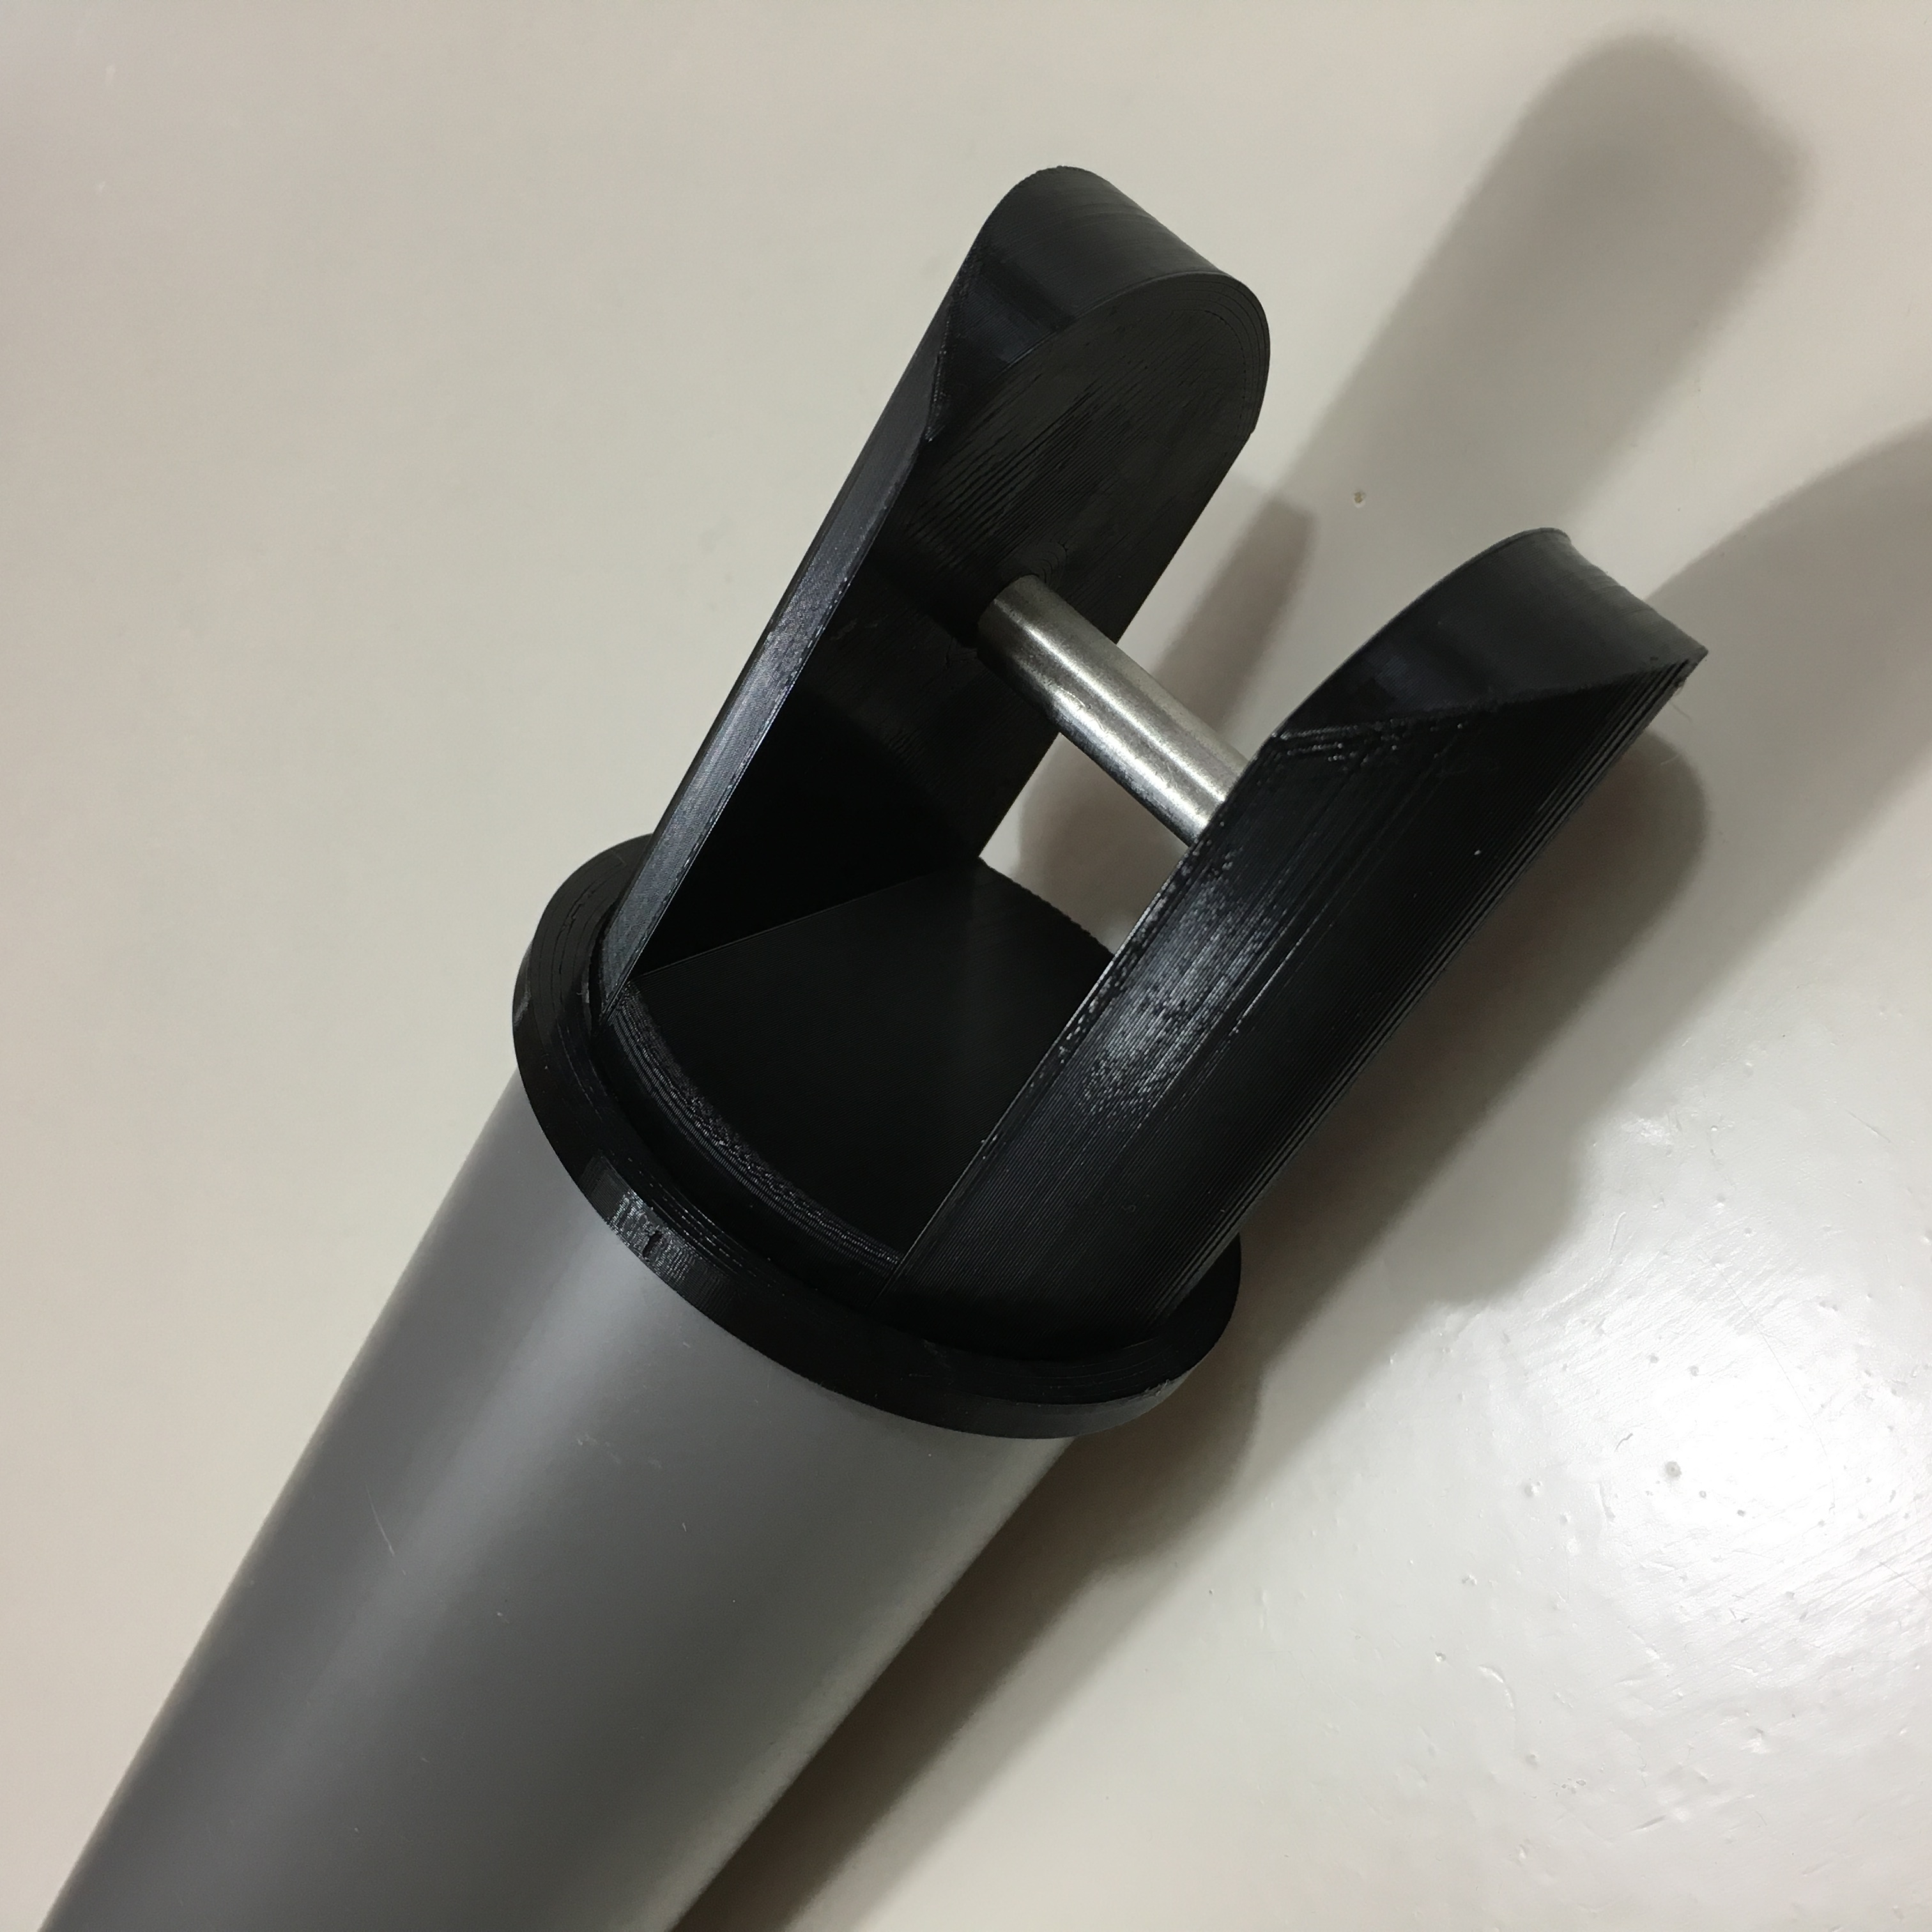
The arm I’m building will be based on pipes with a 60mm outside diameter. The inside diameter is 57mm, which gives enough room to house a NEMA 17 stepper motor. In the experimentation phase, I use PVC pipe. In the future I might replace these pipes with alluminium pipes for added rigidity and a sexier look.
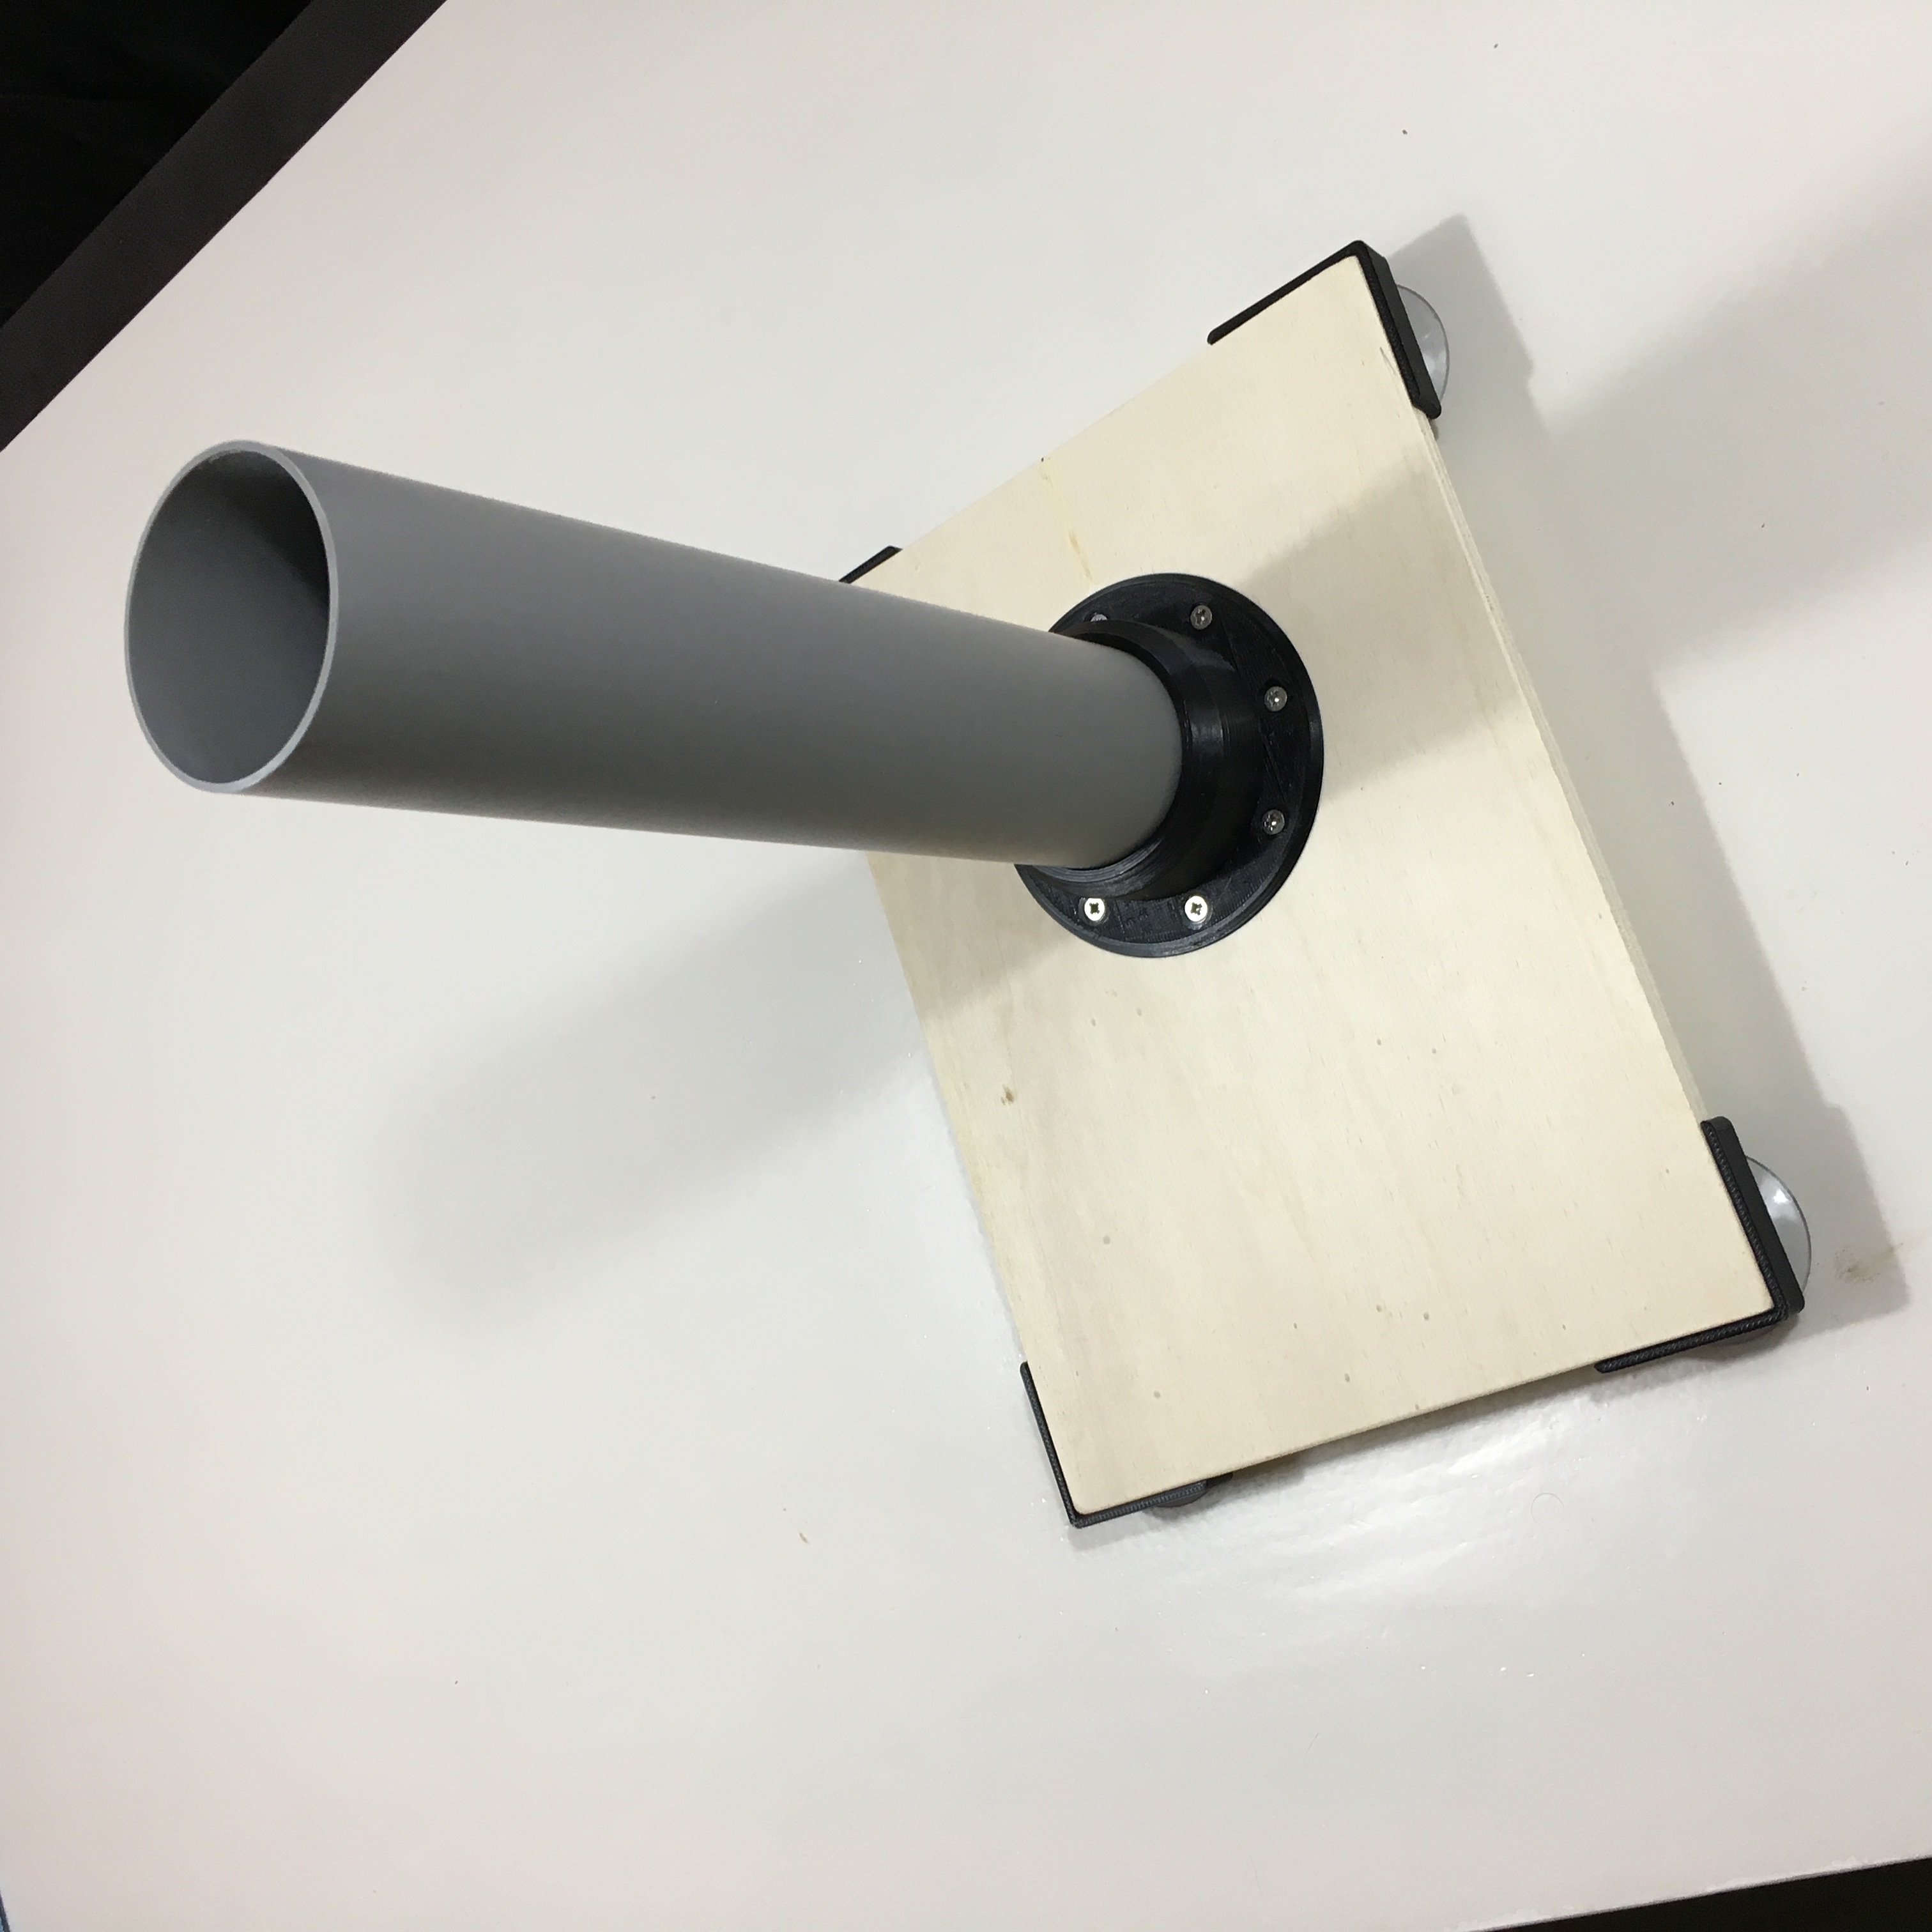
As with my curtain project, I printed some suction cups standoffs to keep it on my desk. The pipe is currently fixed to the board, in the future this might be replaced with an axial joint.
The Transmission
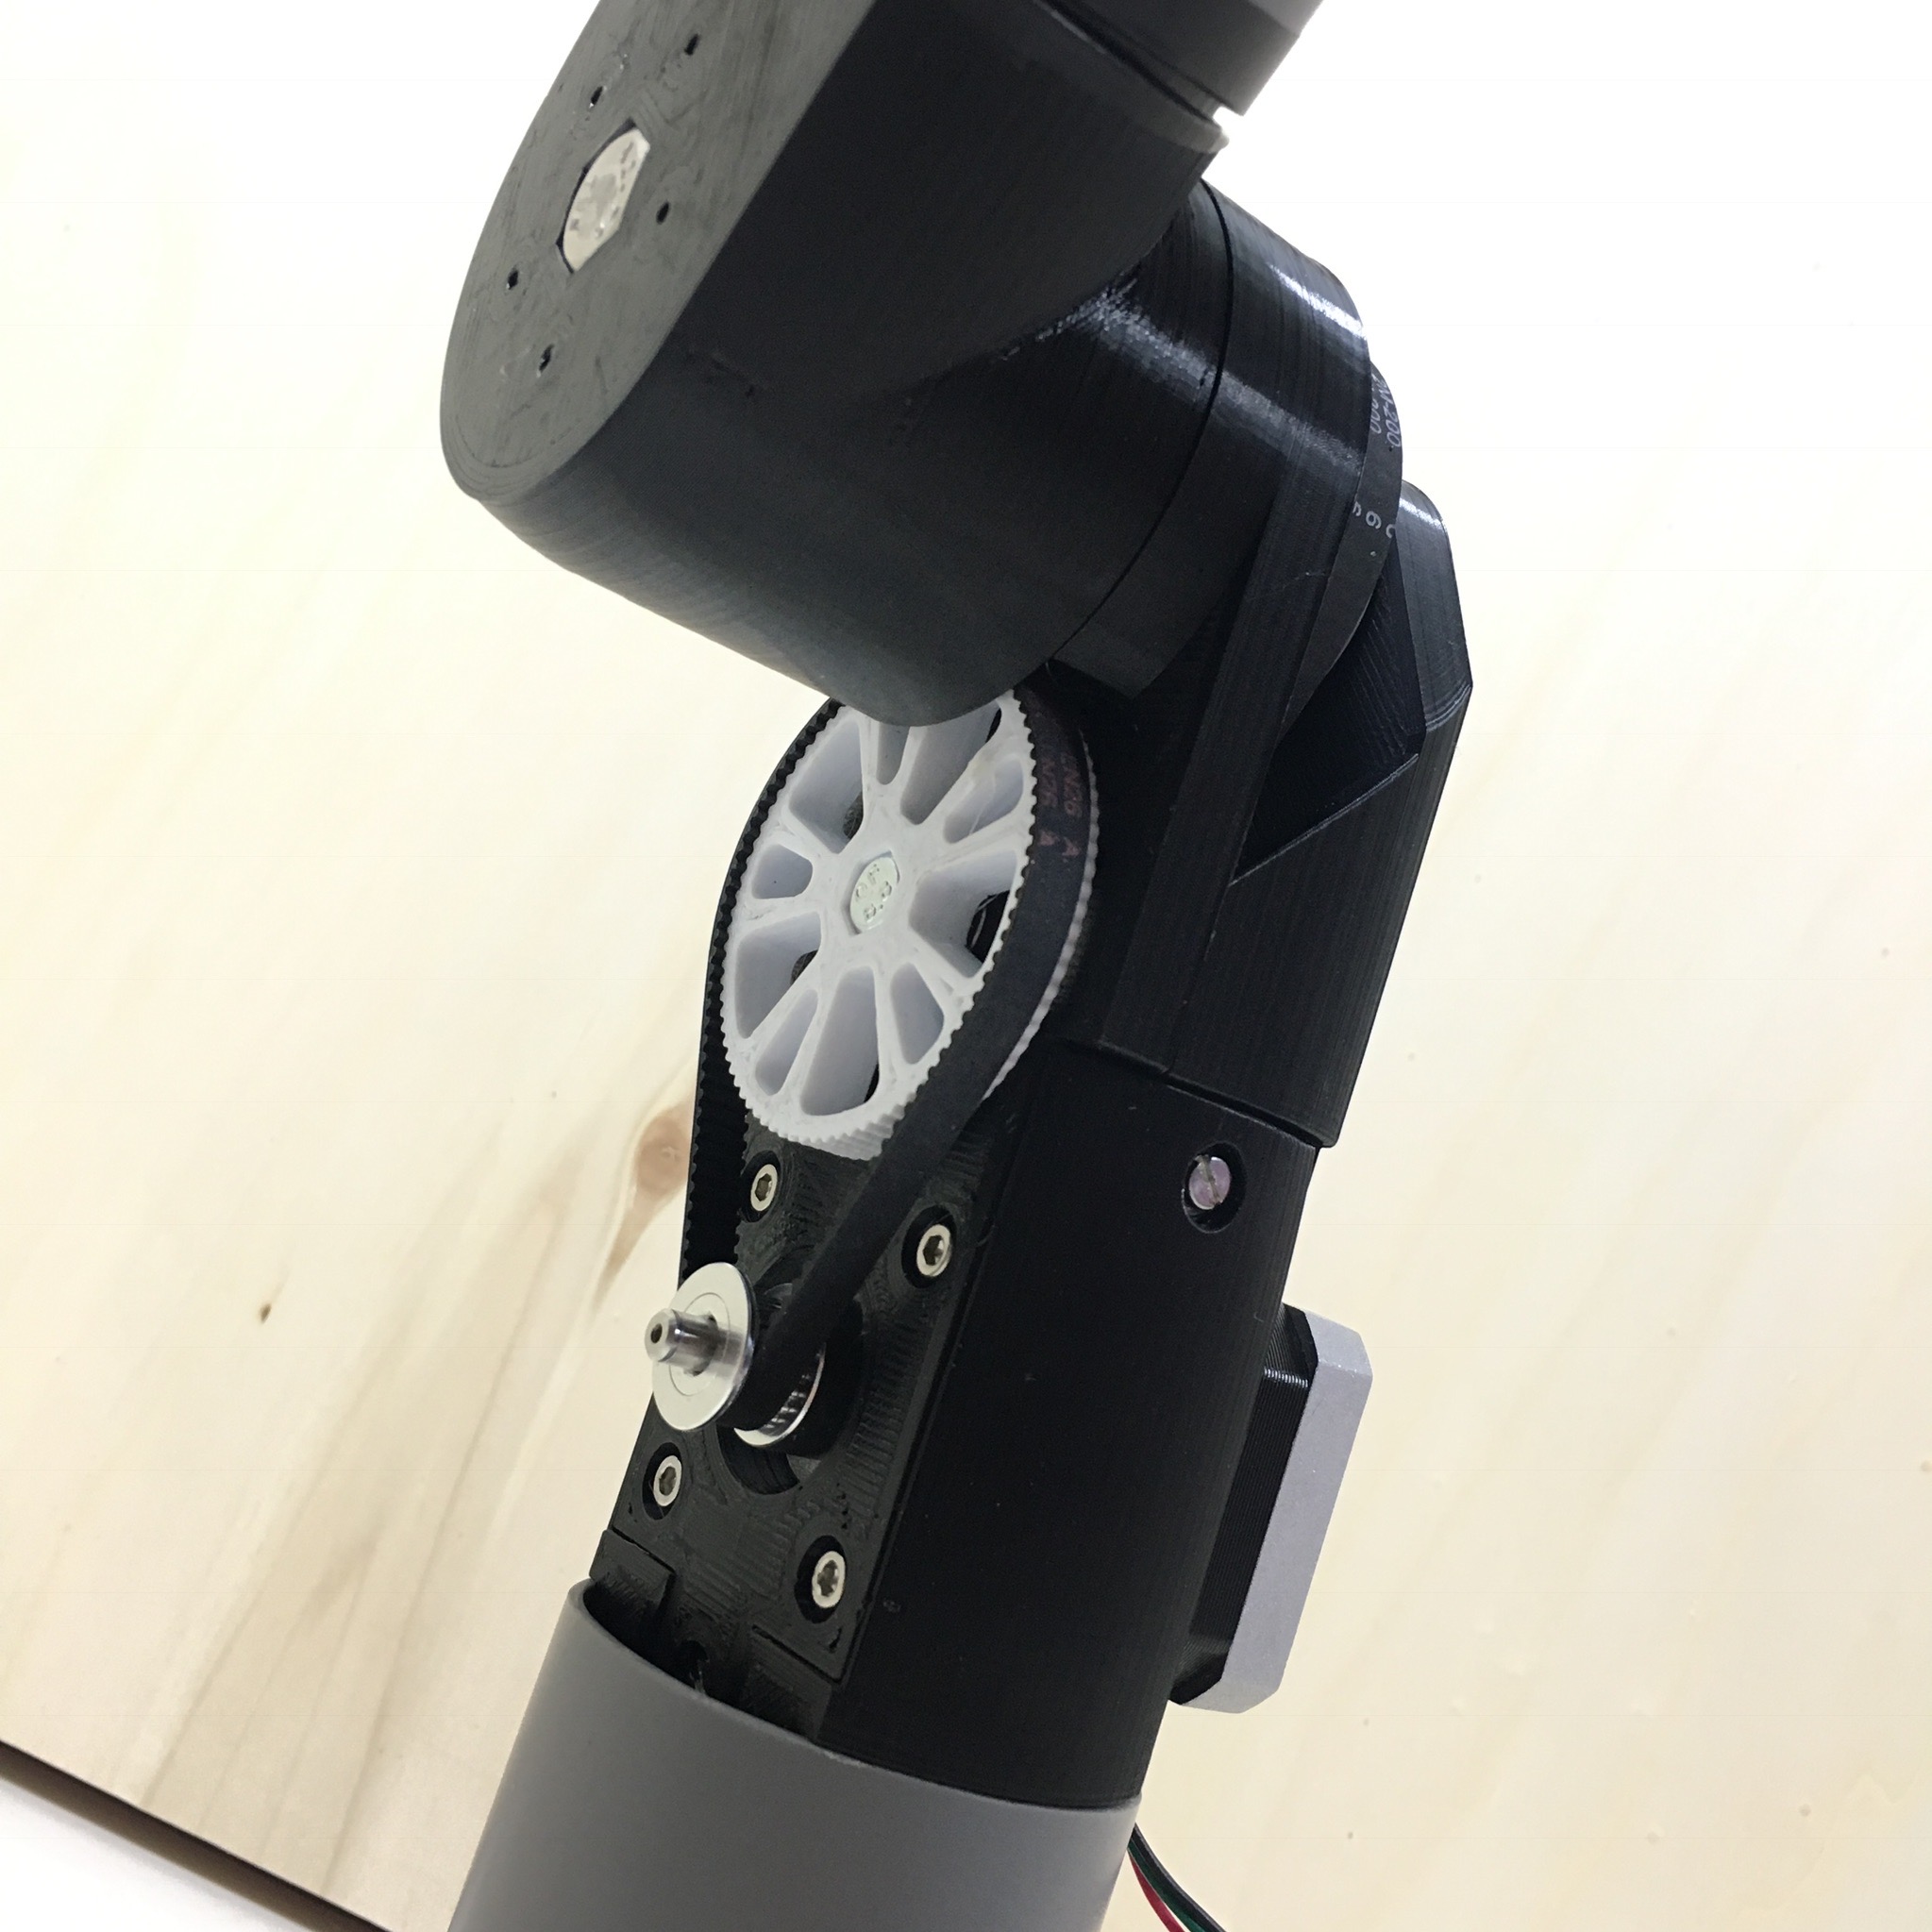
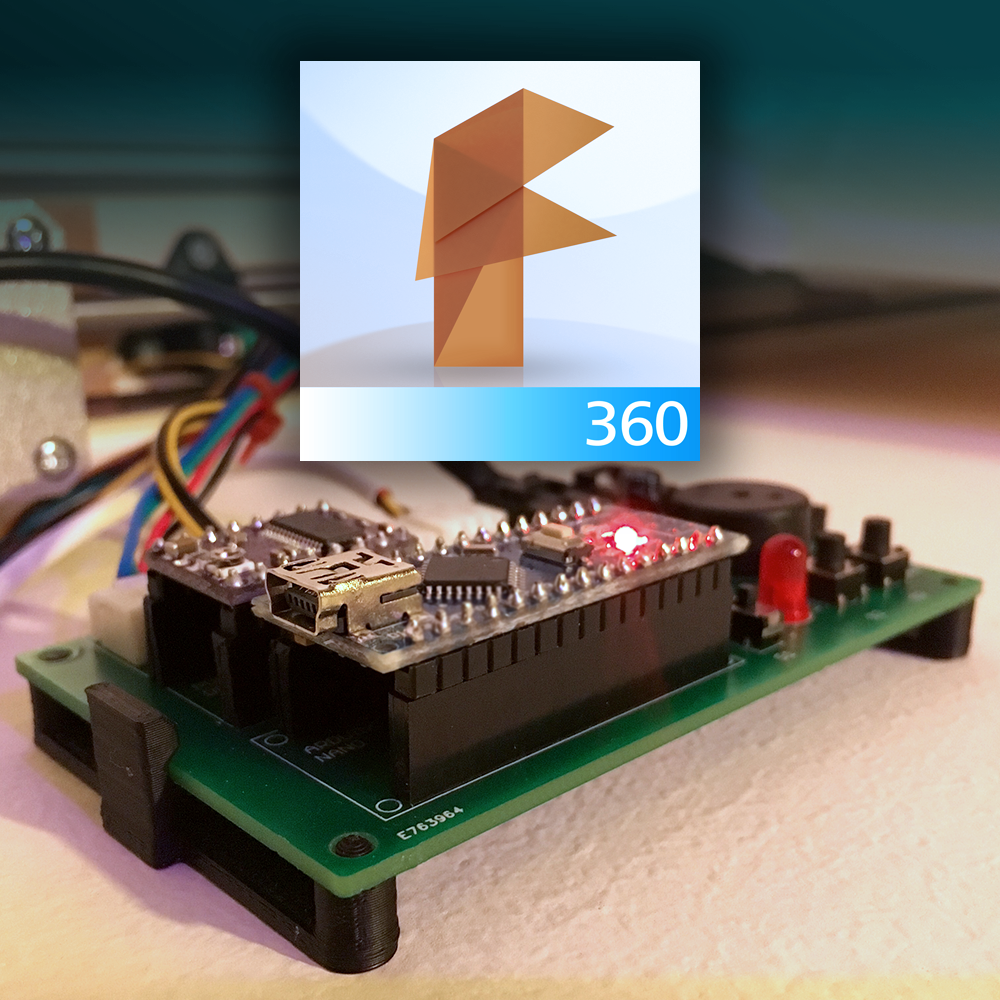
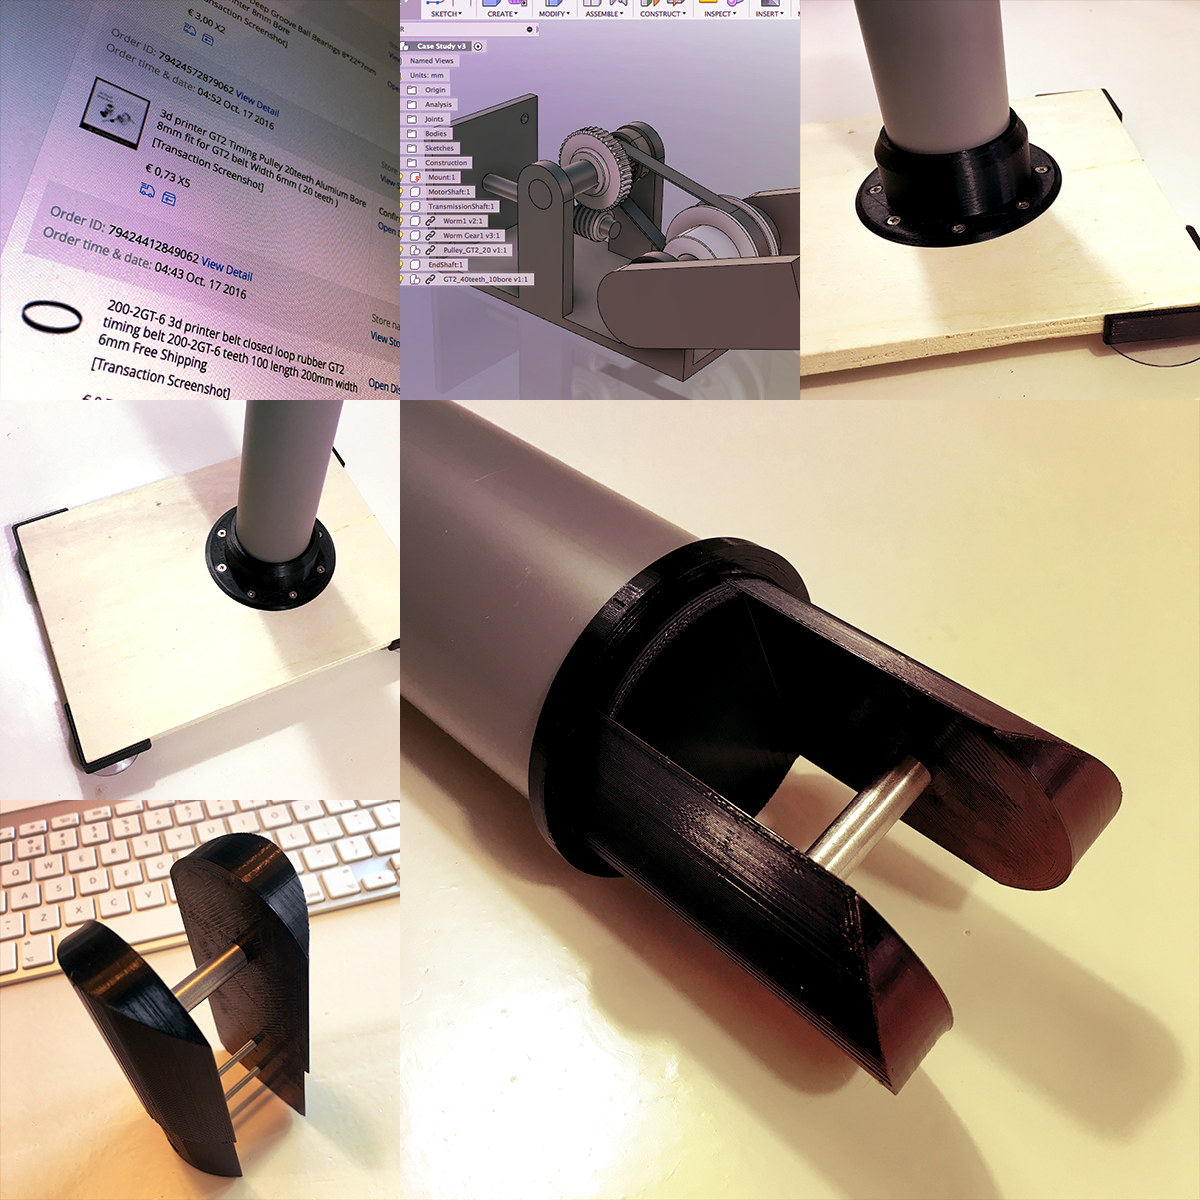
Since the motor will be housed within the pipe, there needs to be a transmission to make the 90 degrees angle which is nessecery for the joint. Using Fusion 360, I drew a small case study to try out a possible transmission system.
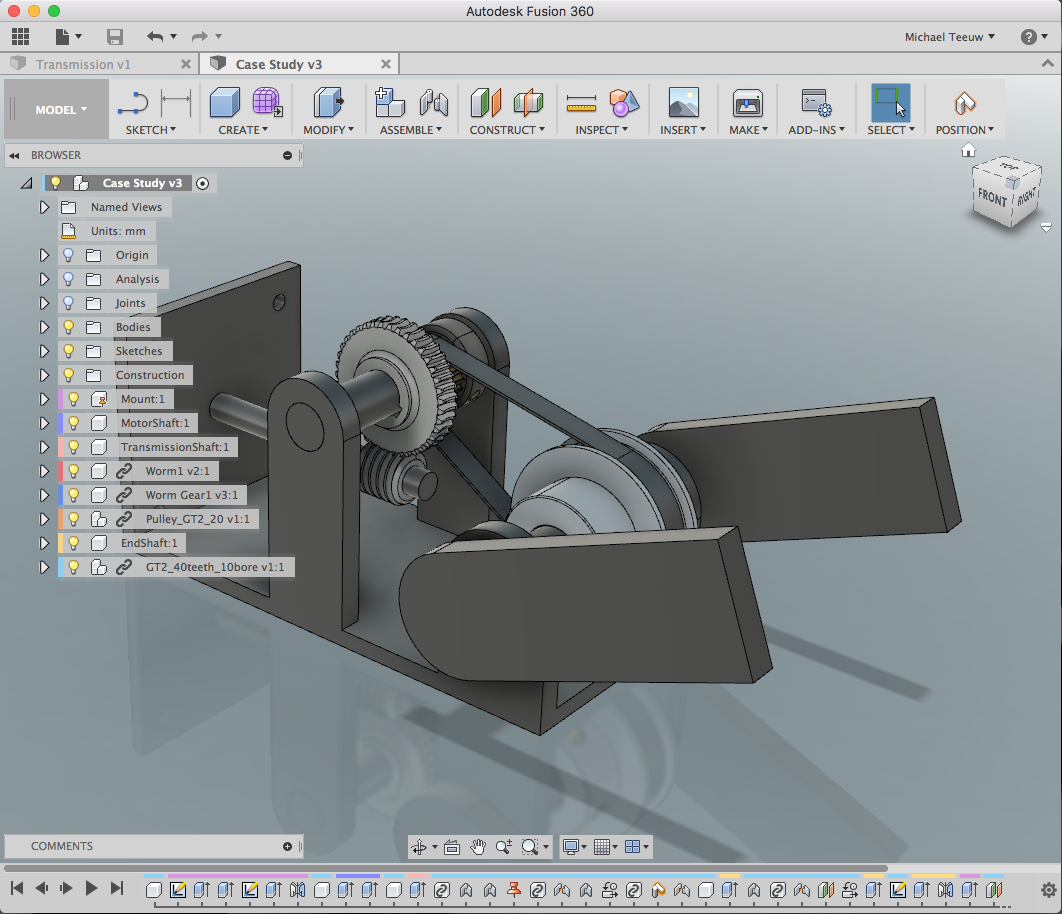
Using a worm wheel I should be able to make a transmission that increases it’s strength and prevents as much backlash as possible. The gear ratio is something I need to experiment with.
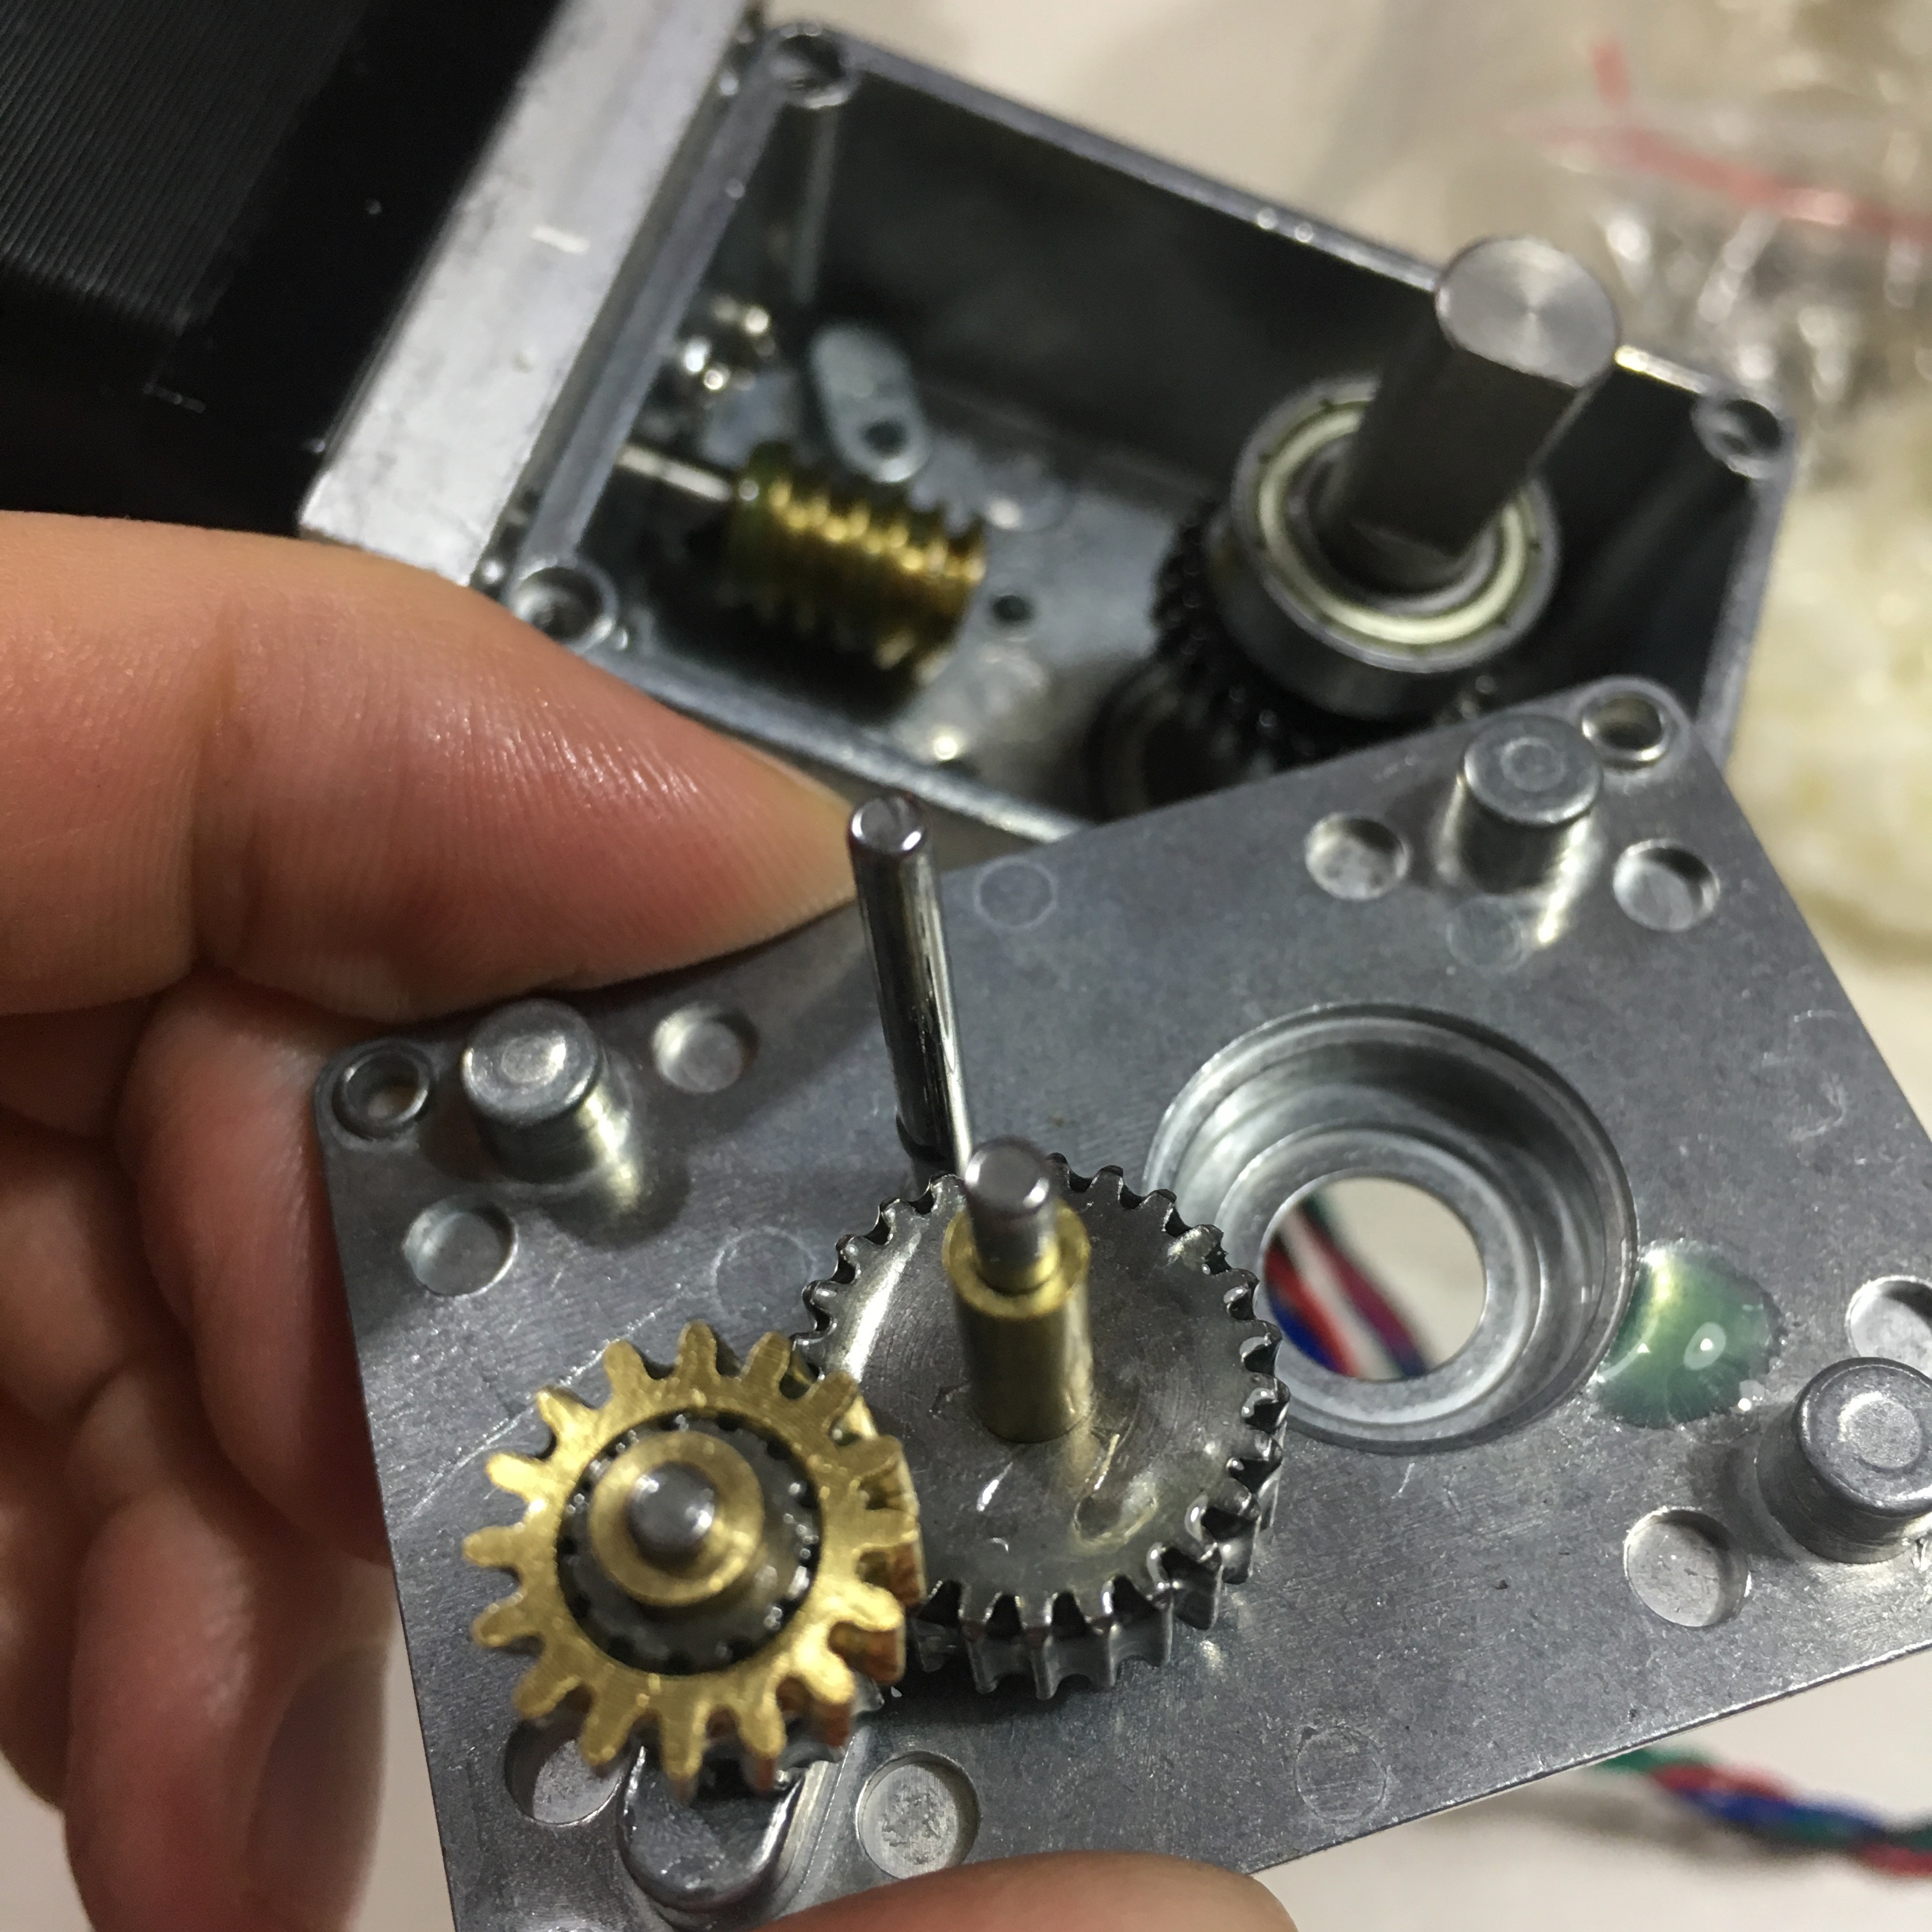
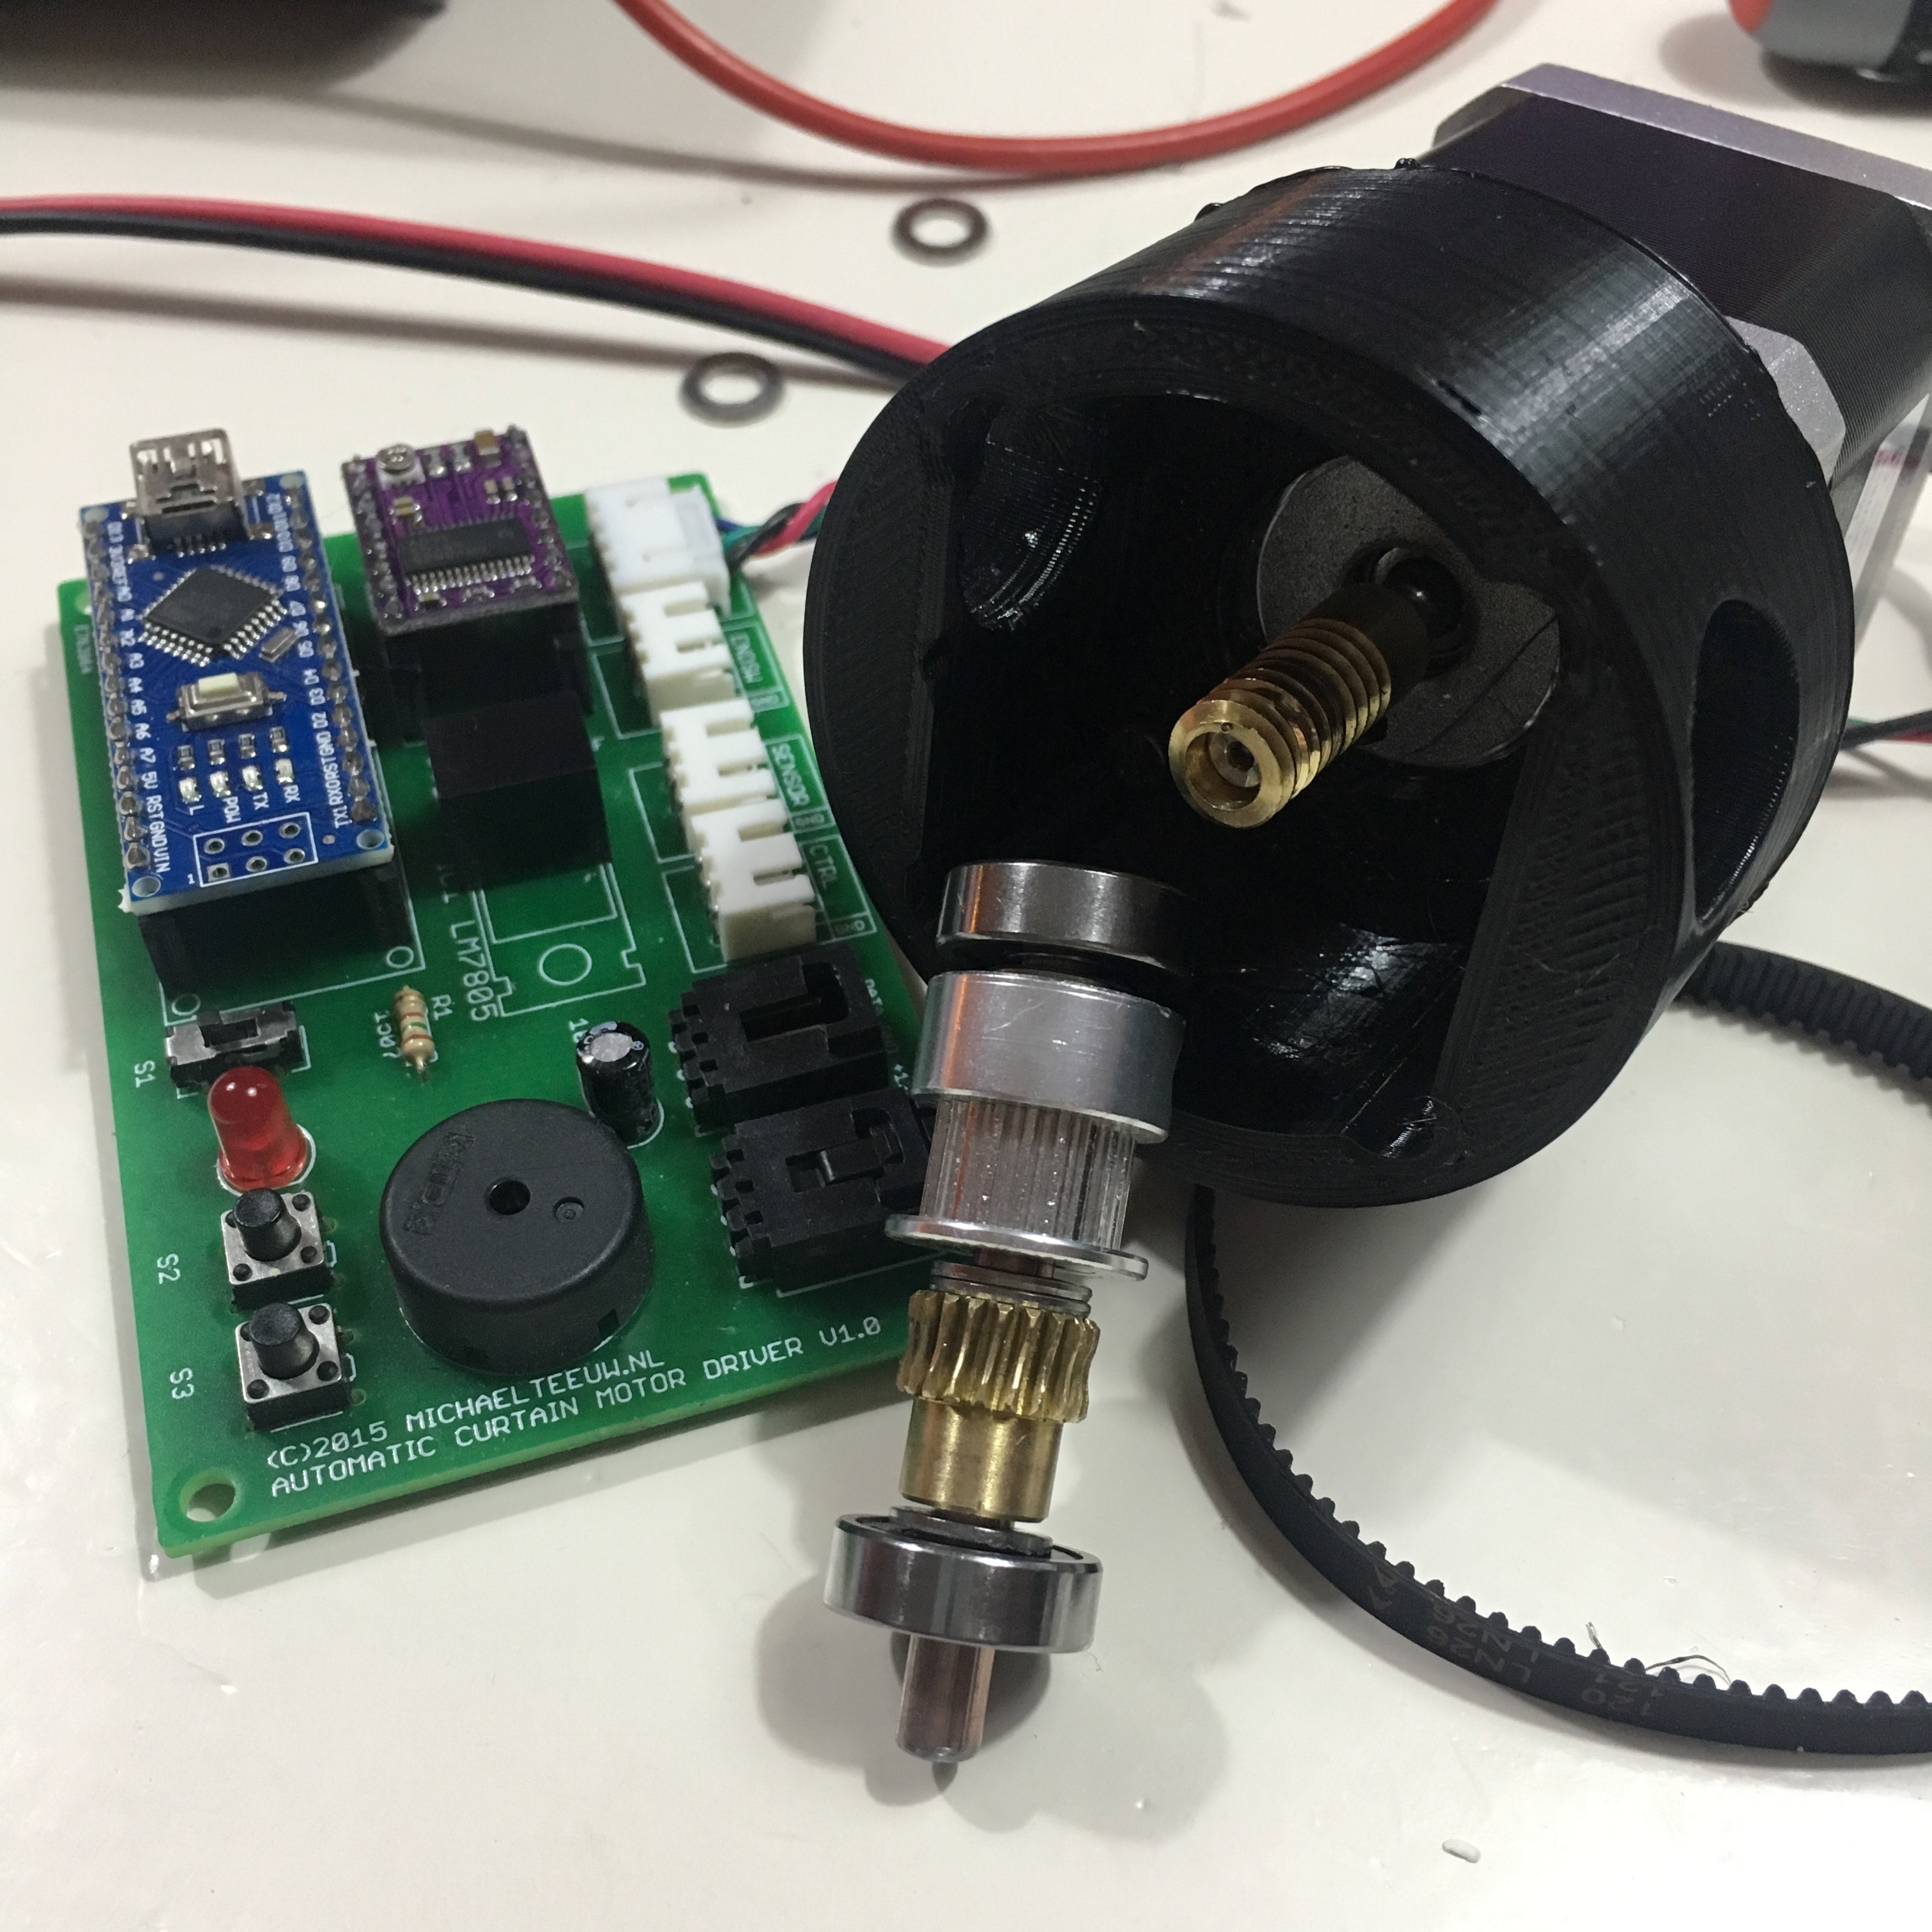
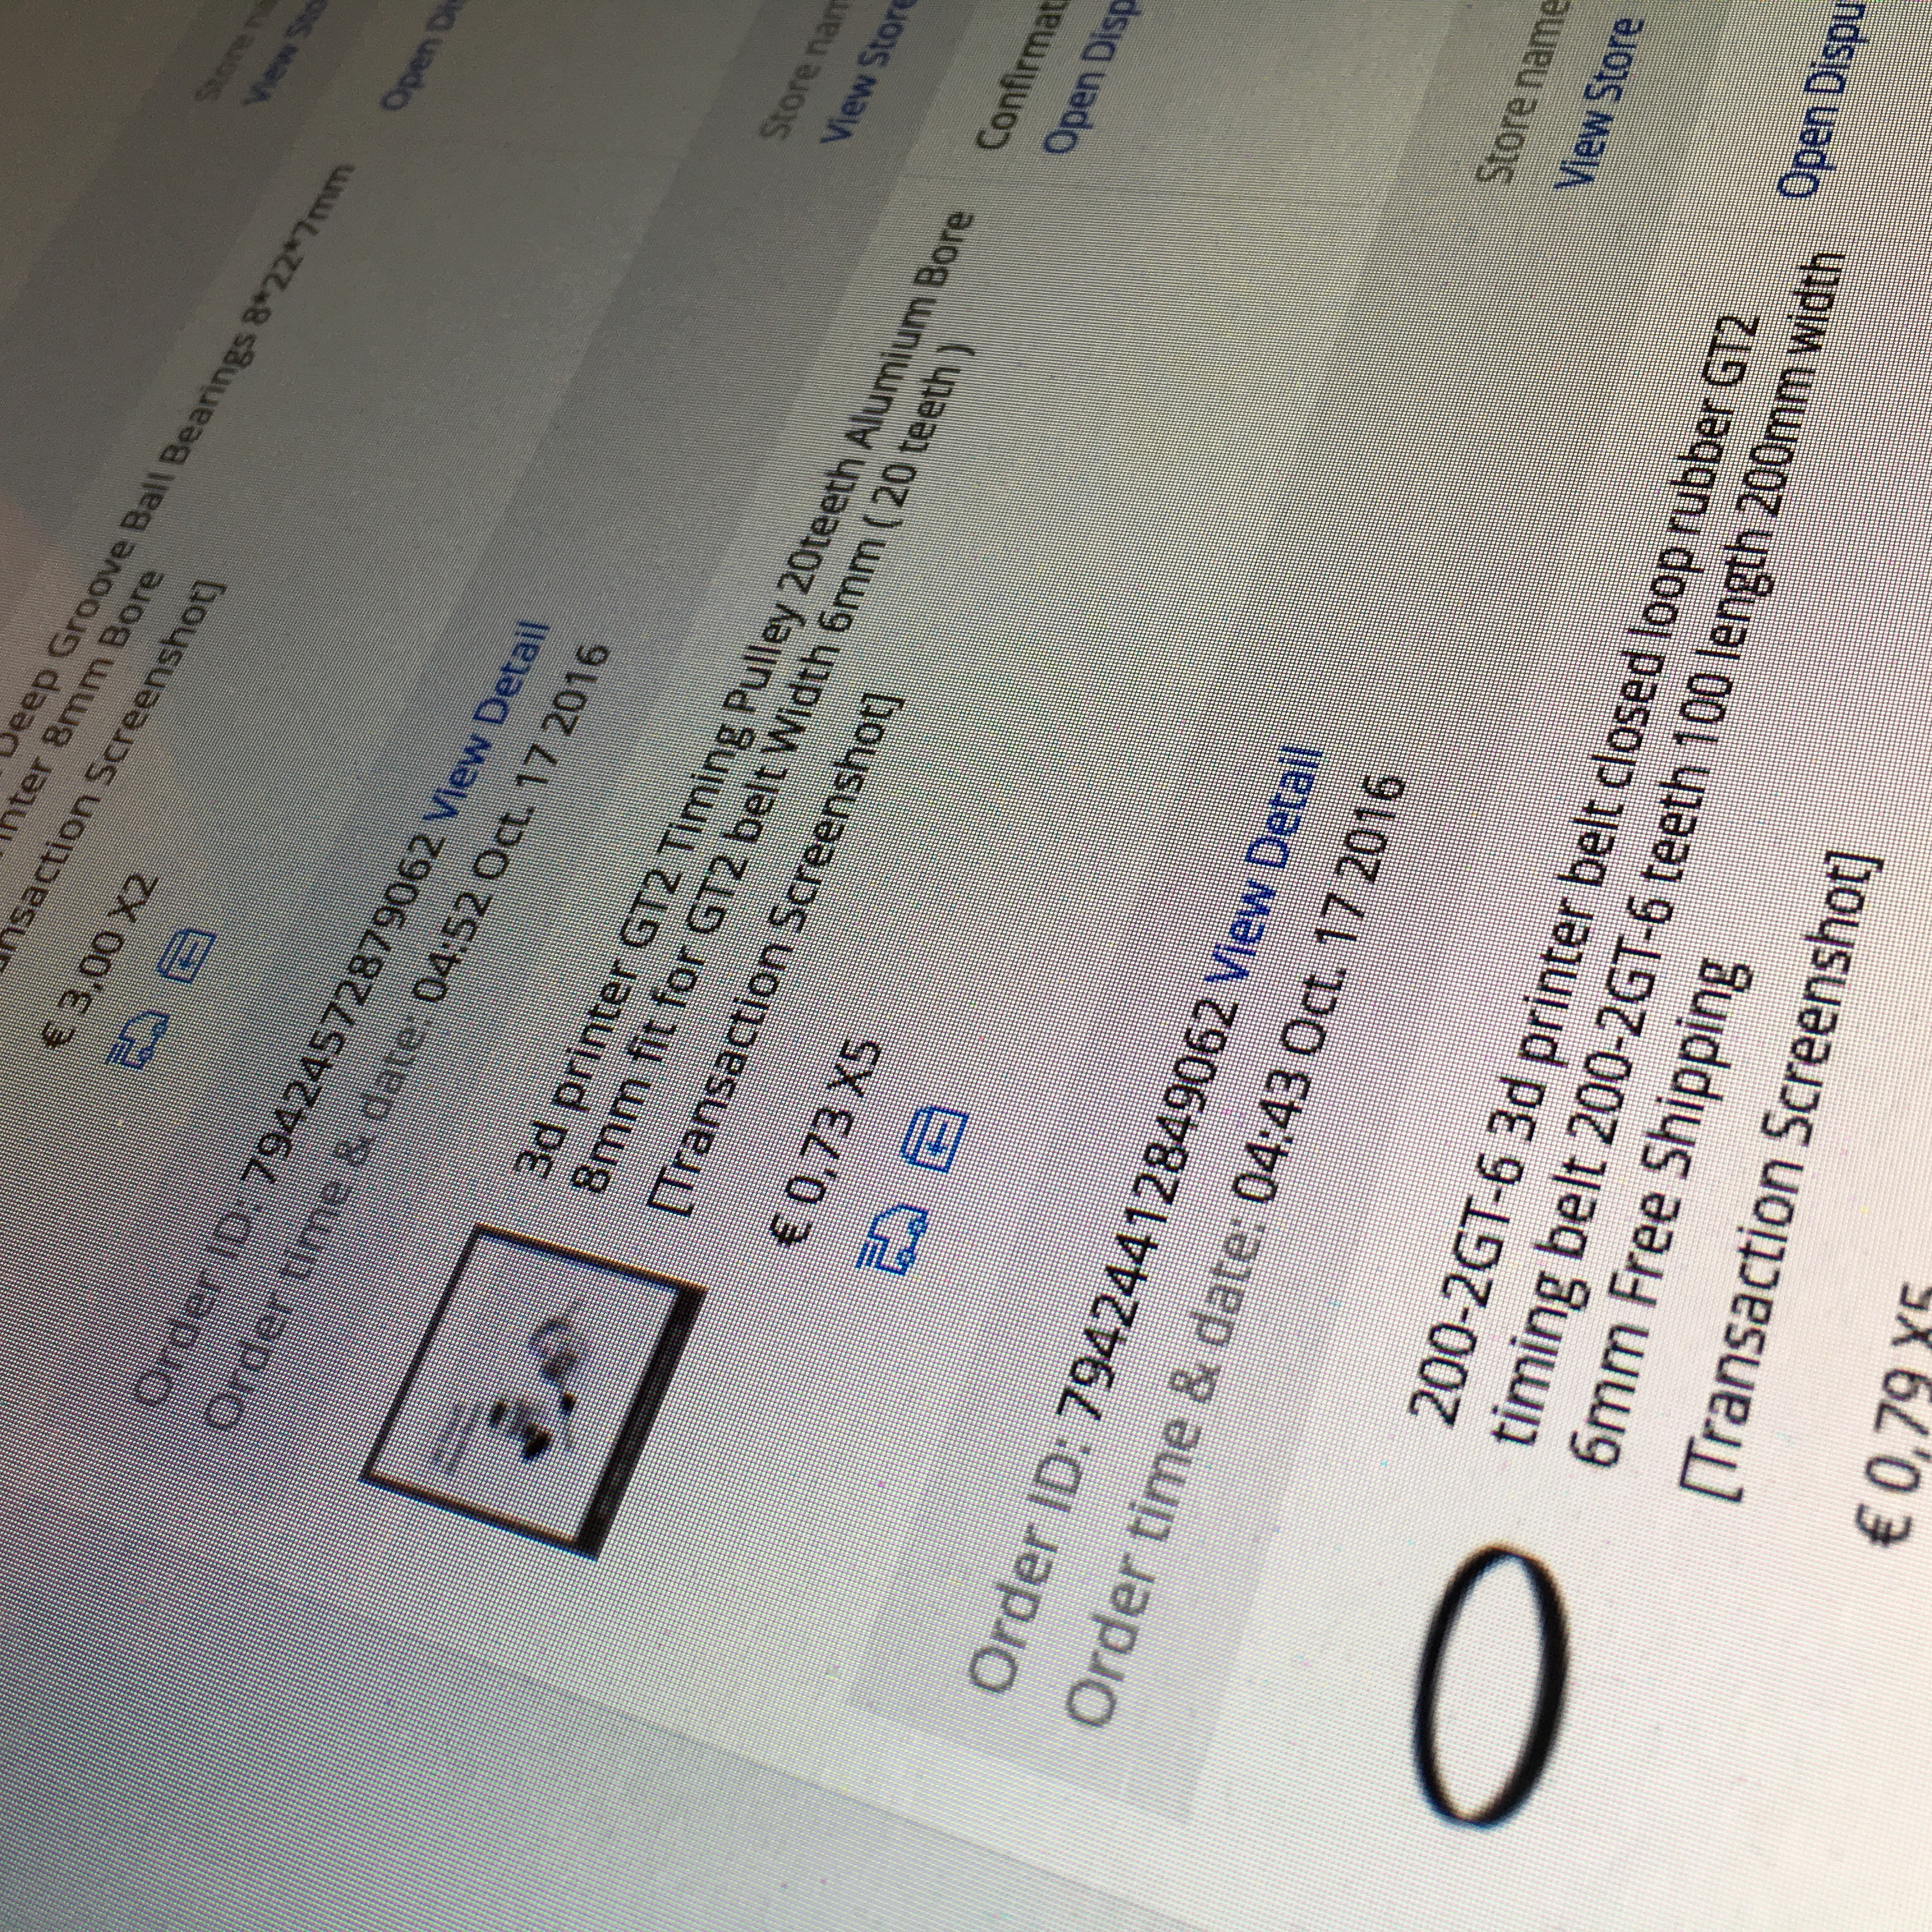
Of course, a project like this needs a lot of special parts. Especially since I want to use metal gears for added strength. So a quick trip to my main supplier ended up in a big list of orders. Now the waiting begins.
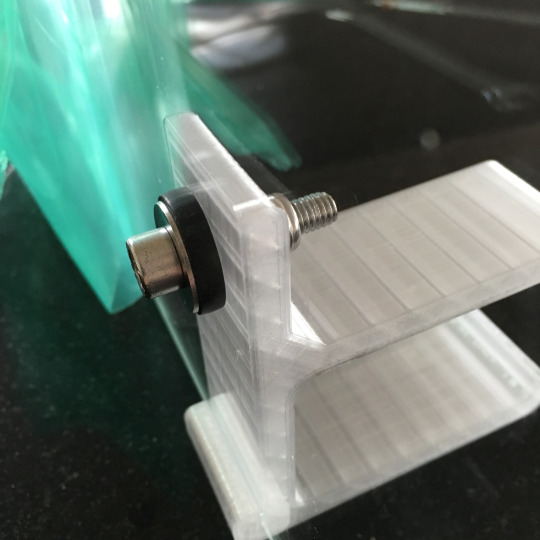
And because I need to wait on the transmission parts, I started working on the passive side of the joint. This allowed me to do some strength tests, and gave me the chance to play around with the 8mm rod I’ll be using within the joints.
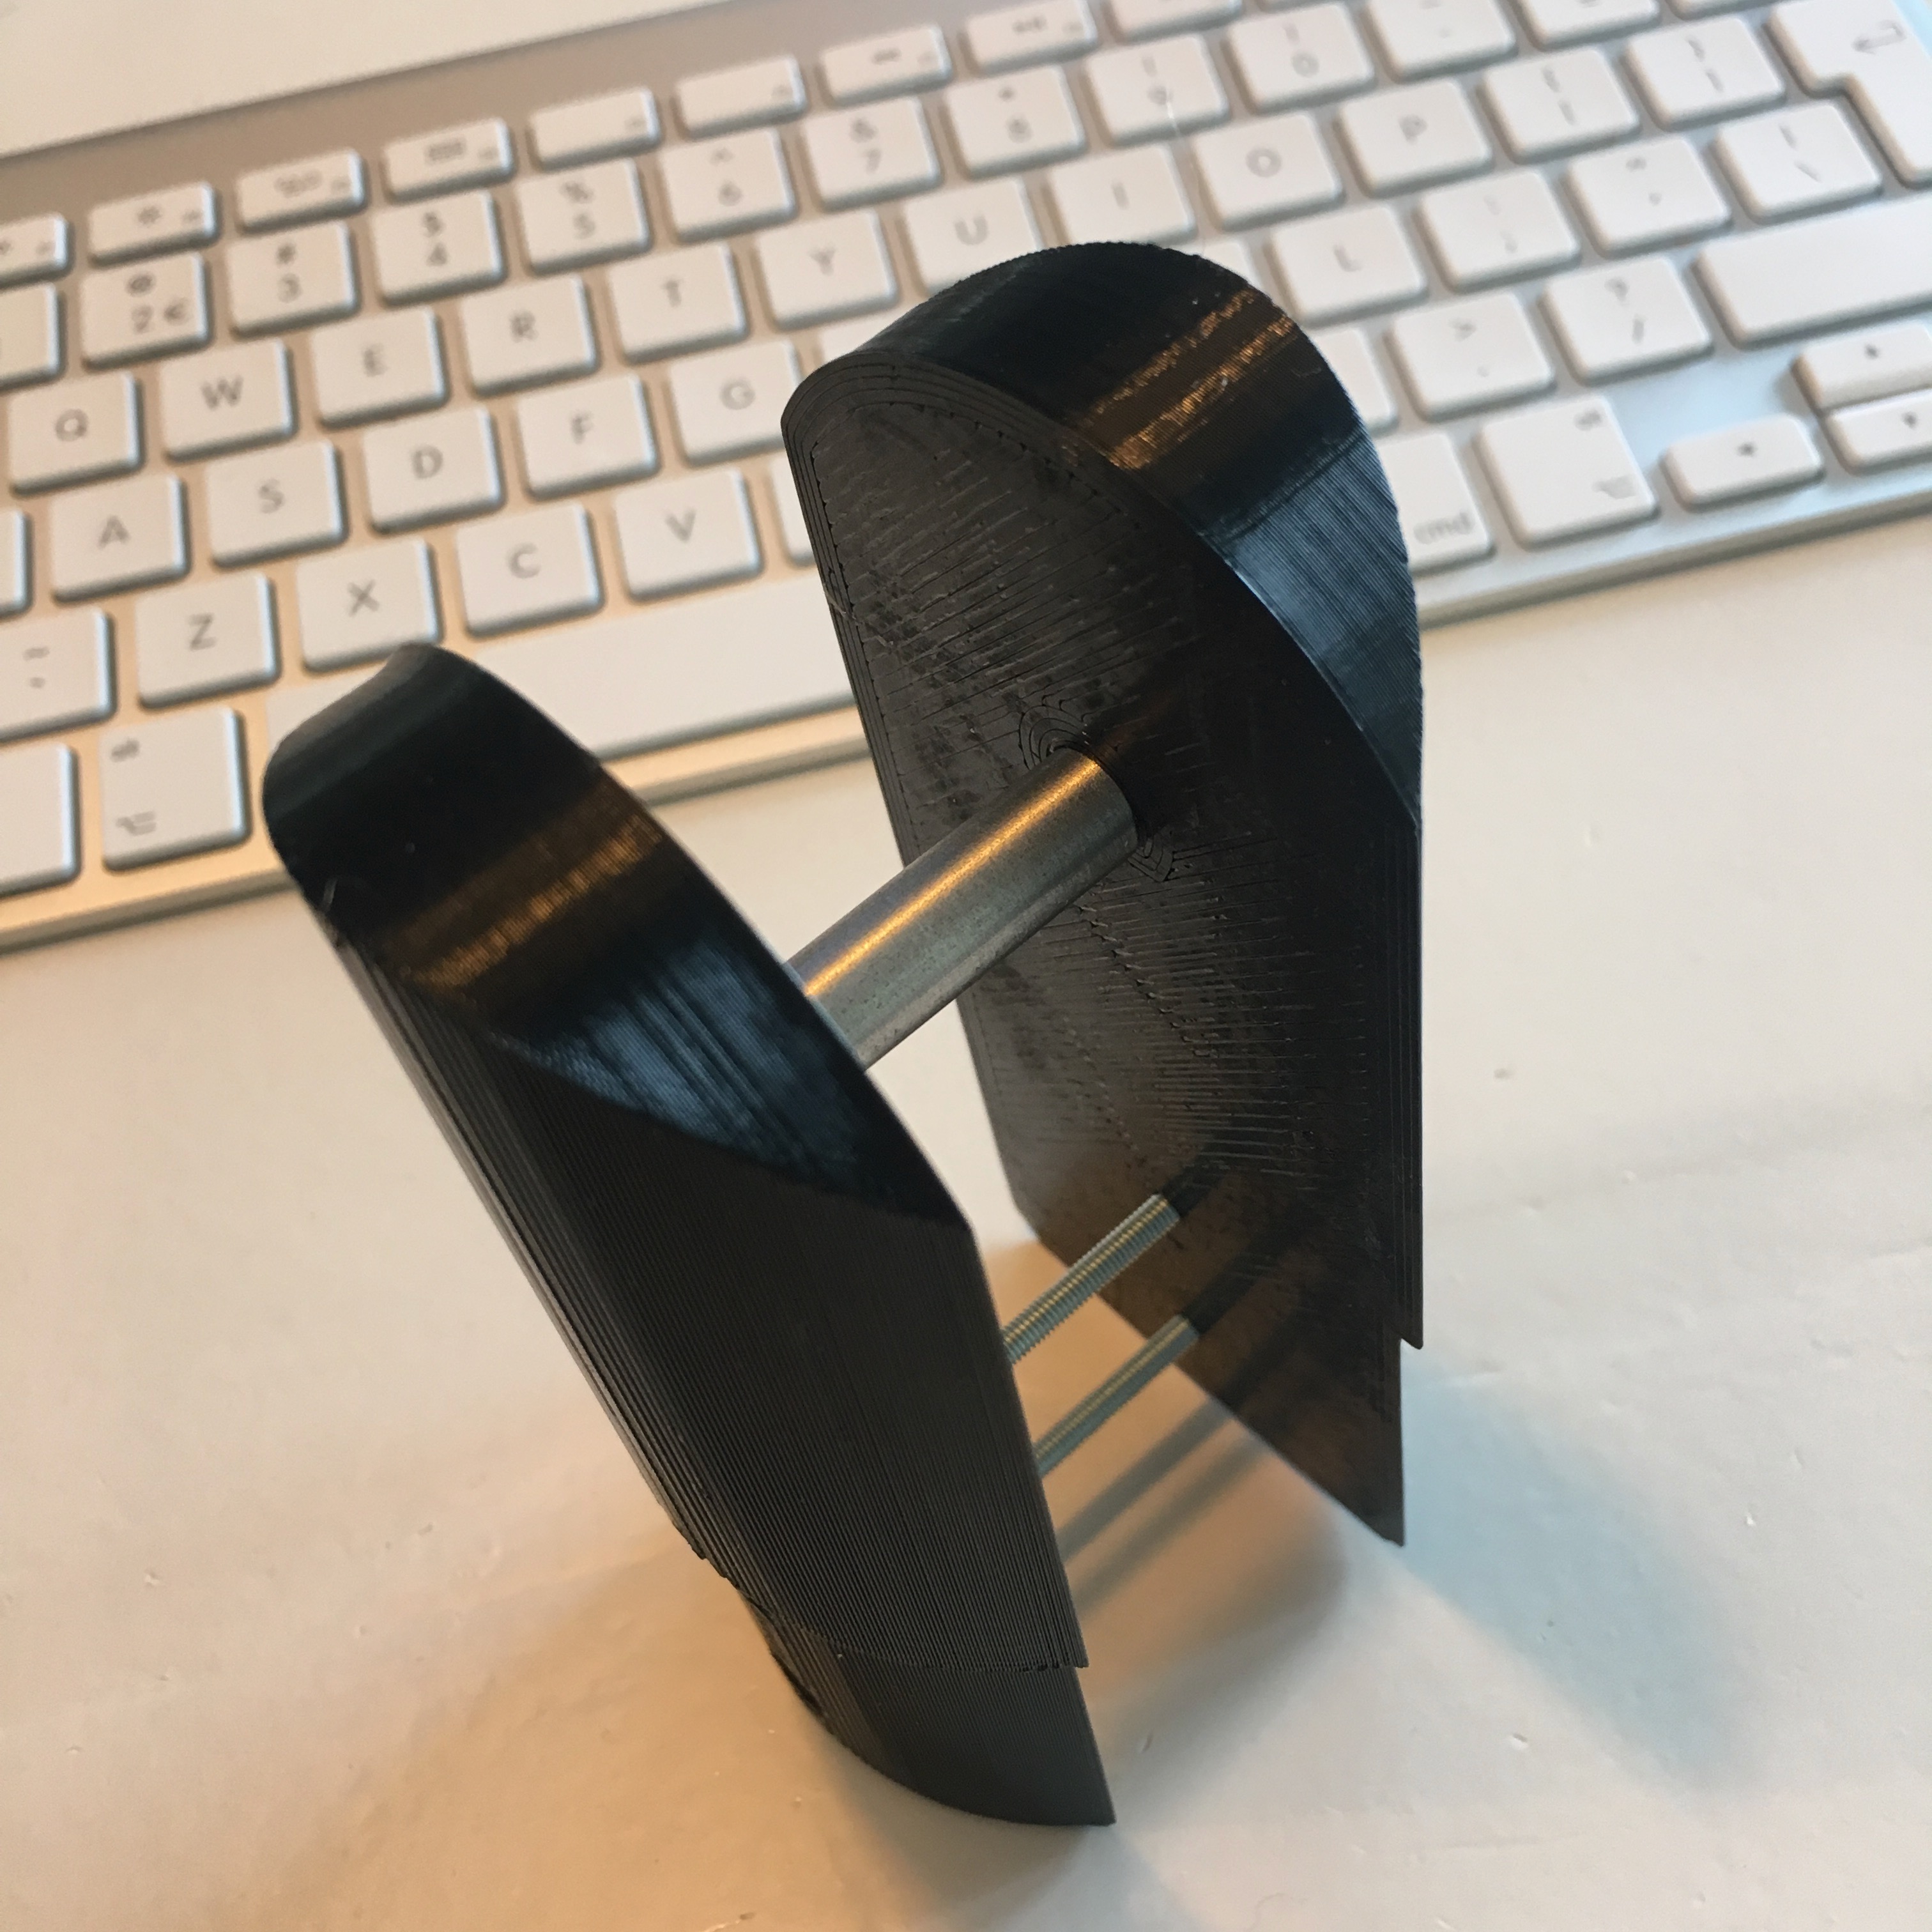
The end result looks nice, but isn’t completely perfect yet. I’ll probably go for a joint that is a bit wider than the pipes. This gives me a little more room to play and looks a bit more robust.
Unfortunately, printing these parts is time consuming. So the whole project will take some time. In between the robot arm posts I’ll also continue to work on my every day tinkering … so keep an eye on my blog for the next update on this projects. Whenever that may be.
What’s in a name?
For now, I’d like to end with a challenge for my followers: If you can think of a nice name for my robot arm project, I’ve got a very cool surprise for you! Leave your suggestions in the comments down below (make sure you’re logged in so I can contact you), or send me a tweet on @MichMich.
Robotic Arm: Illuminating the joint.